Preparing your device
Overview
This guide is for users that already have a supported Raspberry or Orange PI and would like to load SolarAssistant on it. If you purchased a device with software you can skip this article and continue with the WiFi or ETH cable setup steps.
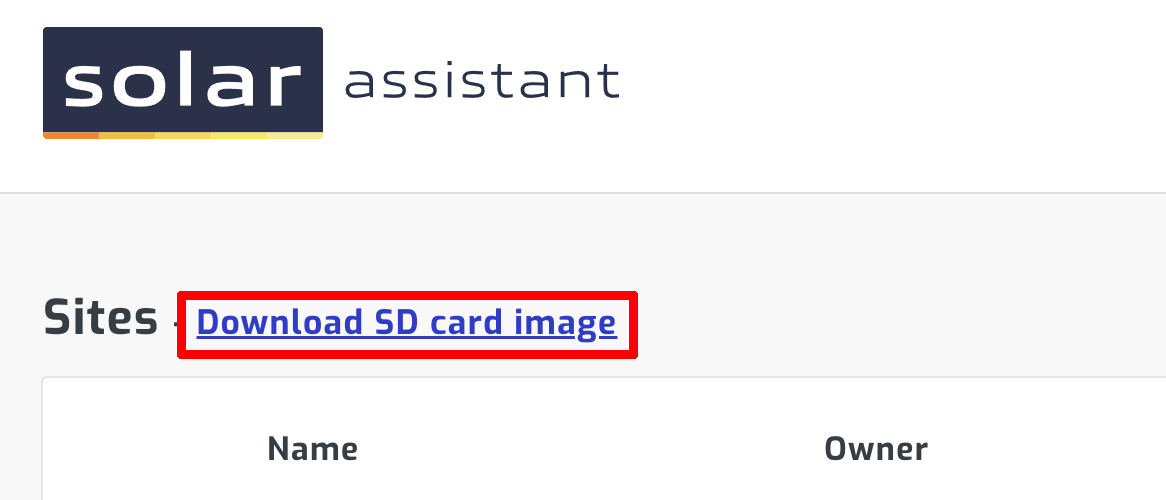
Step 1 - Download SD card image
You can download the SD card image on the sites page. It will require registration if you aren't already registered.
Step 2 - Install SD card writing tool
Download and install the latest Raspberry PI imager:
 Download Raspberry PI Imager for Windows
 Download Raspberry PI Imager for macOS
 Download Raspberry PI Imager for Ubuntu
You can also consider using an alternative tool to flash the SD card such as Balena Etcher.
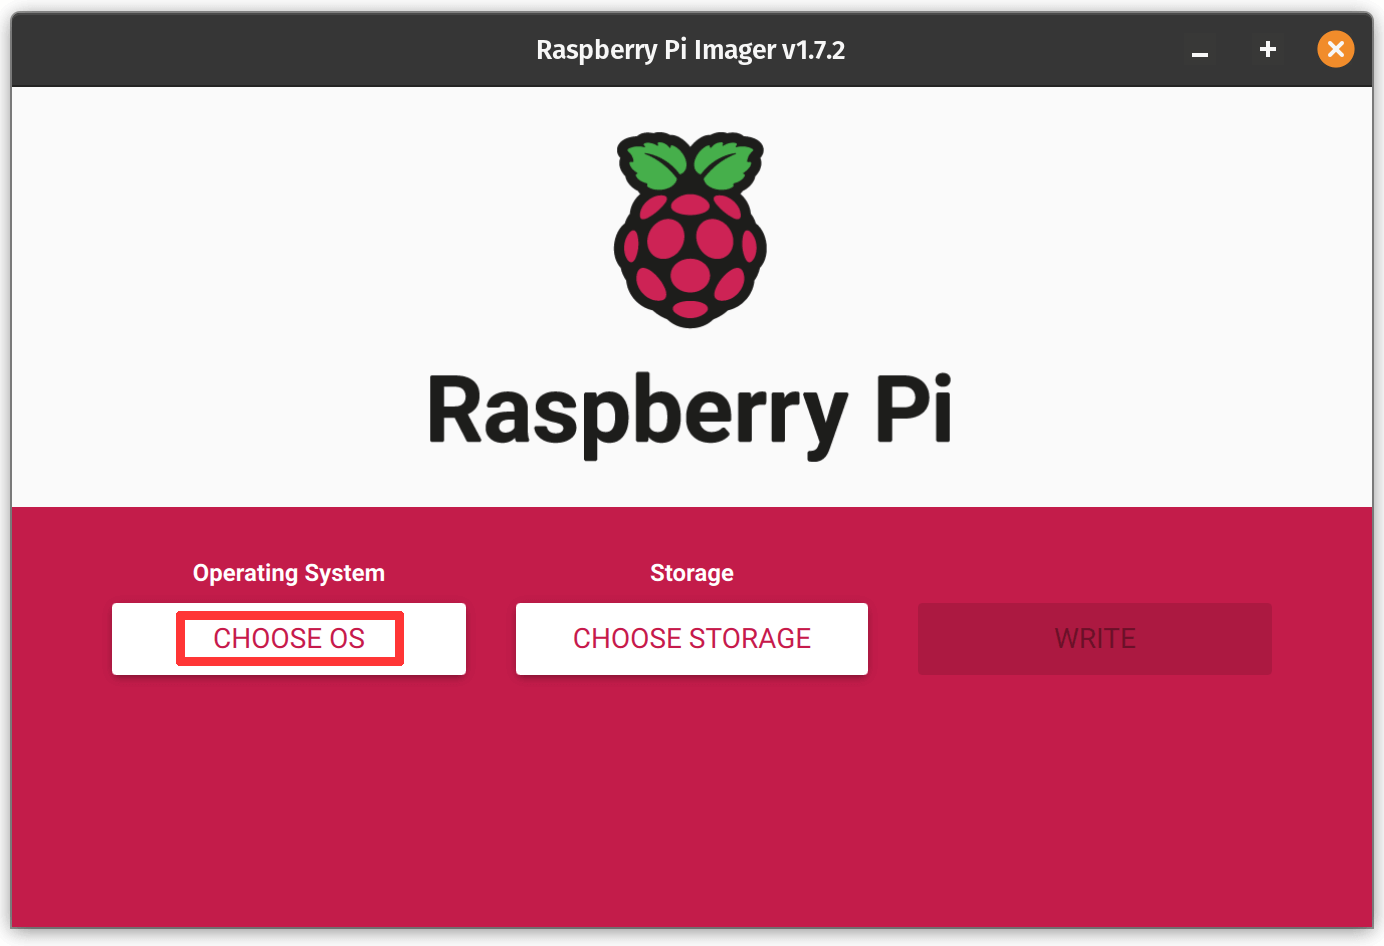
Step 3 - Flash SD card
Start the Raspberry PI imager and select "Choose OS".
Select "Use custom" and then select the SD card downloaded in step 1.
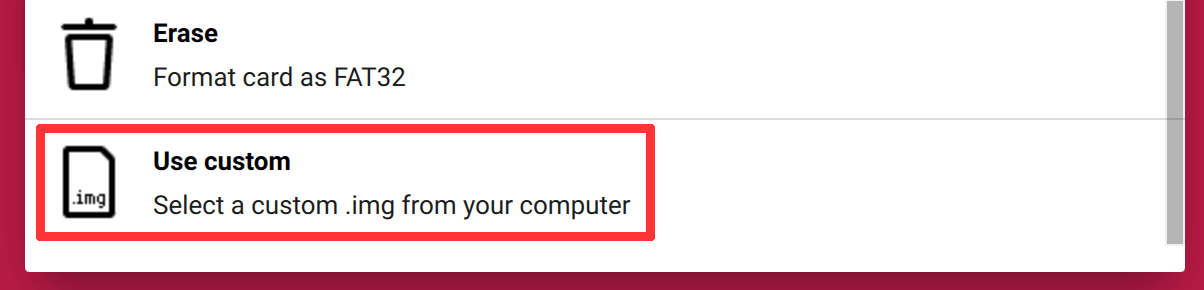
NB: Do not flash the downloaded ZIP file. Extract it and flash the ISO file inside it.
Step 4 - Start monitoring device
Insert the SD card in the Pi and turn it on. You should see a WiFi hotspot named SolarAssistant appear, unless you have an ETH cable plugged in. Continue with one of the guides below: