SSH access
Overview
SSH access is intended for technical users to gain root access to the underlying Debian linux system that SolarAssistant runs on.
Default username and password
When SolarAssistant starts up the first time, it will have SSH access enabled with the default username and password:
Username: solar-assistant
Password: solar123
Once you click "Accept and agree" on the page below during the initial setup, SSH access is disabled for security reasons. Follow the steps below to enable it.
Step 1
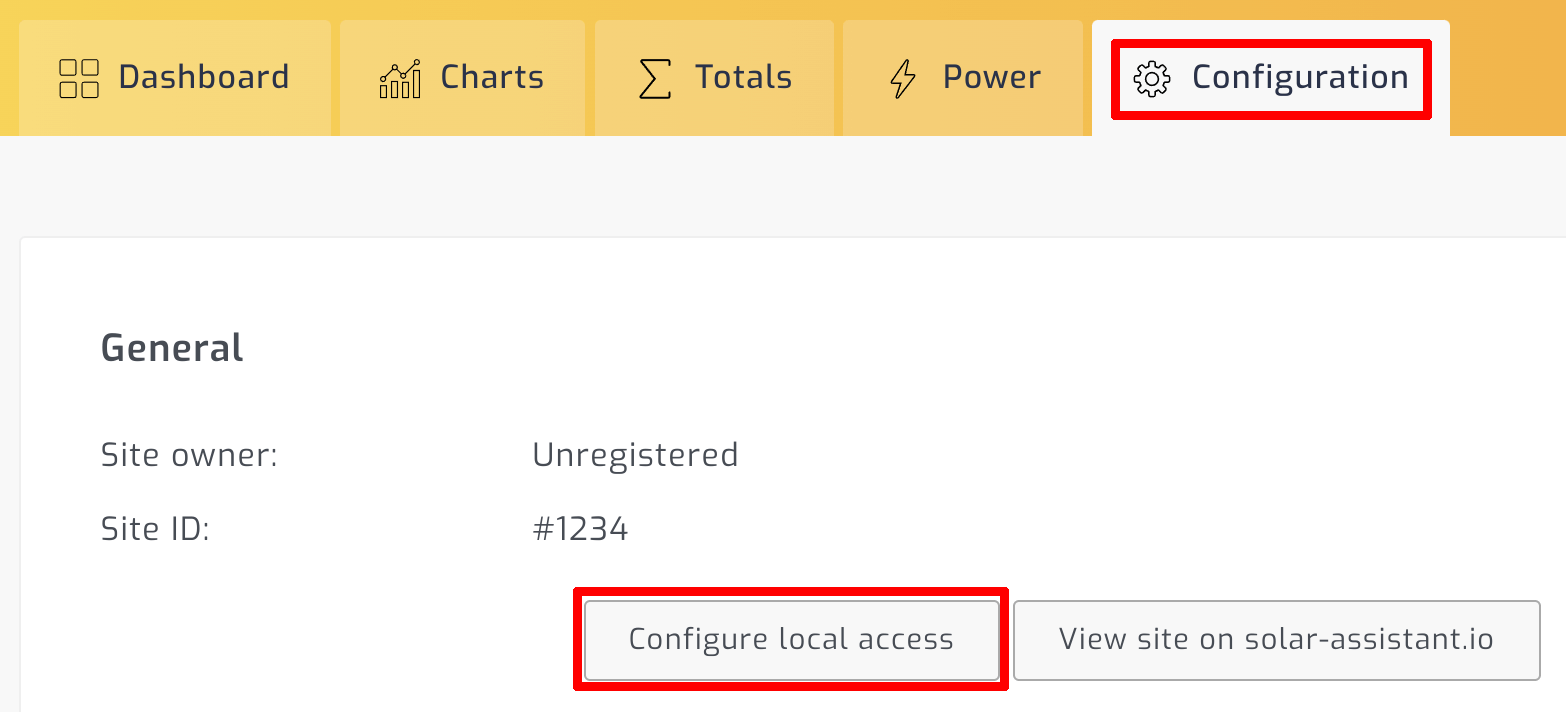
Navigate to the "Configuration" tab and select "Configure local access".

Step 2
Select the SSH access you want to enable and click save. It will display a "connect with" SSH command that already contains the username and IP address for your convenience.

Useful information
You can become the root user with the command below:
sudo su -
View CPU, memory and process information. Exit by pressing 'q'.
htop
Show network connection and route information:
ip addr
ip route
View storage information.
df -lh
Edit WiFi SSID and password, then reload the network connection service and view output logs.
nano /etc/wpa_supplicant/wpa_supplicant.conf
systemctl reload auto-hotspot
journalctl -u auto-hotspot -n 100 -f
Edit the X.Org screen configuration, then stop and start the interactive kiosk.
nano /home/kiosk/xset.sh
systemctl stop kiosk
systemctl start kiosk
Check the status of SolarAssistant and related services:
systemctl status solar-assistant
systemctl status auto-hotspot
systemctl status grafana-server
systemctl status influxdb
systemctl status mosquitto
Warning
SolarAssistant is designed to be configured via the web interface. Configuration via SSH or installation of additional applications can stop SolarAssistant from working correctly or cause unexpected errors. Future updates to SolarAssistant can update packages and cause extra software you installed from working correctly.