Home Assistant - MQTT broker with bridge setup
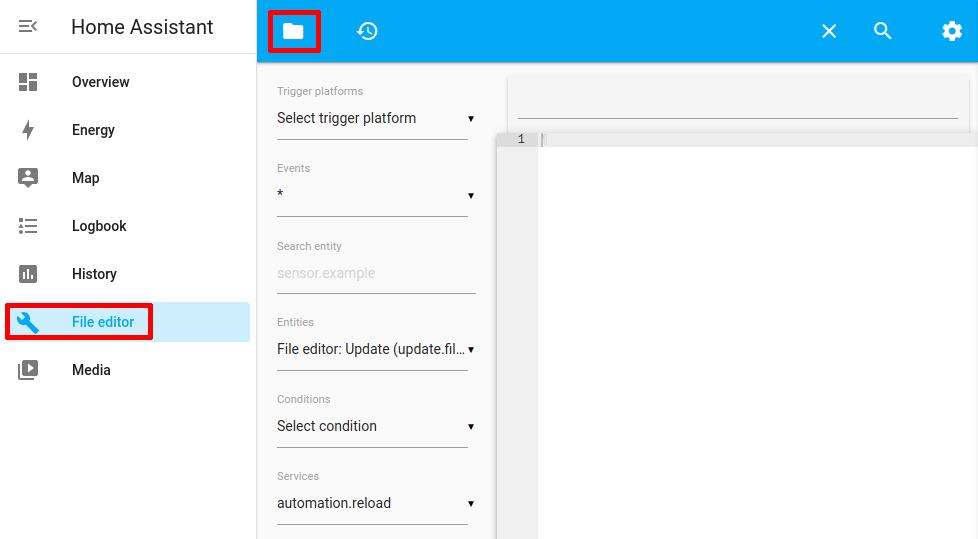
Step 1 - Install file editor add-on
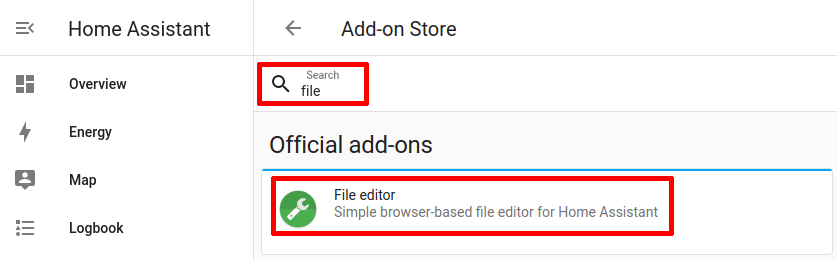
Go to the Home Assistant add-ons.

Install file editor add-on.
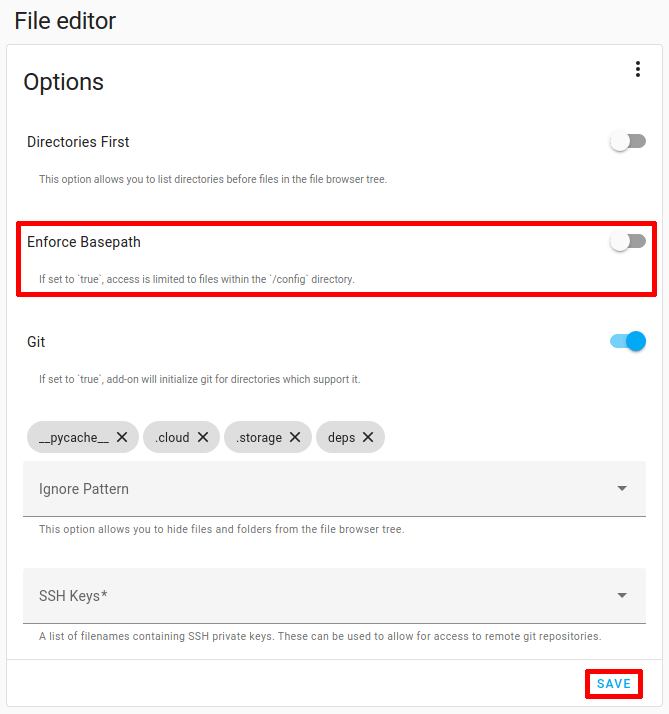
Under the "configuration" tab, allow editing of any file by not enforcing the basepath.
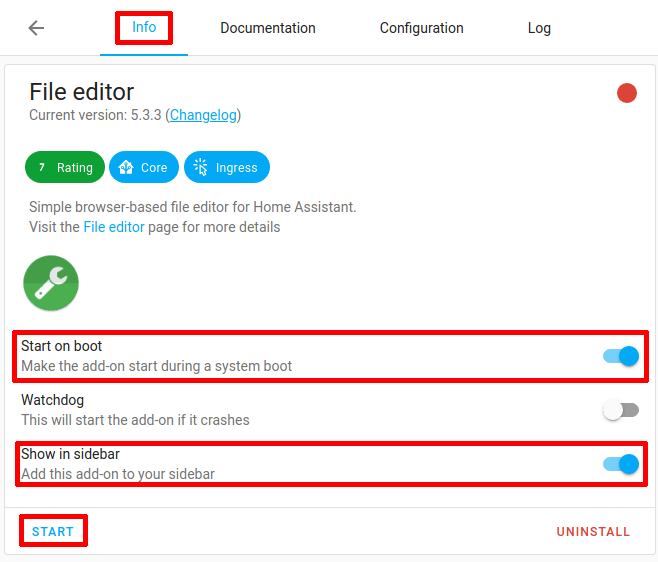
Under the "info" tab, set the settings below and start the add-on.
- start on boot
- show in sidebar
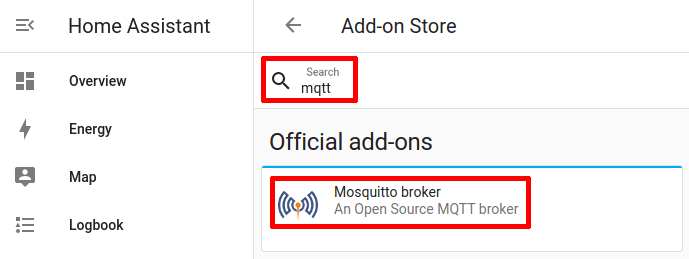
Step 2 - Install MQTT broker
Go to the Home Assistant add-ons.
Go to the add-ons and install the MQTT broker.
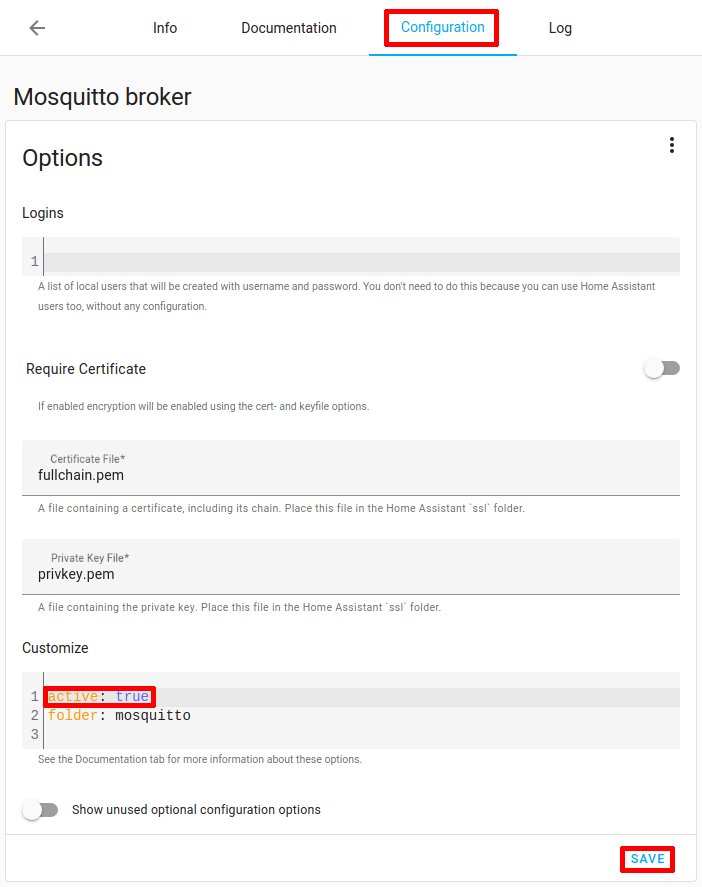
Under the "configuration" tab, enable customization. This will make the MQTT server (mosquitto) look for config files under /share/mosquitto for customization config.
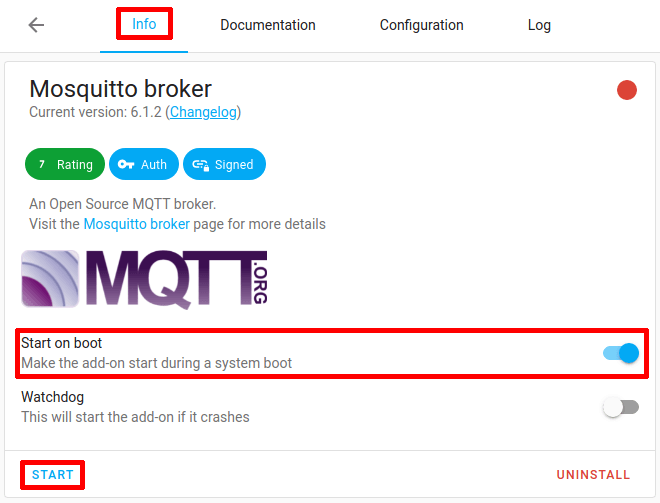
Under "info", set the add-on to start at boot and start it now.
Step 3 - Create the mosquitto bridge config file
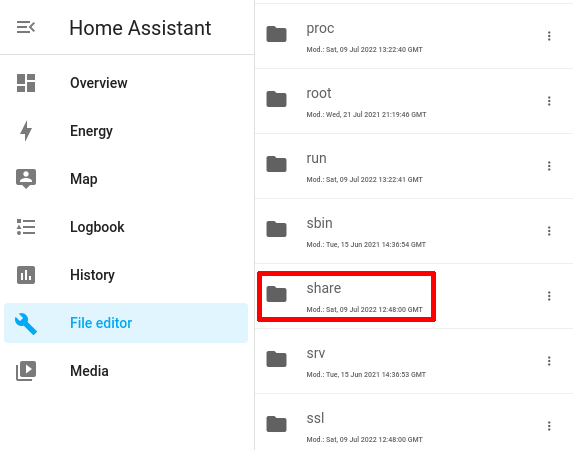
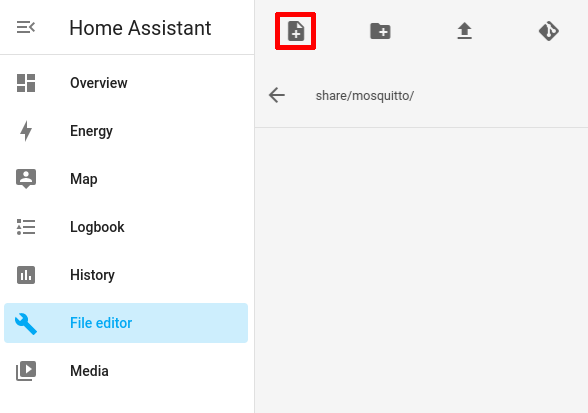
Open the file editor and browse for files.
Select the share folder.
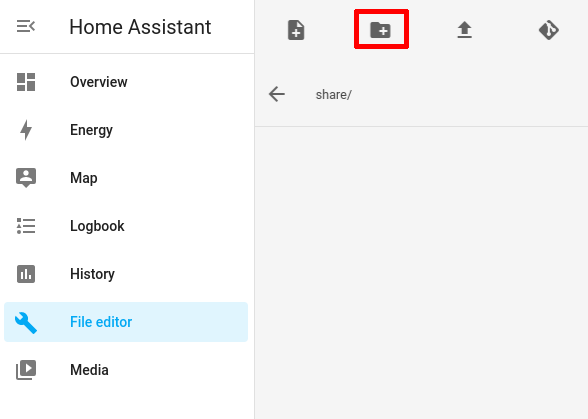
Select create folder.
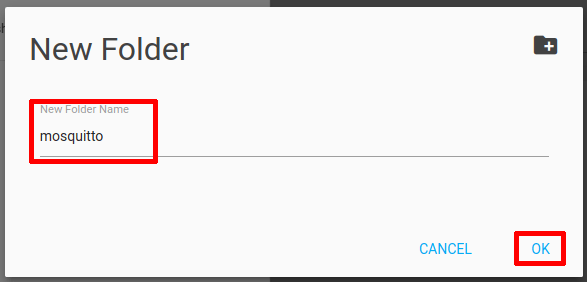
Enter mosquitto as the folder name.
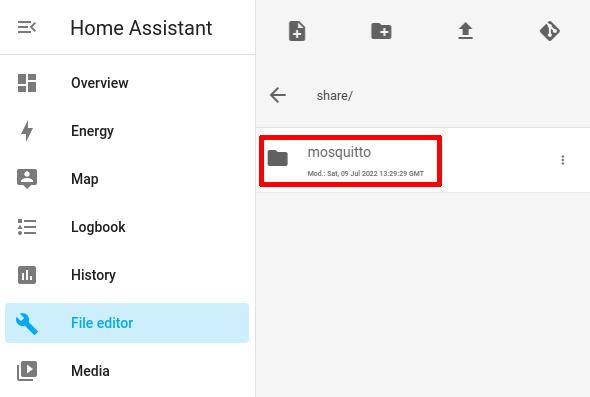
Select the newly created folder.
Select create file.
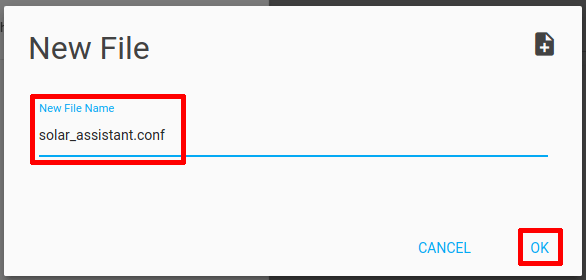
Enter solar_assistant.conf as the file name.
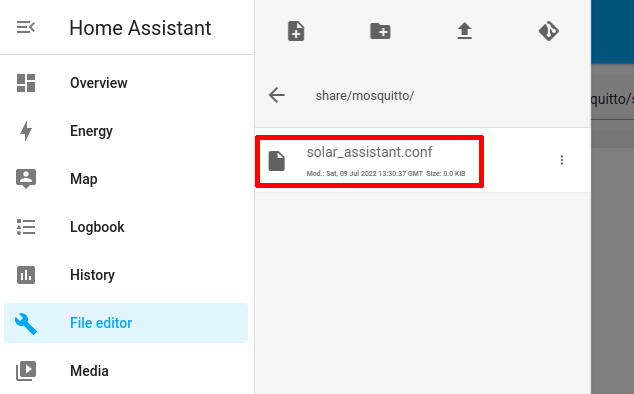
Select the newly created file.
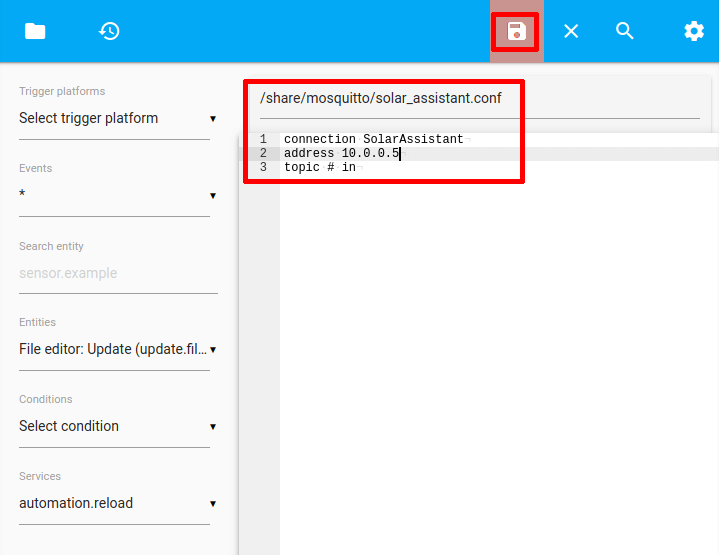
Paste the code below into the file content and click save. Note:
- address the IP address of your SolarAssistant device instead of 10.0.0.5.
- remote_username and remote_password should be uncommented if you configured MQTT authentication in SolarAssistant.
- topic in is to pull all messages from SolarAssistant
- topic out is to push solar setting change messages from your existing broker to SolarAsssistant.
connection SolarAssistant
#remote_username solar-assistant
#remote_password solar123
address 10.0.0.5
topic # in
topic solar_assistant/# out
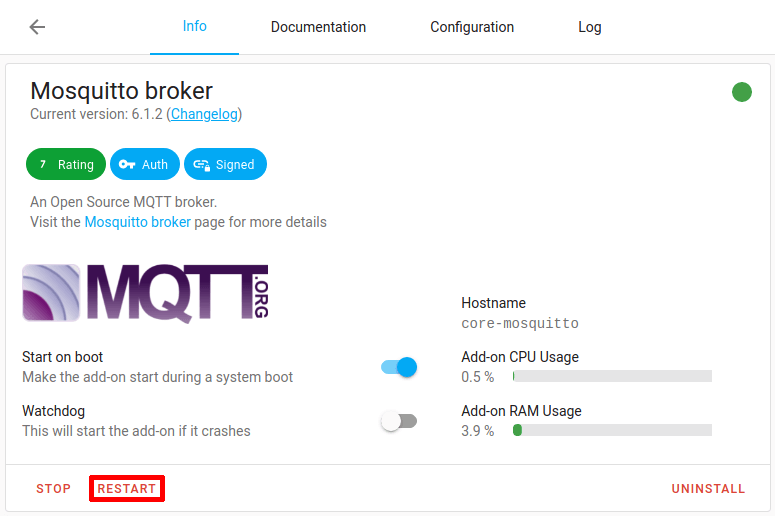
Step 4 - Restart MQTT broker
Go to the Mosquitto broker add-on and click "restart".
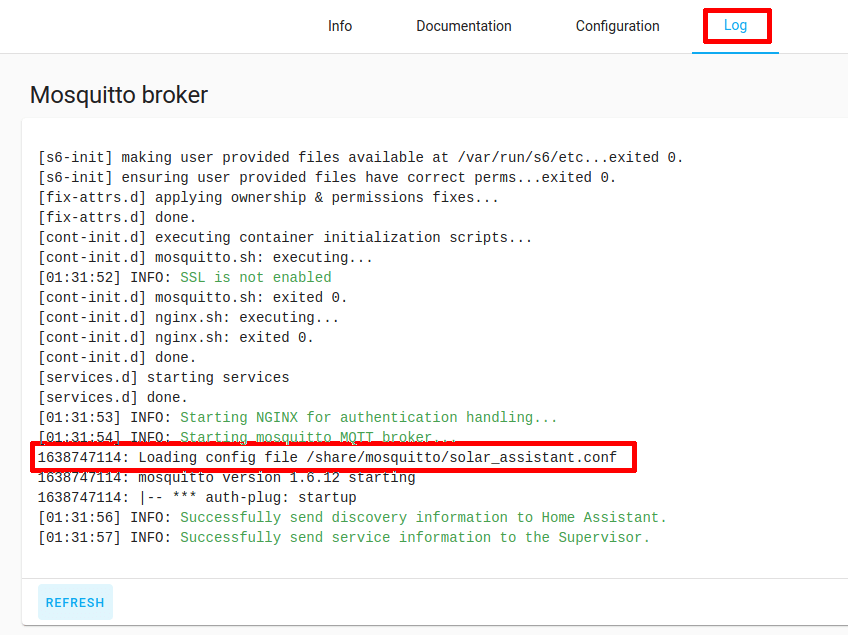
Under the "log" tab, ensure your configuration file is loaded.
Step 5 - Confirm MQTT integration is working
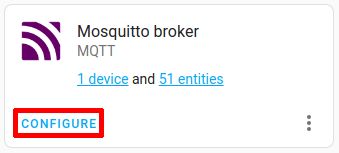
Go to the Home Assistant integrations.

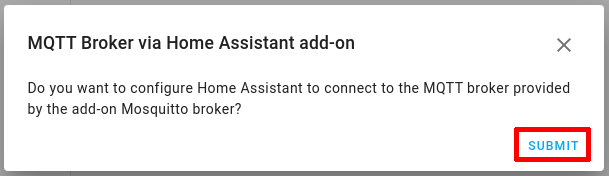
Configure MQTT integration or add it if it hasn't been discovered already.

If it's the first time you are opening this page, it will prompt to connect to the Home Assistant mosquitto server you created.
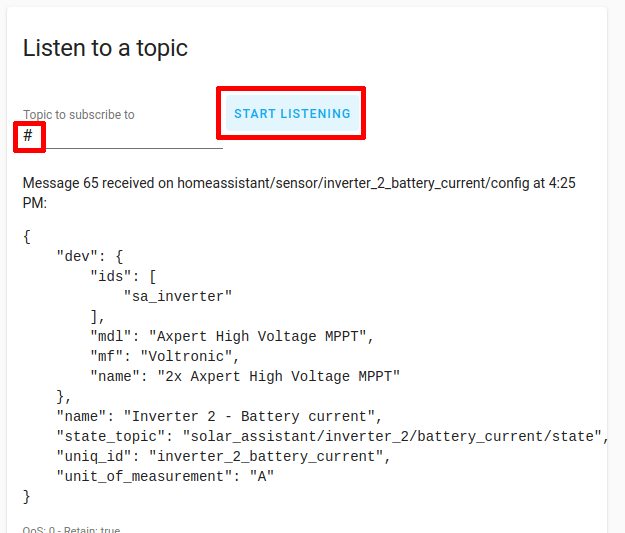
Go to the MQTT integration configuration. and subscribe to the # topic. You should see SolarAssistant messages appear.
Subscribe to the # topic. You should see SolarAssistant messages appear.