Starting device - ETH
Step 1 - Turn on the monitoring device
Plug the ETH/LAN cable into the Raspberry/Orange PI. Insert the USB power cable into the Pi to turn it on.
Step 2 - Find device on local network
Once the device has started, open the link below to find your device on your local network.
https://solar-assistant.io/sites/local
Step 3 - Register site (optional)
By registering your site you can easily access it remotely.

Step 4 - Start monitoring
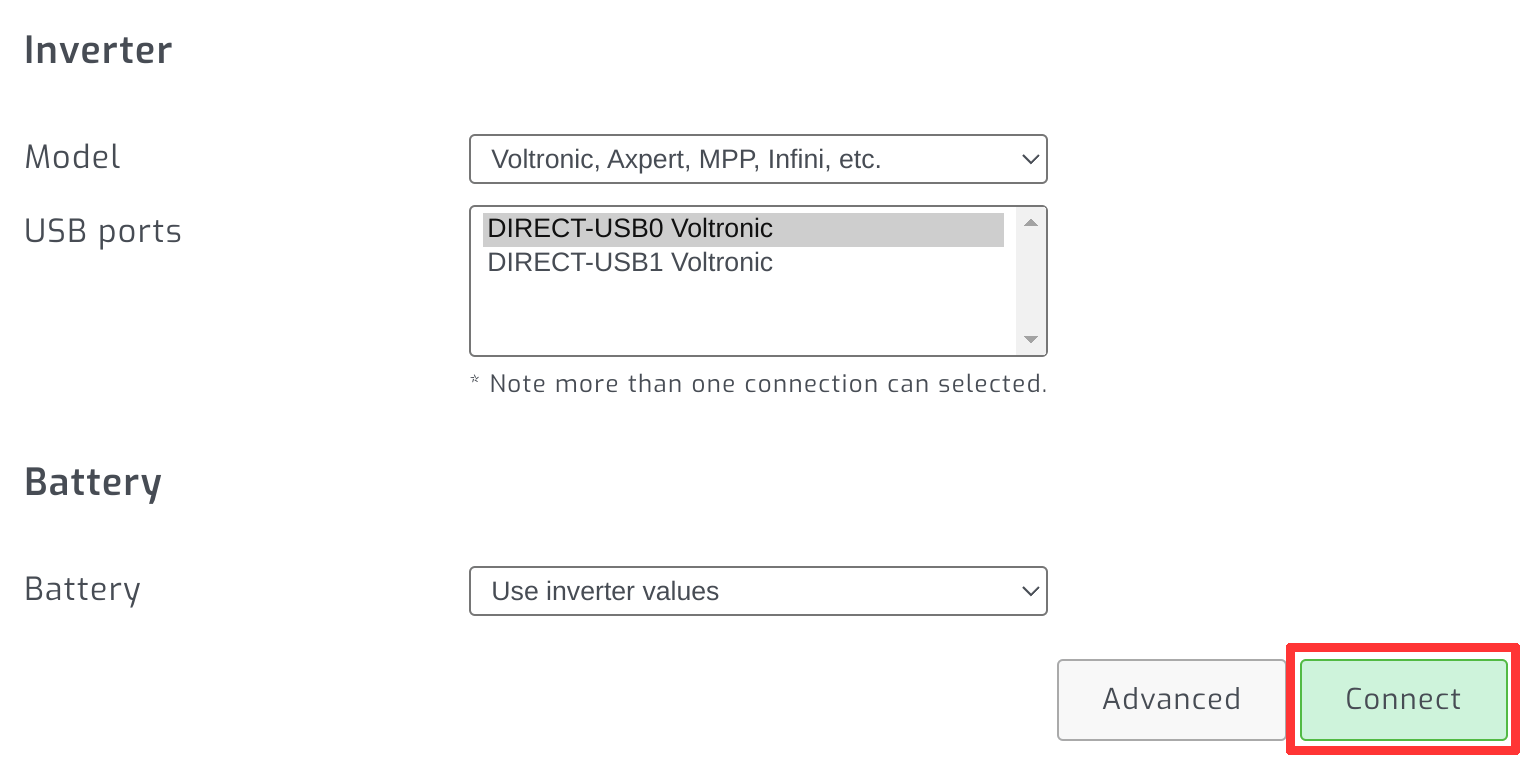
Select your connected solar equipment and click connect. Please see our inverter and battery help guides if you need help selecting your solar equipment.