Historic data - Backup/Restore
Overview
Historic data in SolarAssistant can be exported to a backup file. If you experience hardware failure or if you switch to different hardware, you can import the backup file to restore historic data.
If you are a technical user, you can extract the backup and import it into an InfluxDB database.
Export a backup file
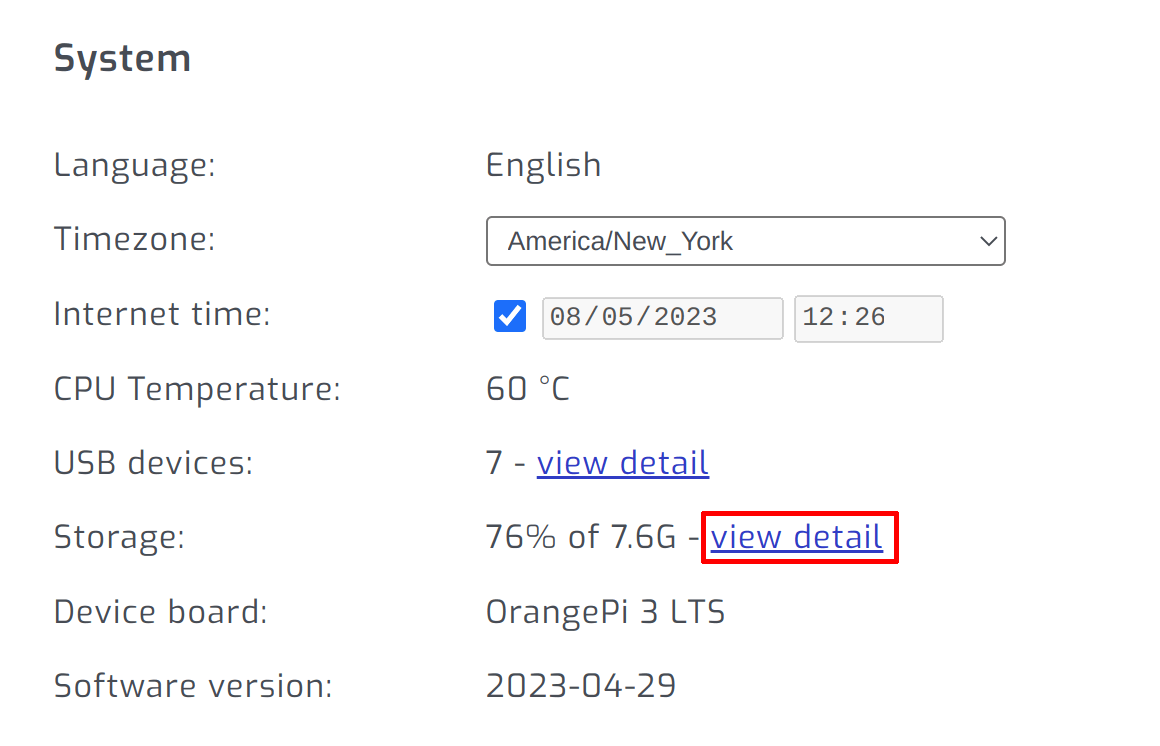
Go to the "configuration" page, scroll down to the "System" heading and select "View detail".
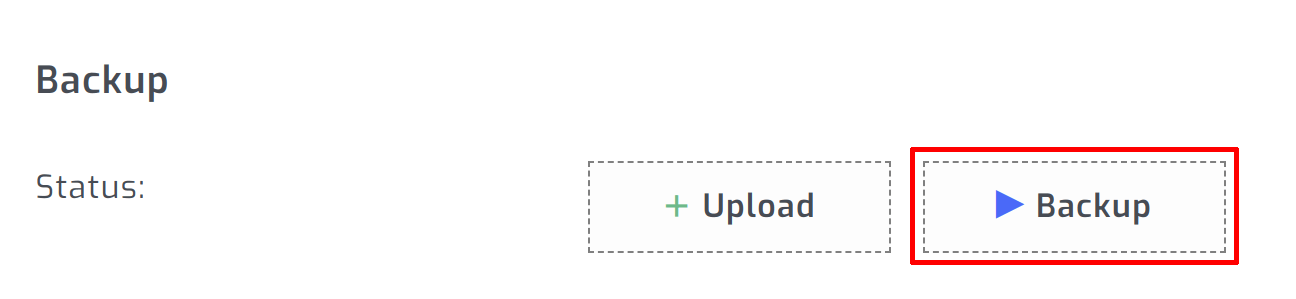
![Navigate to storage](https://d26qlef5ak4prm.cloudfront.net/images/help/historic_data/navigate-to-storage-eea5aa735035277da0bb05673910616c.png?vsn=d)
Select "Backup".
![Start backup process](https://d26qlef5ak4prm.cloudfront.net/images/help/historic_data/backup-dc113f746295537b5ef04df256c95086.png?vsn=d)
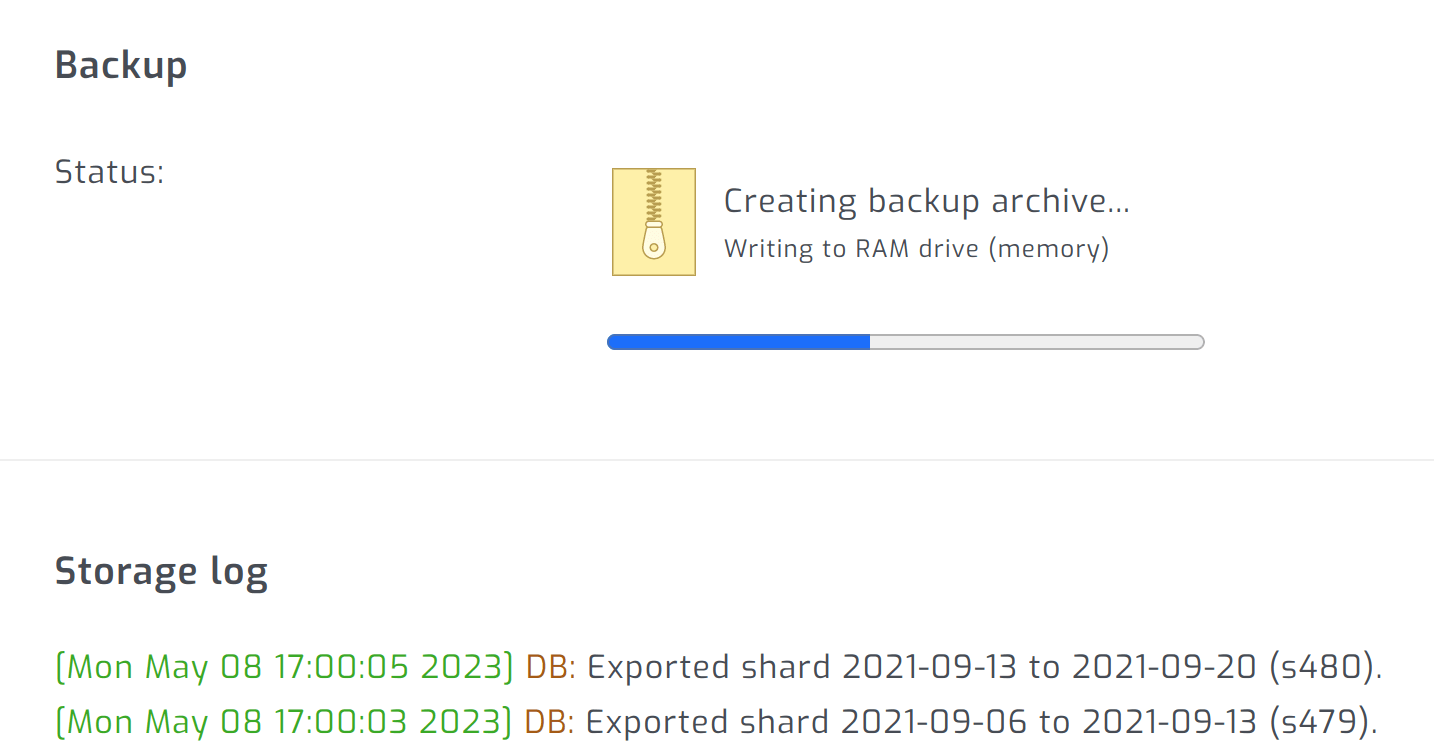
Wait until the backup completes.
![Backup process in progress](https://d26qlef5ak4prm.cloudfront.net/images/help/historic_data/backup-in-progress-b7075df80c52e328d8e1495c5e468d80.png?vsn=d)
Download the backup file.
![Download backup file](https://d26qlef5ak4prm.cloudfront.net/images/help/historic_data/download-backup-cbc8bf5c887dce18eb547174dc5300e4.png?vsn=d)
Import a backup file
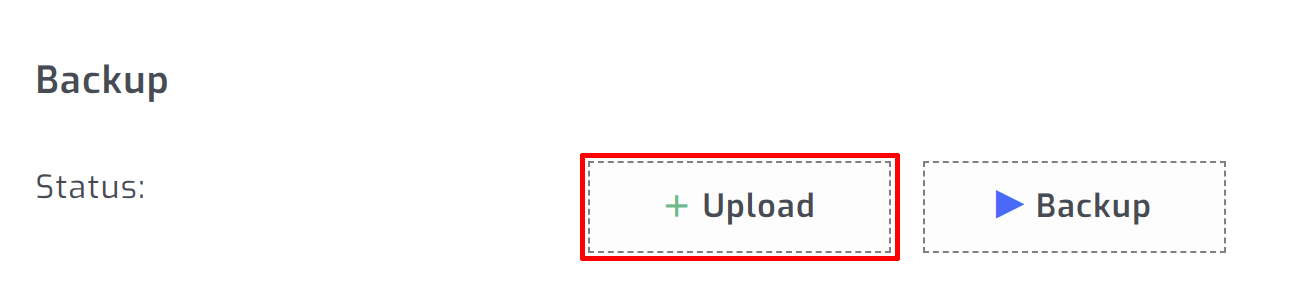
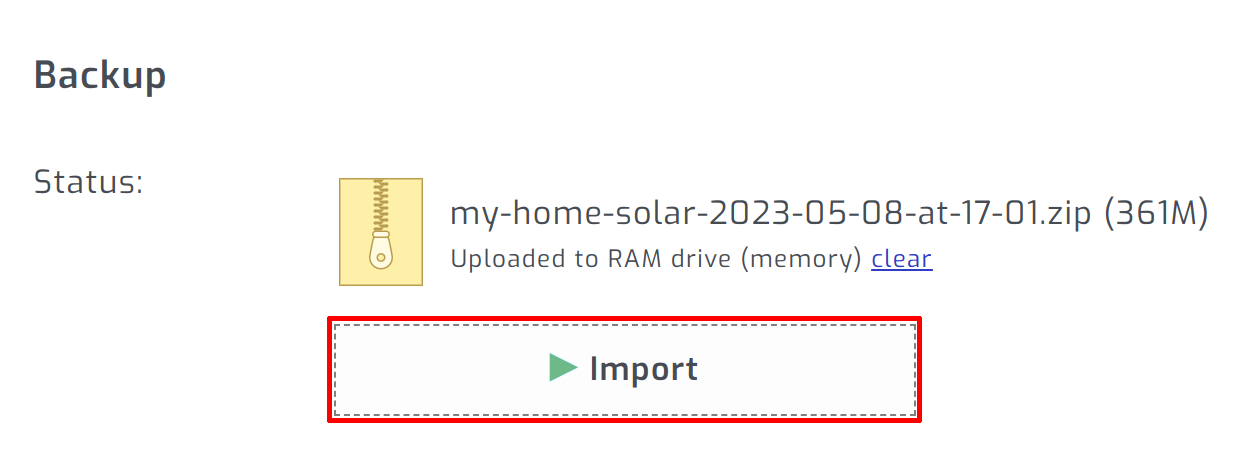
Upload the backup file exported using the steps above.
![Upload backup file](https://d26qlef5ak4prm.cloudfront.net/images/help/historic_data/upload-backup-b619f8078d92dd4072c32ab07fe7b7b1.png?vsn=d)
Once the upload completes, select "Import" to start the import process.
![Import backup file](https://d26qlef5ak4prm.cloudfront.net/images/help/historic_data/import-backup-9c39b29a9d35770b7b03c017772ad0d1.png?vsn=d)
Once the import completes, go to the "Totals" page to see if your data is showing up as expected.