Connecting a CFE battery
Introduction
SolarAssistant only supports reading a CFE battery via CAN. The most important metrics are there, while it doesn't have individual pack metrics. Please see our CAN bus page for examples of what you will see in SolarAssistant.
Step 1 - Prepare CAN bus monitoring cable
Crimp the SolarAssistant CAN bus USB cable into the included RJ45 plug. In this example we are going to use the following pinout:
| RJ45 Pin | CAN wire | Self crimp cable wire colour |
| Pin 3 | CAN Low | White |
| Pin 4 | CAN High | Green |
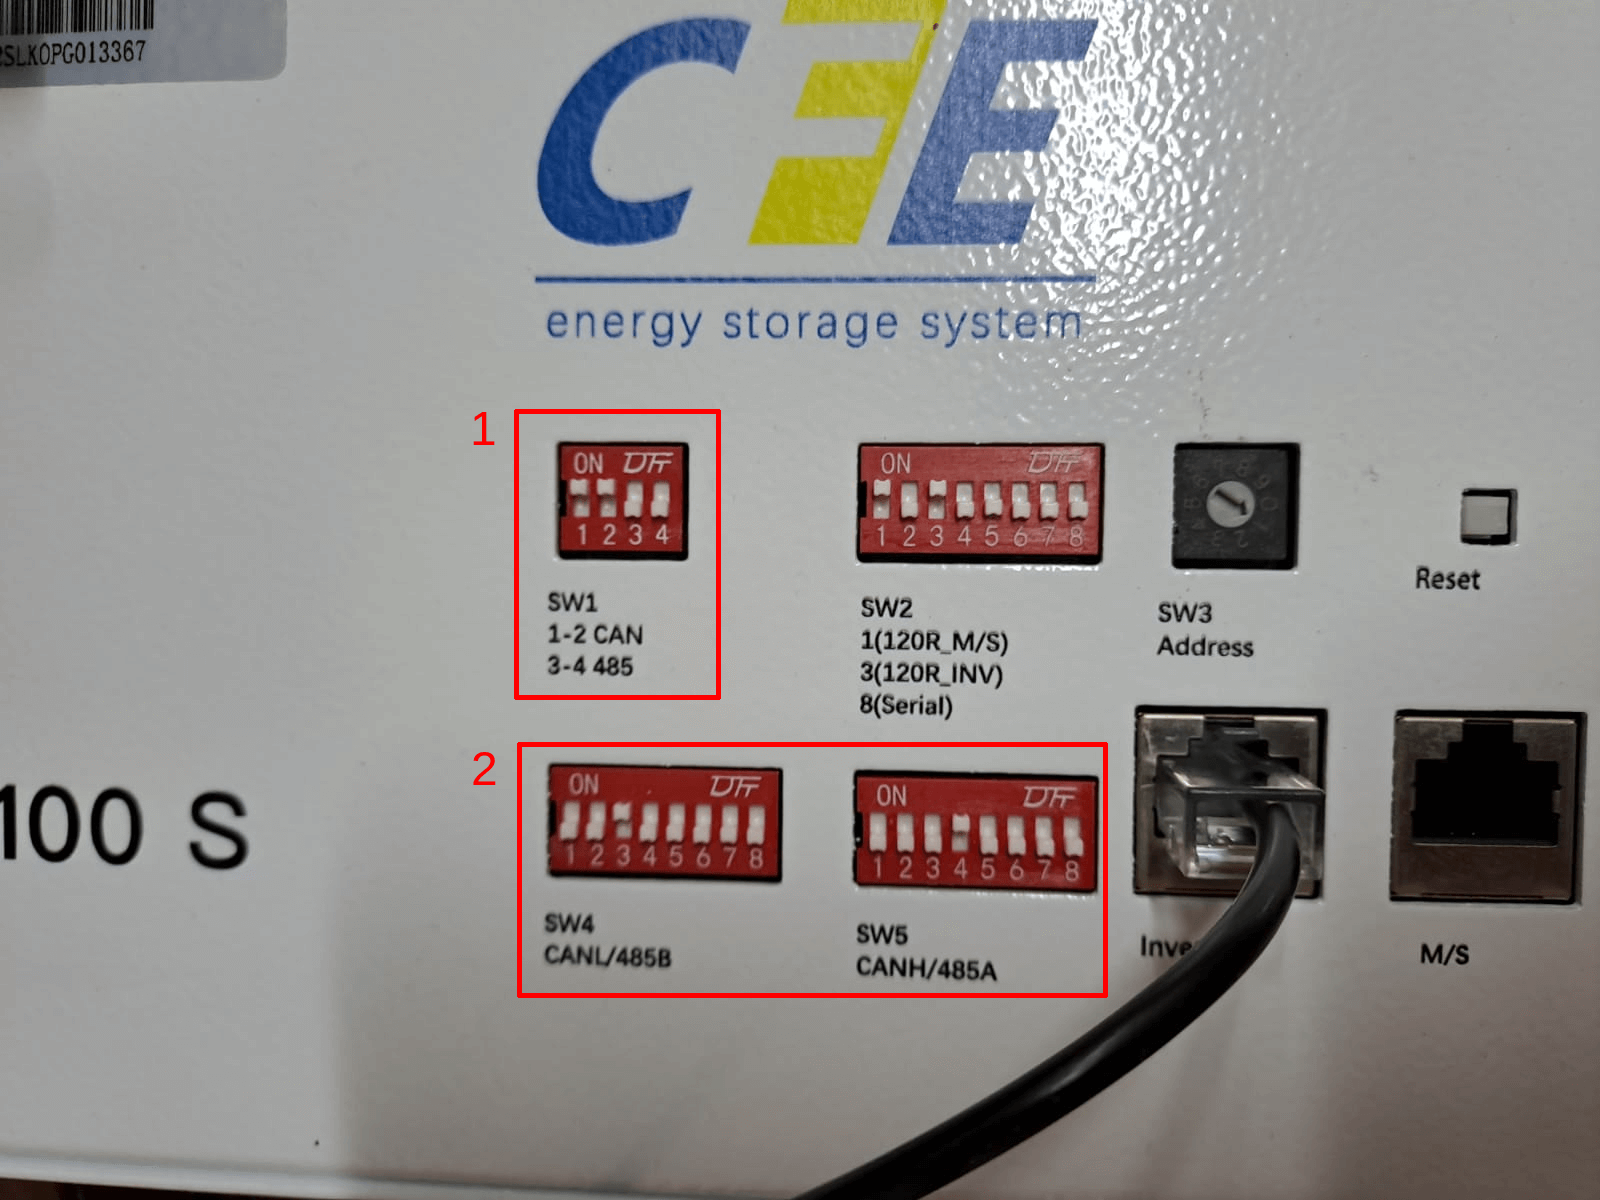
Step 2 - Set CFE battery dip switches
Set dip switch 1 (SW1) to enable CAN communication.
Set dip switch 4 (SW4) and dip switch 5 (SW5) to indicate our cable is crimped with pin 3 and 4 for CAN Low and CAN High.
See the CFE battery manual on how to set switch 2 and 3 according to the number of batteries that you have. Typically you will have them set as in the photo below.
The battery has to be restarted after dip switch changes.
Step 4 - Connect CAN bus cable
Plug the CAN usb cable created in step 1 above into the inverter port on the CFE battery as in the photo above.
Step 5 - Configure SolarAssistant to connect with CAN bus
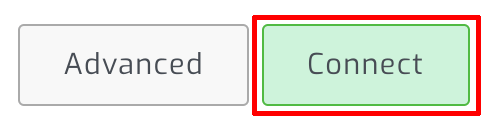
Select CAN bus in SolarAssistant.

Click "connect".