Starting device - No internet
Step 1 - Activate before going to site without internet
The device needs internet access in order to be activated. Once activated it can be used without internet and accessed via it's WiFi or LAN.
Before installing the device at the site that doesn't have internet, activate it by connecting it at a location that does have internet by following the LAN or WiFi guides.
Step 2 - Once on site, connect to the WiFi access point
Once at the site that doesn't have internet access. Connect the device to the solar inverter and turn it on. The device will start a WiFi access point. Use your laptop, tablet or mobile phone to connect to it:
SSID: SolarAssistant
Password: solar123
Step 3 - Open the device web page
Open the URL below:
NB: If you are using your mobile phone or tablet you will need to turn off your mobile data to ensure it is using WiFI instead of mobile data.
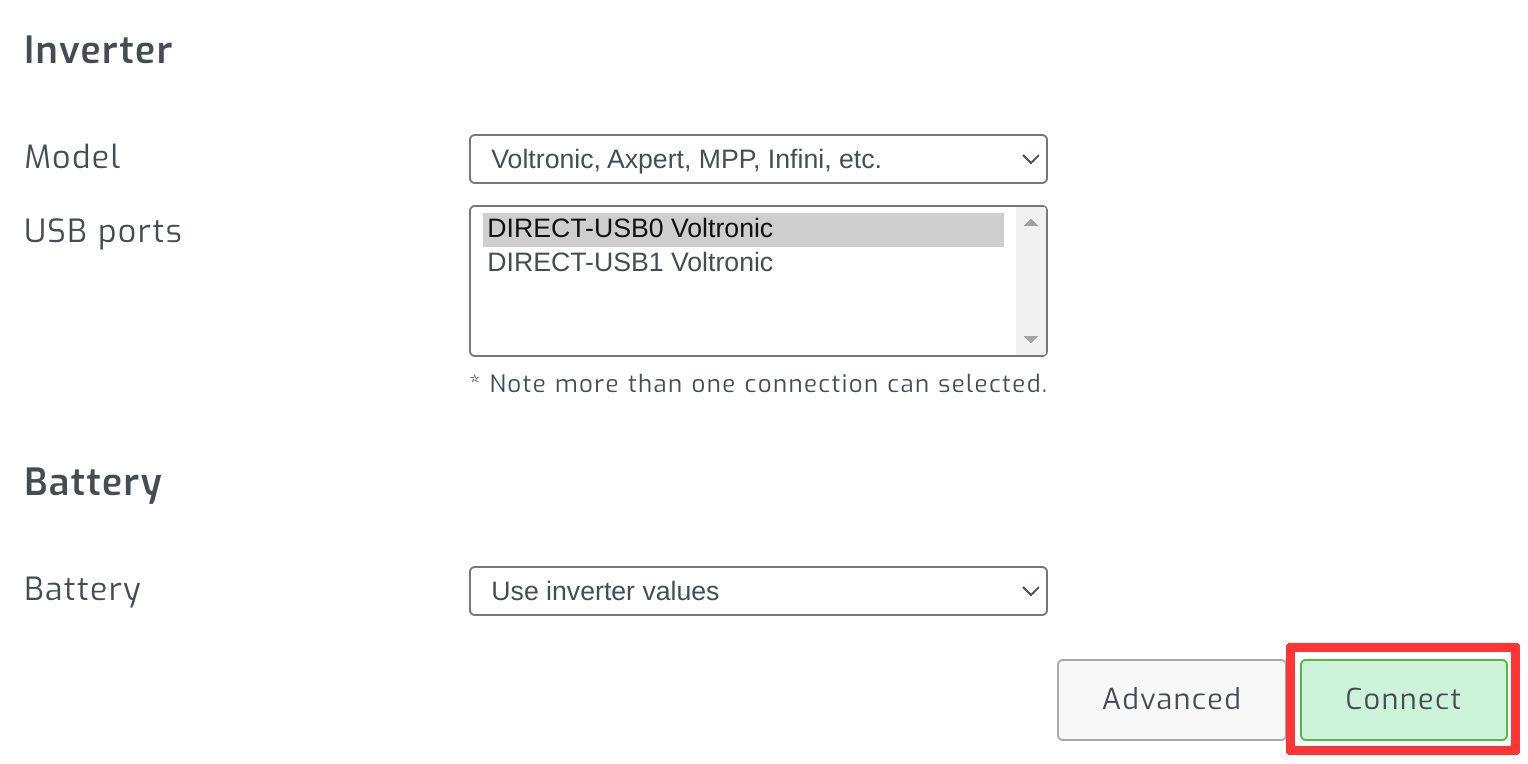
Step 3 - Start monitoring
Select your connected solar equipment and click connect. Please see our inverter and battery help guides if you need help selecting your solar equipment.