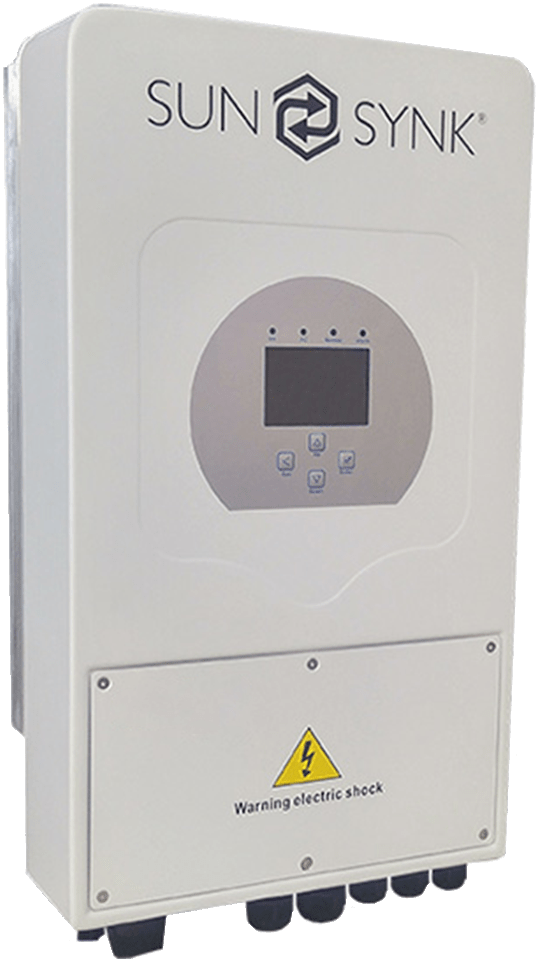
3.6/8/16kw SG01LP1 Single-Phase Hybrid
SunSynk
SYNK-3.6K-SG01LP1
SYNK-8K-SG01LP1
SYNK-16K-SG01LP1
SYNK-8K-SG01LP1
SYNK-16K-SG01LP1
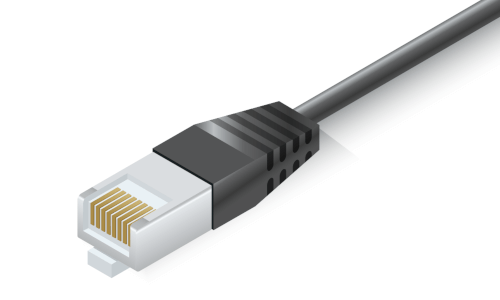
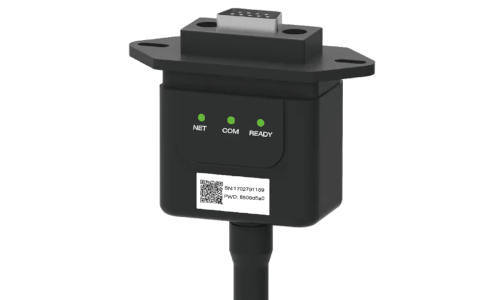
How to connect
There are multiple ways to connect this inverter to SolarAssistant. Choose only one option below. All
options provide the same metrics and control. Otherwise, unless you have an older unit/firmware, your inverter will
have to use a 2-in-1 BMS connection

Control and automation