Custom portal
Overview
You can customise the cloud portal your customers see to present it with your own brand and functionality. You enable a preview, check how it looks, publish it when you are happy, and then point your own domain at it. The functionality and look of the portal can be customised further with AI.
Prerequisites
The custom portal is an organization feature. If you do not have an organization set up yet, register an organization first.
Step 1 - Enable the preview
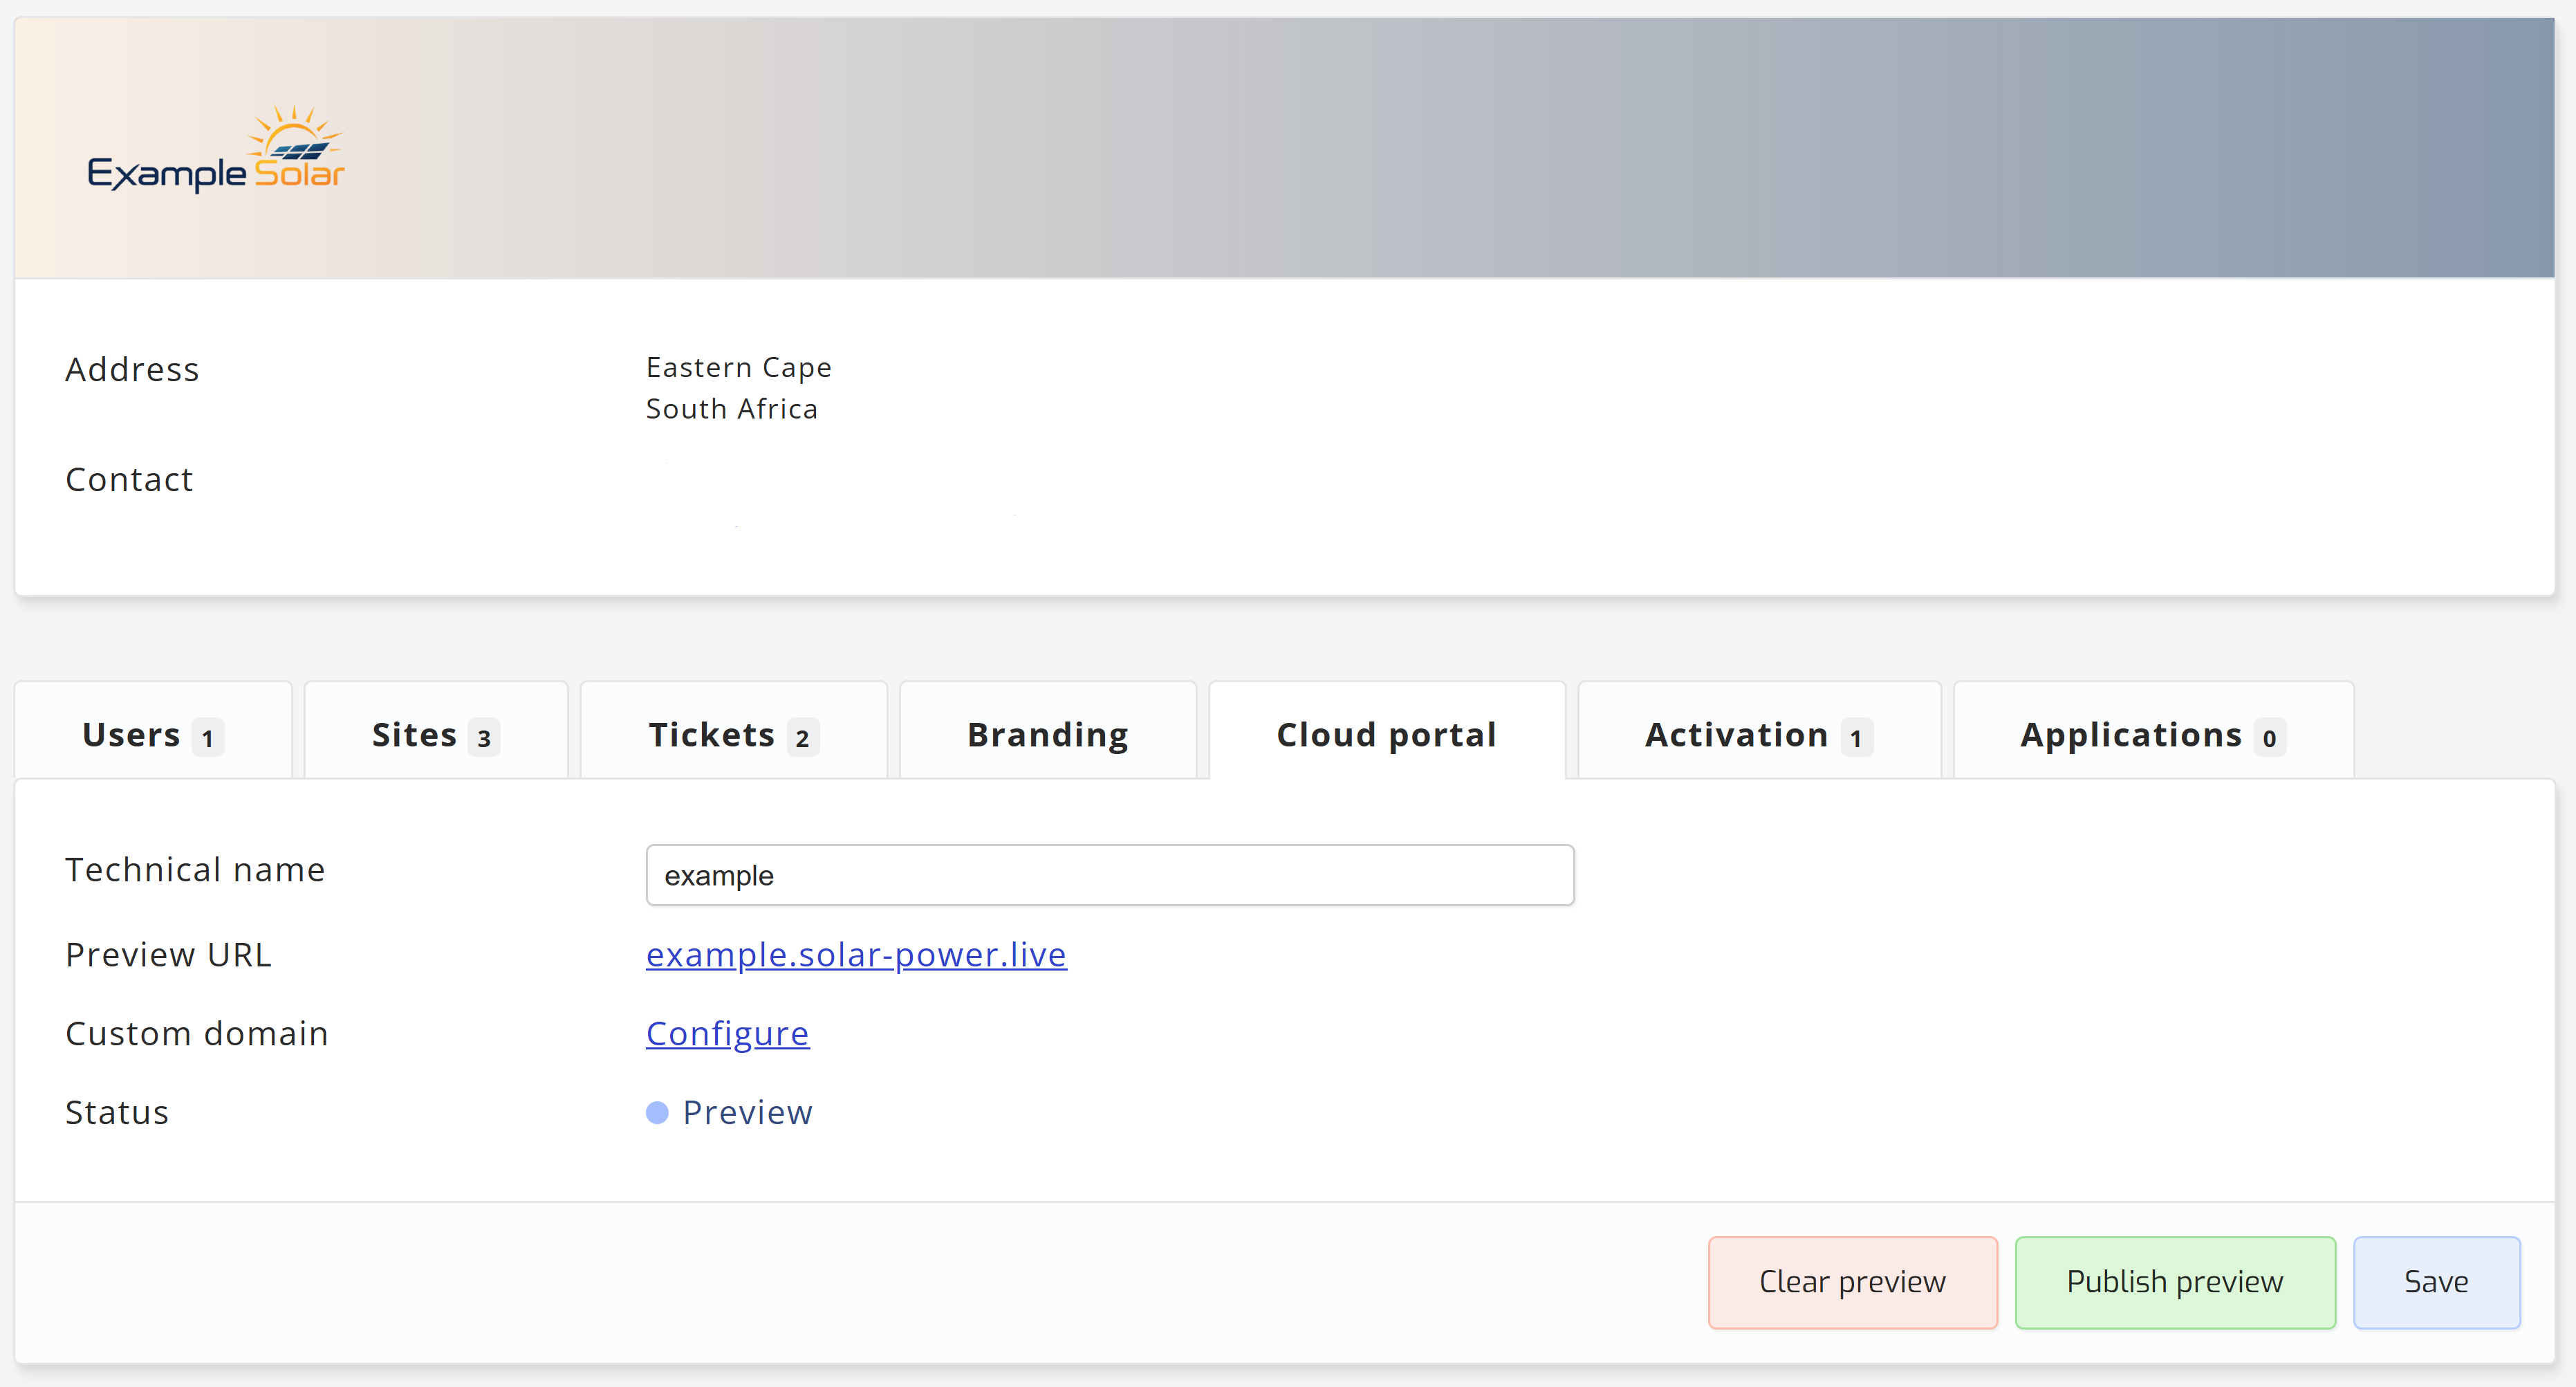
Open your account page and select your organization, then open the Cloud Portal tab. Enable the preview to generate a working copy of your portal that only you can see.
Step 2 - Review the preview
The preview shows exactly what your customers will see, using your branding and the details entered in the previous step. Work through it and confirm that your logo, colours and contact details are correct before you publish.
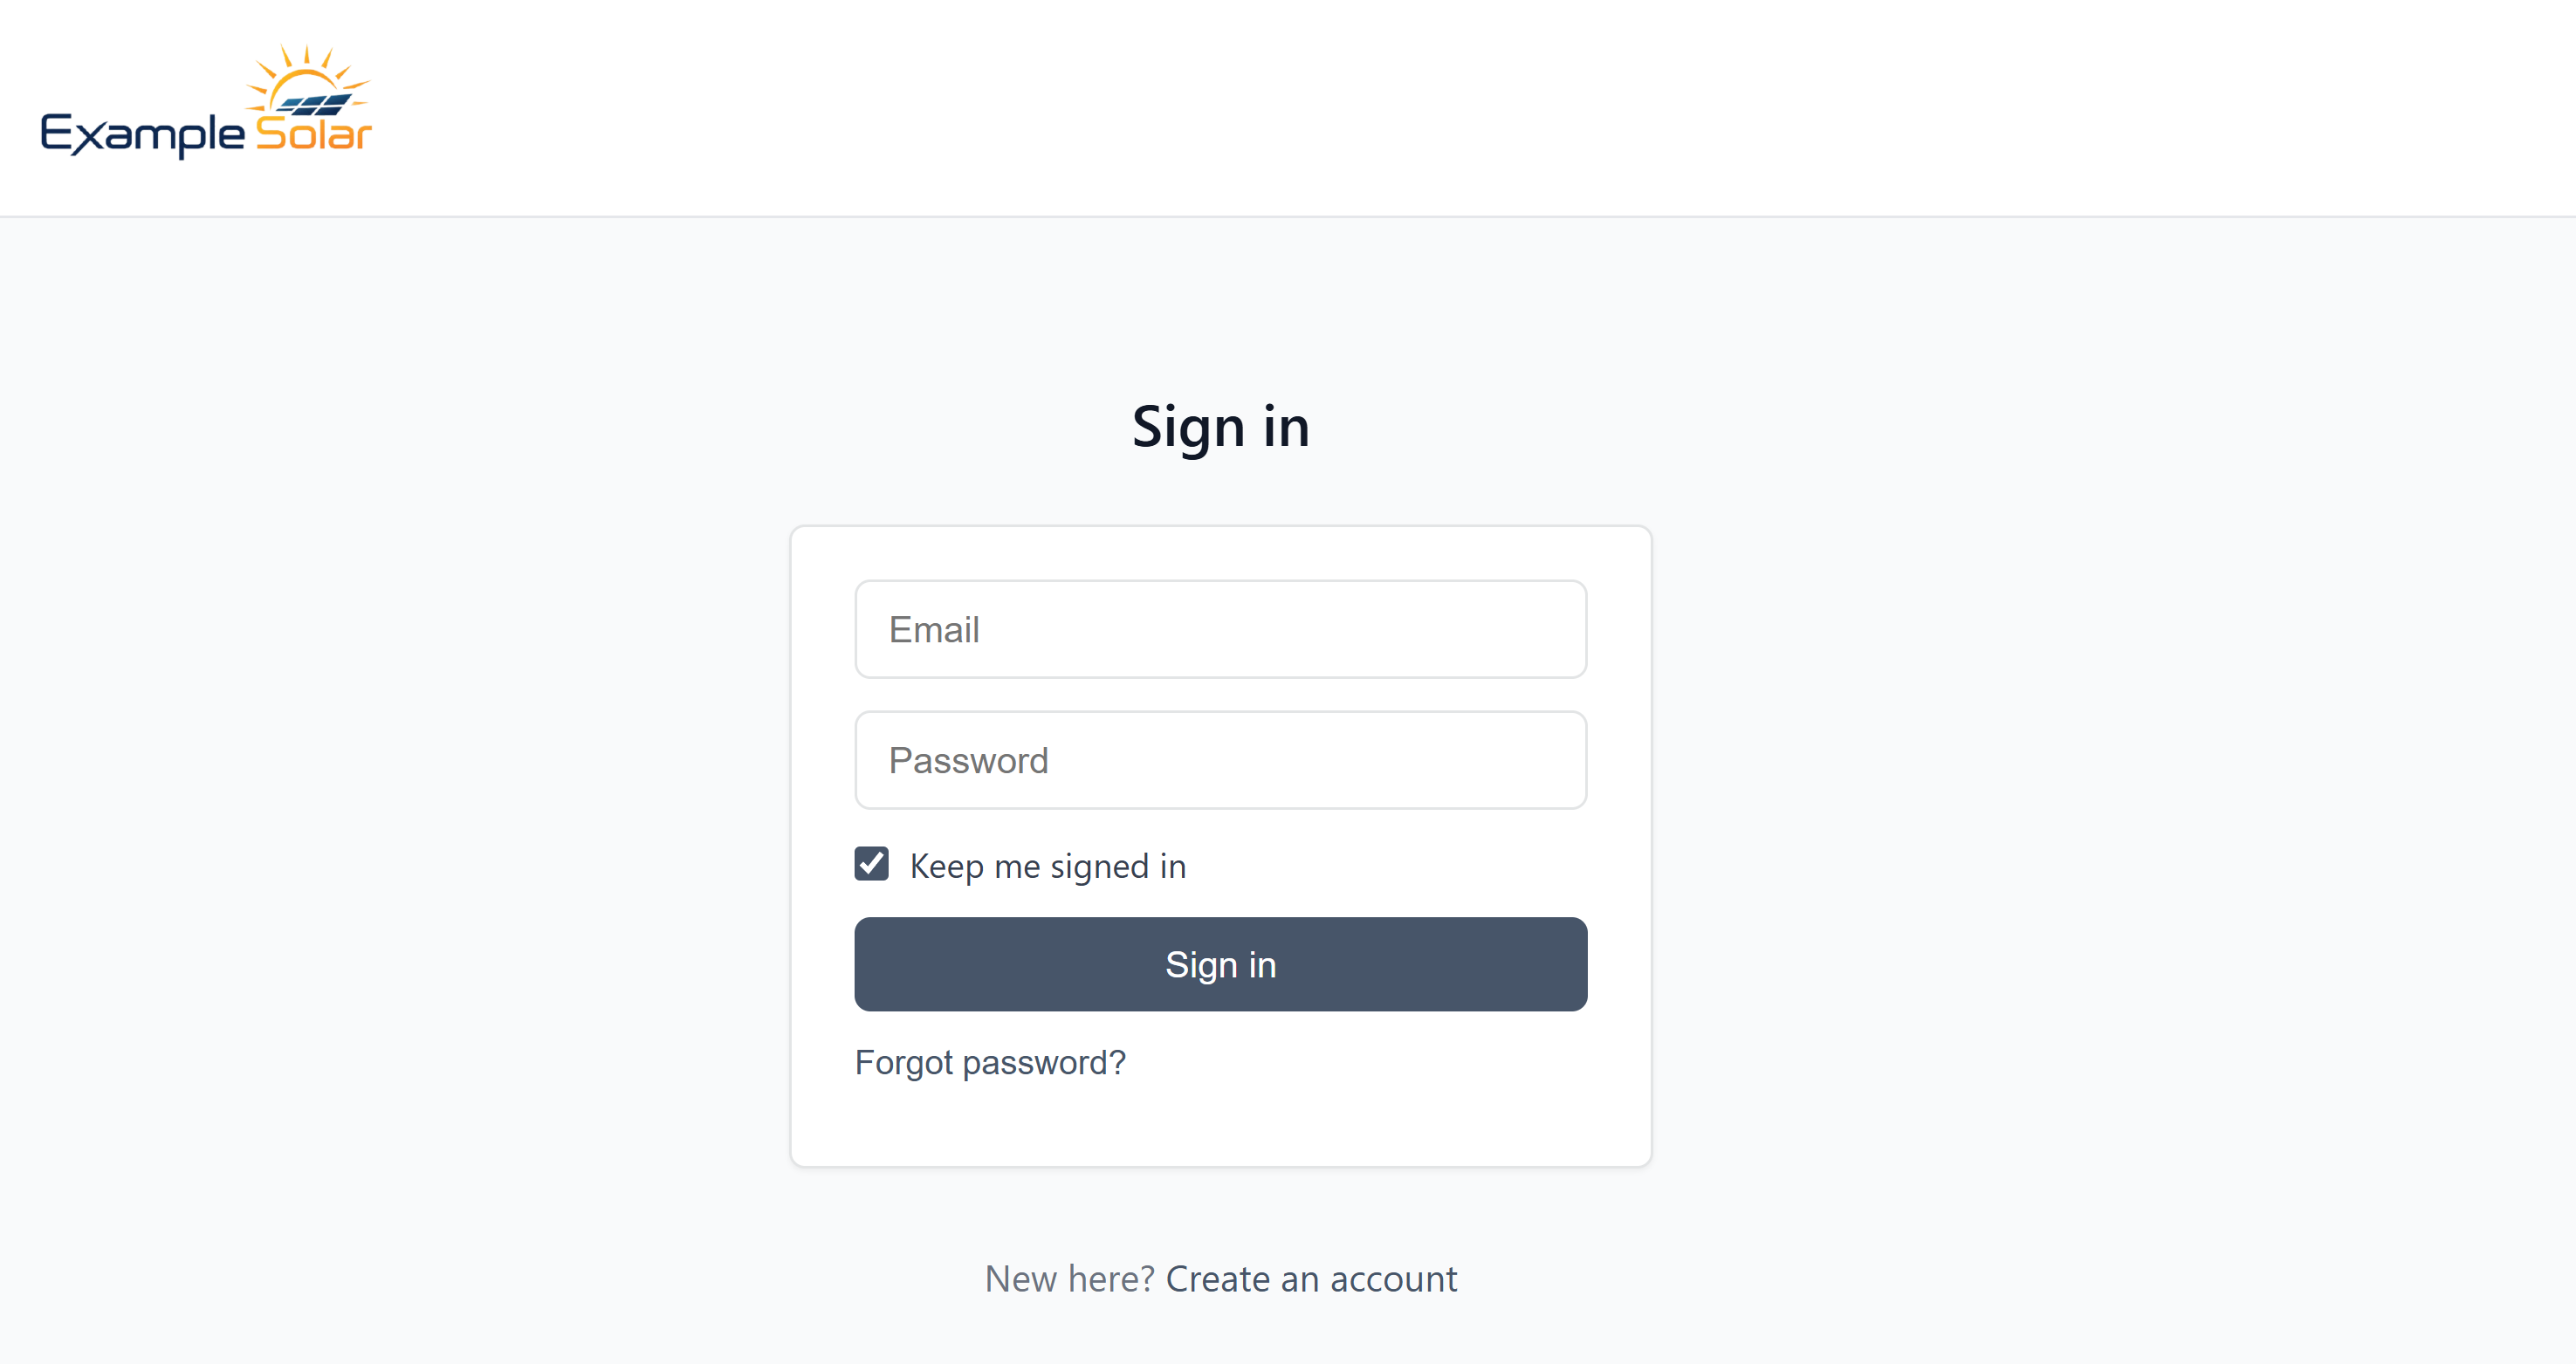
Please Note: The preview behaves differently in preview compared with the published portal. Additionally, you can set the colours etc to match your own branding via the "Branding" tab in your organisation.
Step 3 - Publish the portal
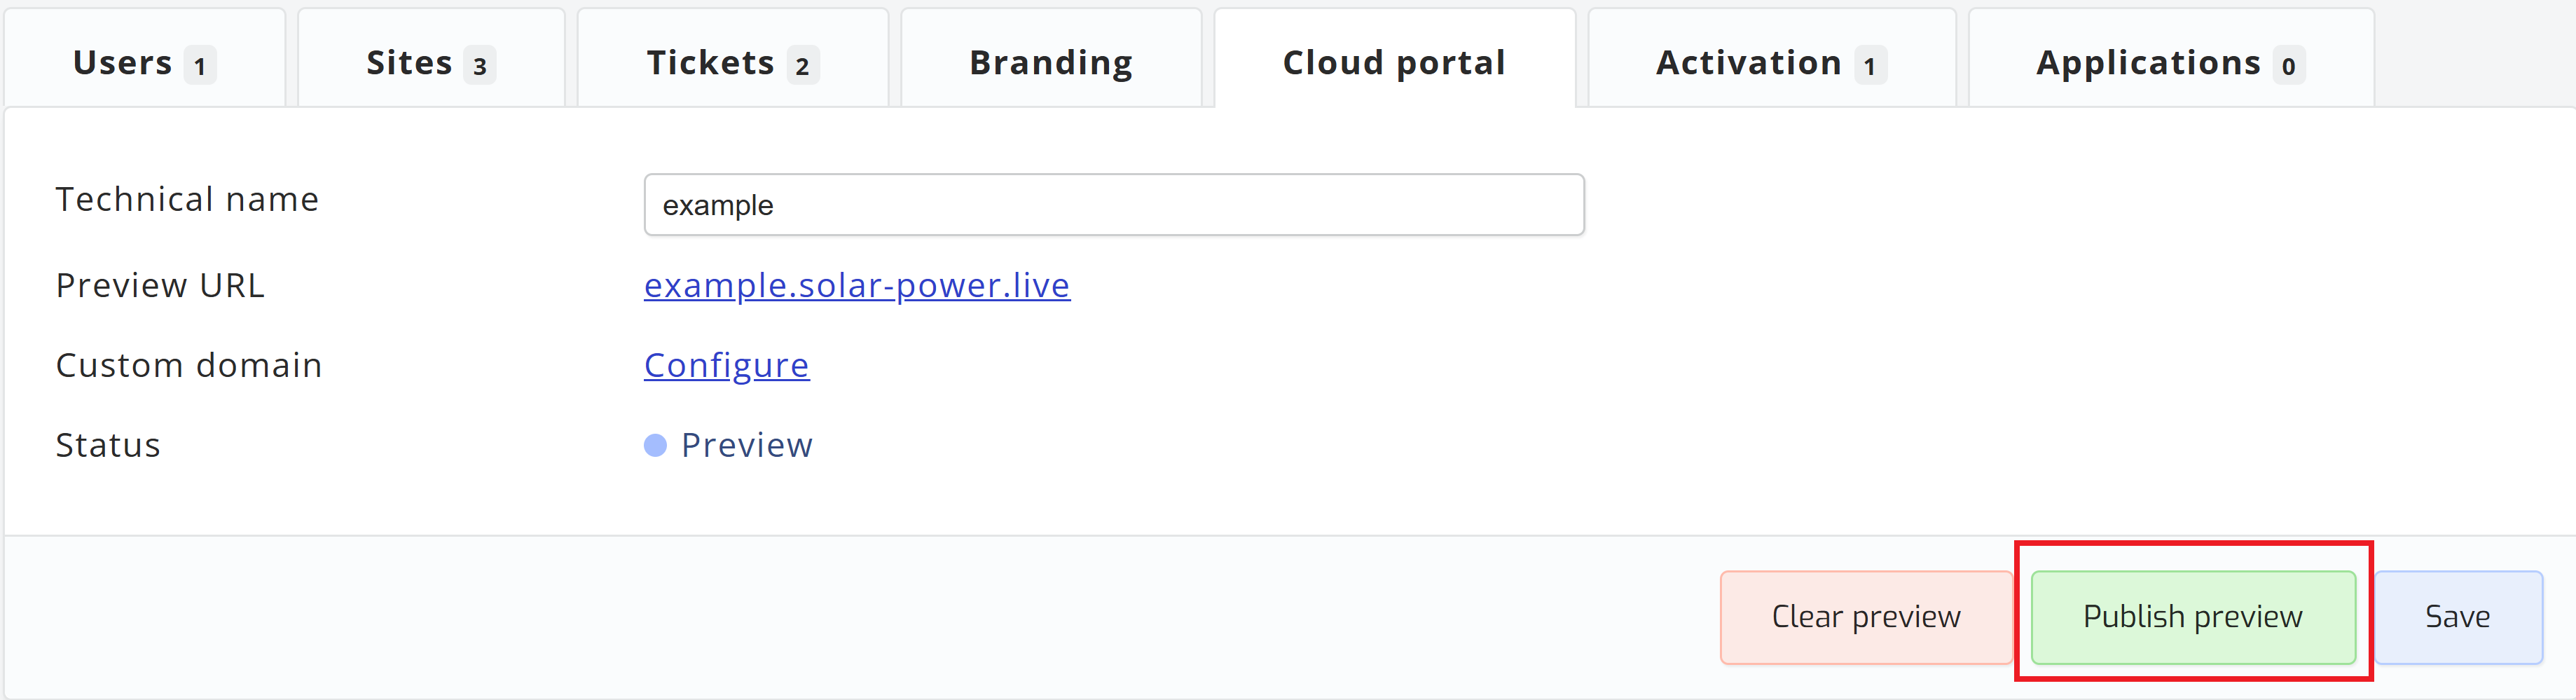
Once you are happy with the preview, publish it to make the portal live. Your portal remains available on its SolarAssistant address until you point your own domain at it in the next step.
Step 4 - Use a custom domain
You can serve the portal from your own domain, such as portal.yourcompany.com. Enter the domain you would like to use on the portal configuration page, then add the DNS record shown to your domain's DNS settings.
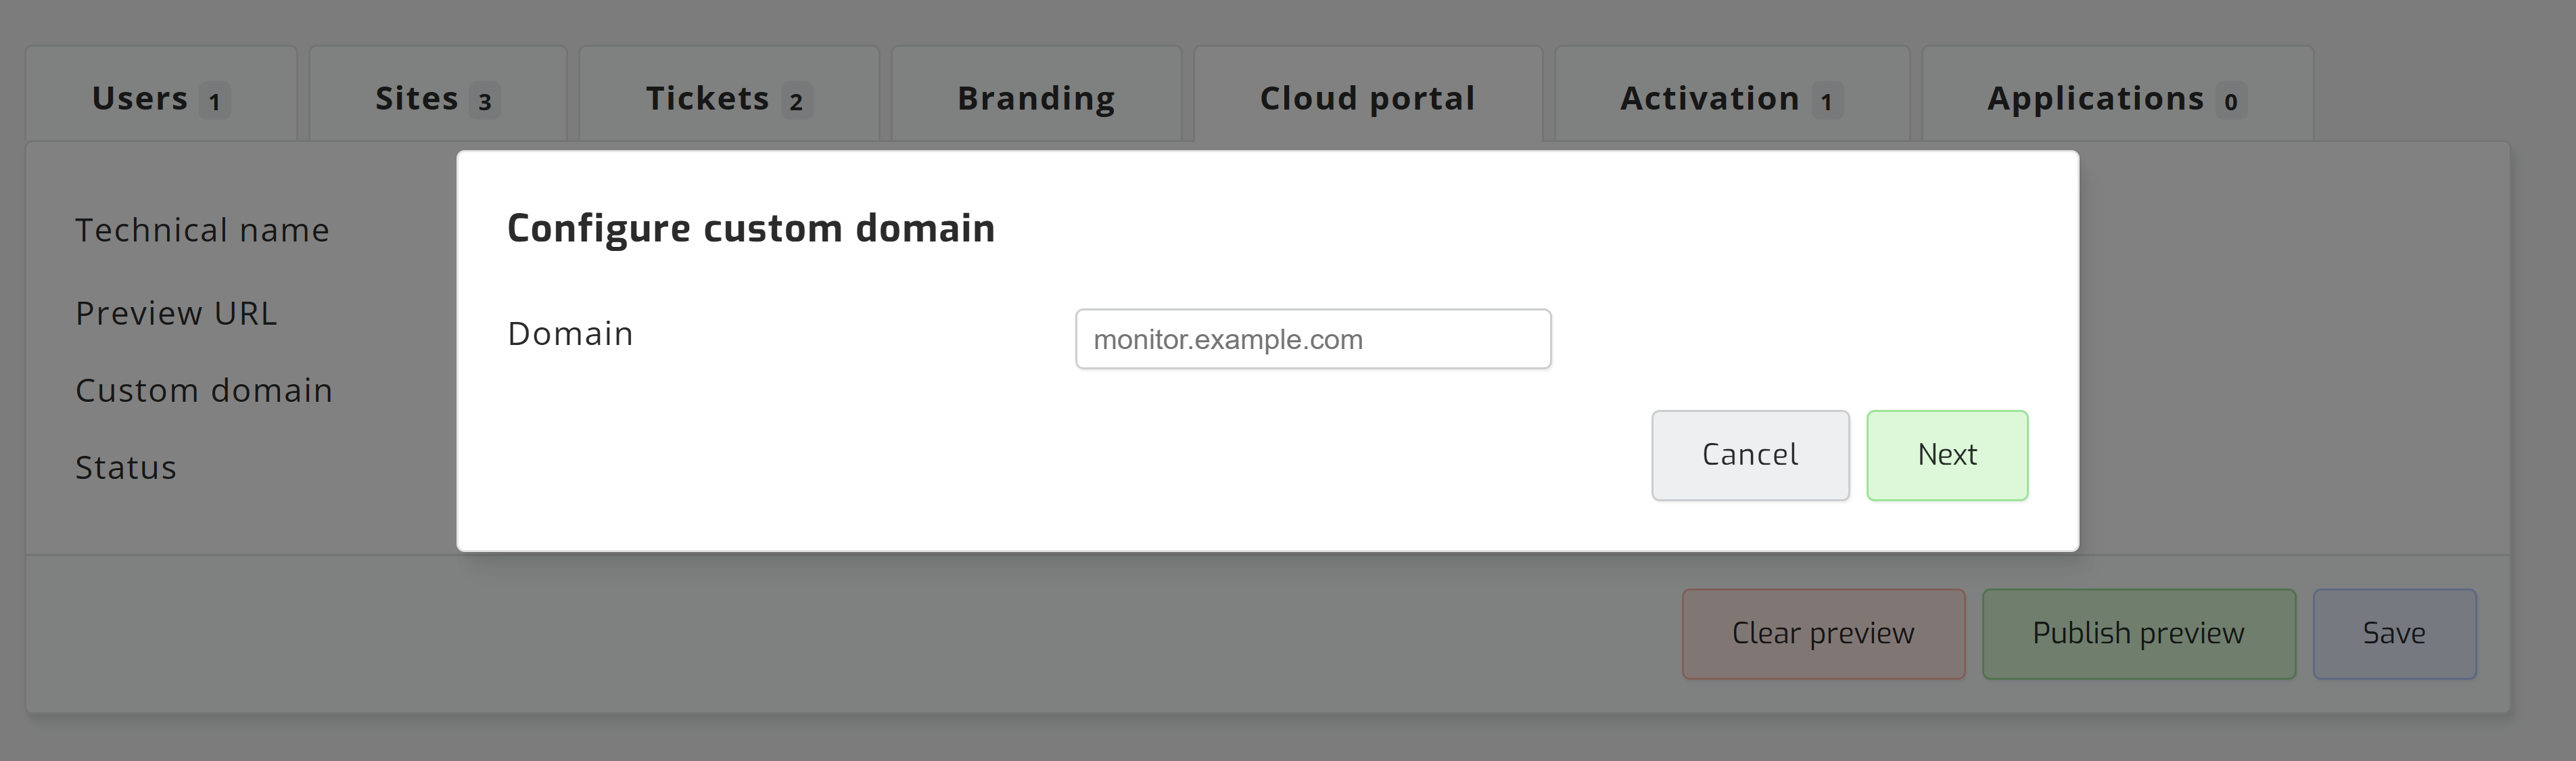
DNS changes are not always immediate and can take up to 48 hours to propagate. The portal will continue to work on its original address while you wait.
Step 5 - Customise functionality and look with AI
For control beyond the branding options above, you can change the portal itself. The portal is your own HTML, CSS and JavaScript, still hosted by SolarAssistant, which makes it well suited to an AI coding assistant such as Claude Code or OpenAI Codex. Describe what you want and let the assistant build it.
You are not limited to layout and styling. The SolarAssistant web integration kit provides web components and an API client, so your pages can run fully custom JavaScript against your sites and users. SolarAssistant sign-in is also Supabase compatible, so you can add functionality of your own by augmenting the portal with your own database, for example to keep service notes or warranty dates per customer.
Install sacli and point your assistant at the sacli portal guide. It sets up the portal template and uses the sacli portal subcommand to serve the portal from your own computer. The browser reloads whenever a file changes, so you see each change straight away.
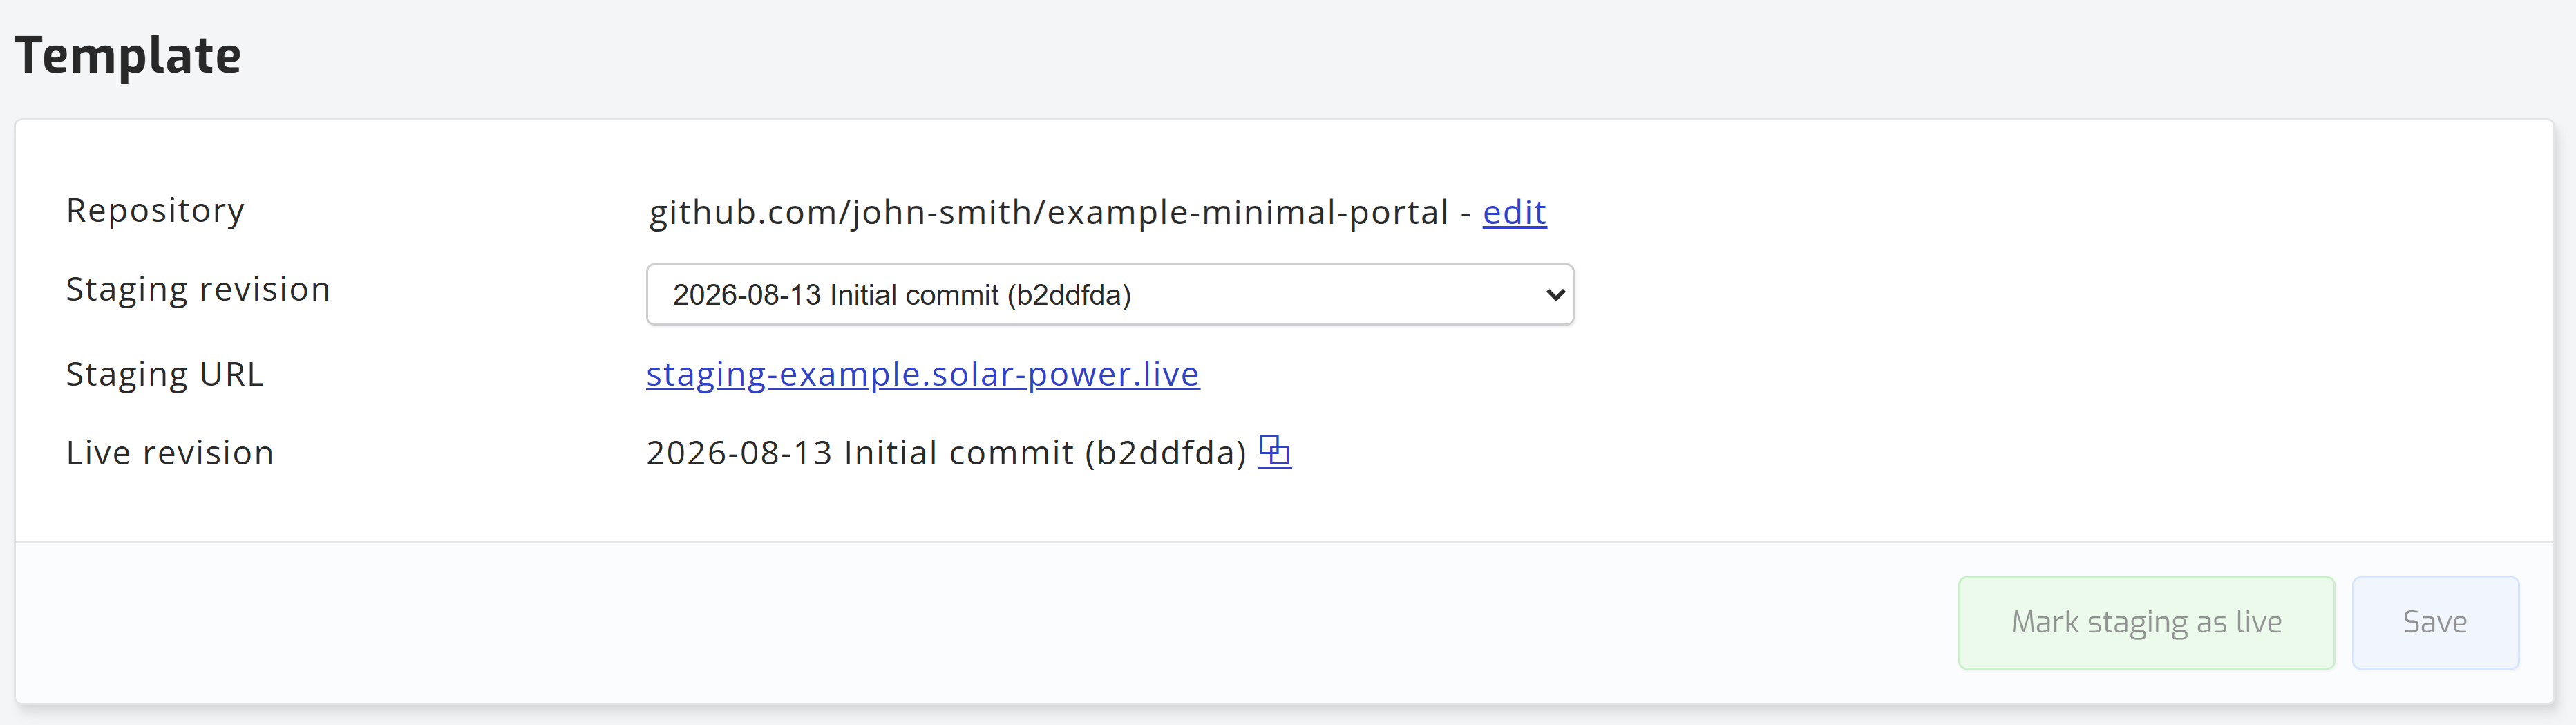
Once you are happy with the result, push it to your GitHub repository. Select the new revision as the Staging revision, check it on the staging URL, then click Mark staging as live.
Troubleshooting
If you run into any issues, please contact our support team.