Home Assistant - Official integration
Introduction
The official SolarAssistant integration for Home Assistant connects your SolarAssistant unit to Home Assistant and exposes your solar system as native entities. It is the recommended way to integrate with Home Assistant: it is easier to set up than the MQTT integration, works over your local network or the SolarAssistant cloud, and needs no separate MQTT broker.
This page covers installing and connecting the integration. For the full feature list, requirements and entity reference, follow the repository README.
Your SolarAssistant unit needs to be on version 2026-06-14 or later to support the integration. See our software updates guide if you need to update.
When a new integration release is available, follow the Updating section of the repository README for the steps to update it.
Recommended installation
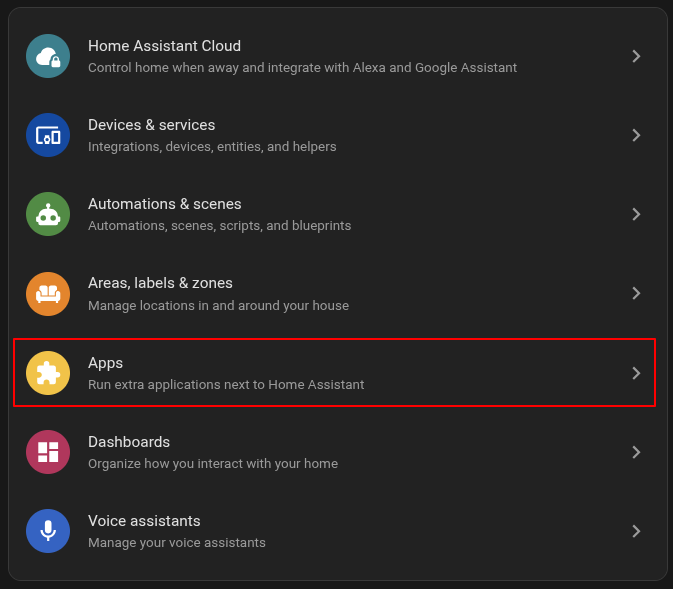
In Home Assistant, open Settings and select Apps.
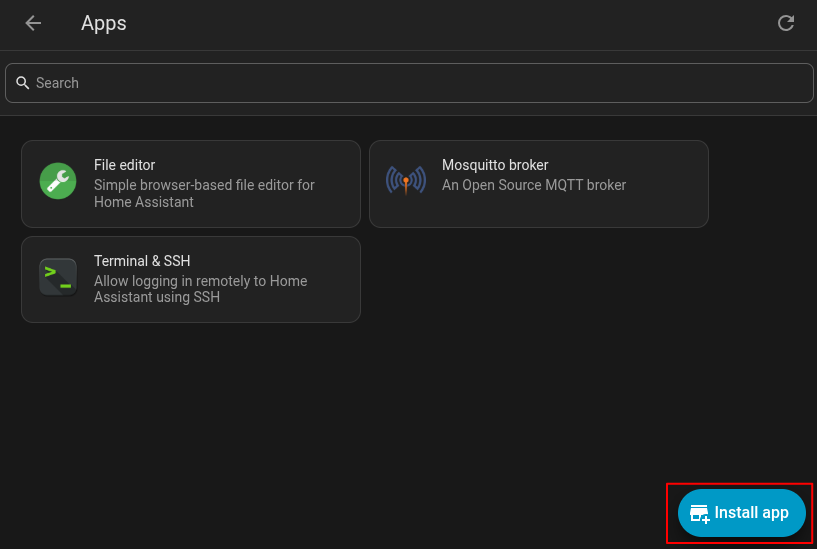
Click Install app.
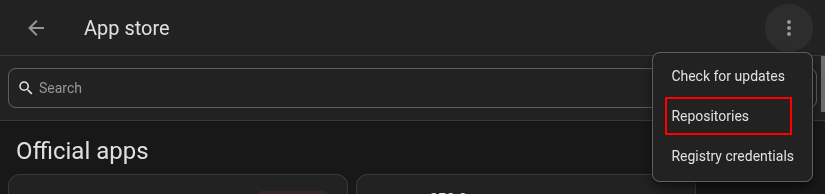
Open the menu in the top right corner and select Repositories.
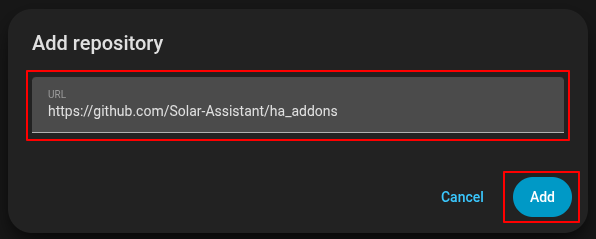
Click Add.
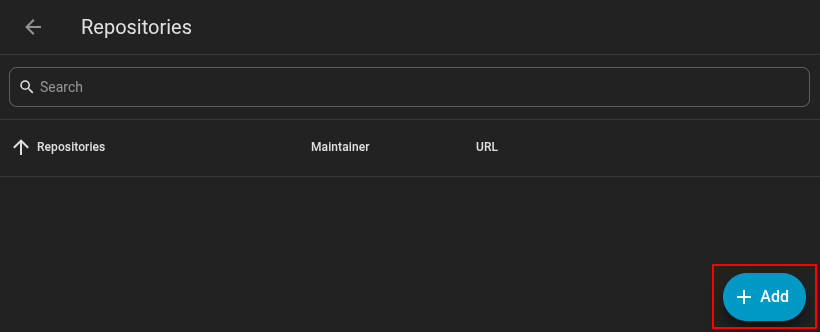
Enter https://github.com/Solar-Assistant/ha_addons as the URL and click Add.
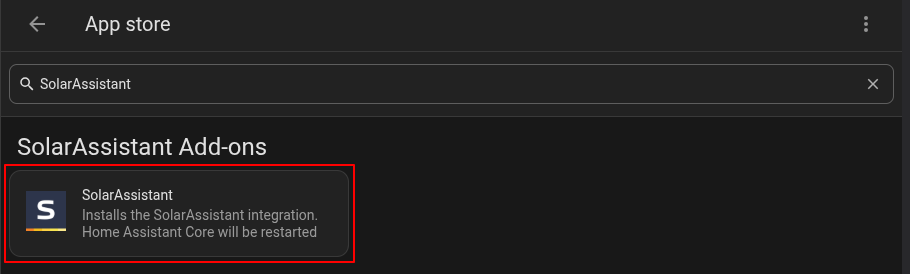
Search for SolarAssistant in the app store and select the add-on.
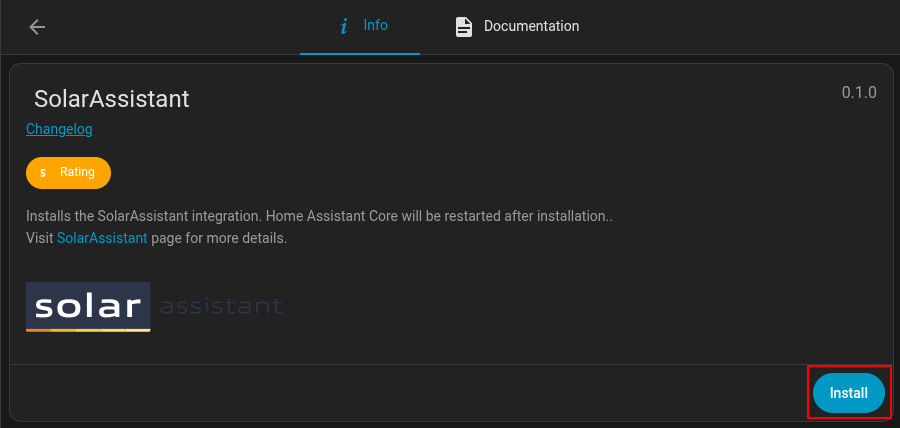
Click Install.
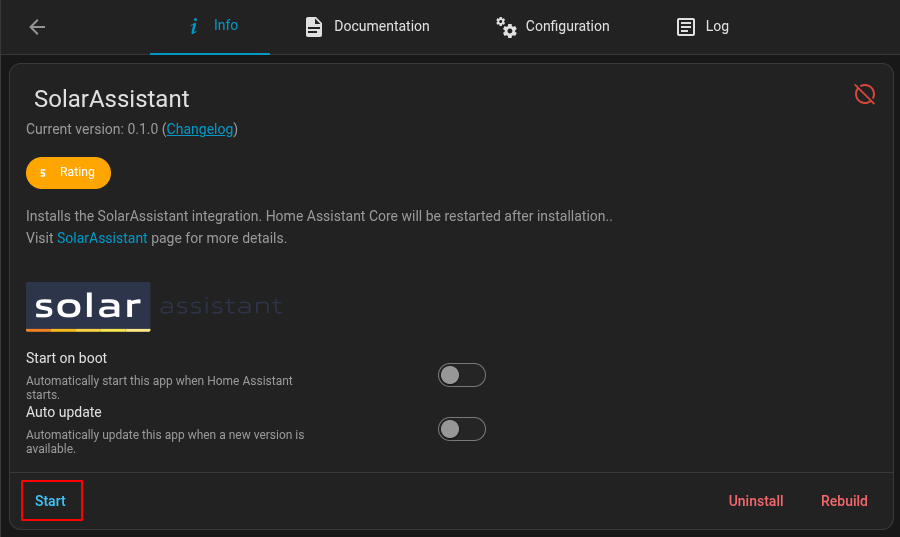
Once installed, click Start. Home Assistant restarts automatically and the integration is ready to add.
Add the integration
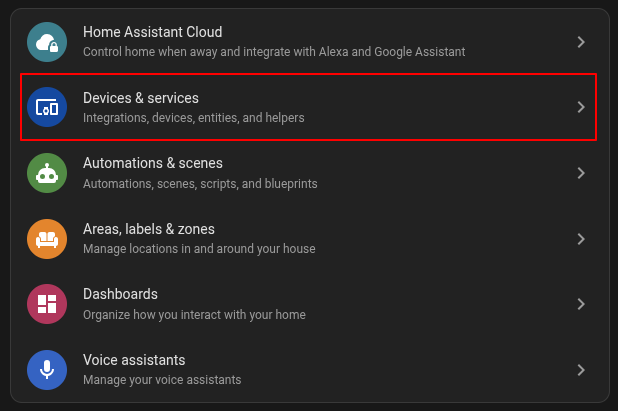
In Home Assistant, open Settings and select Devices & services.
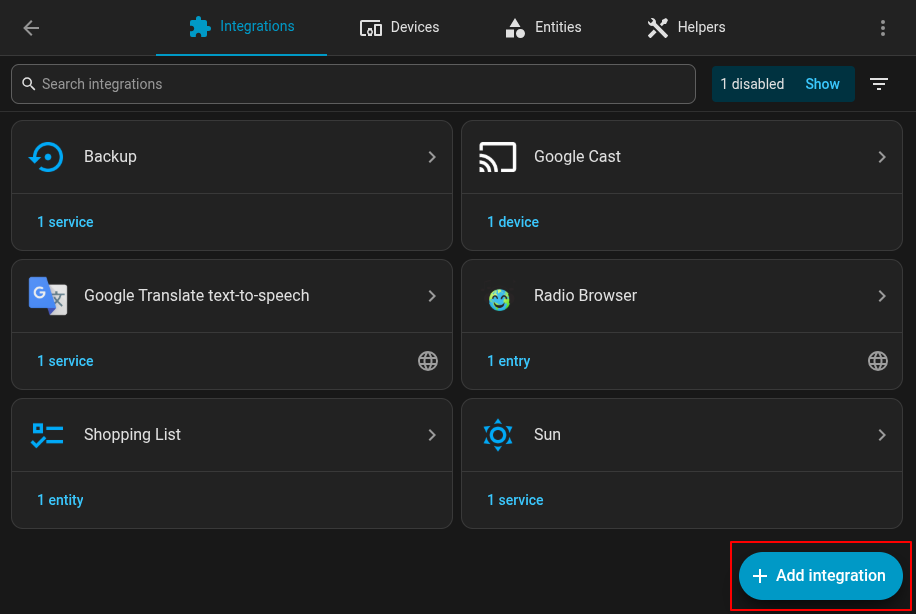
Click Add integration.
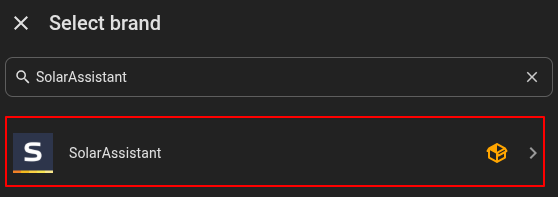
Search for and select SolarAssistant.
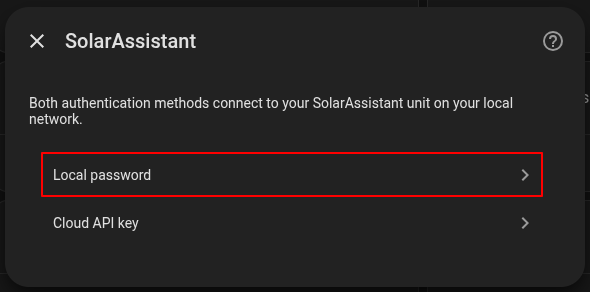
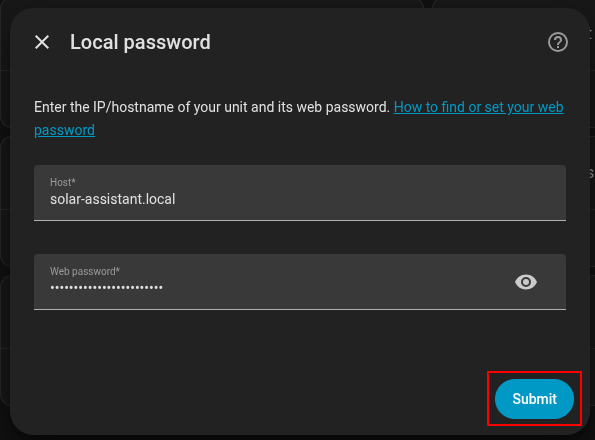
Choose how to connect. This guide uses Local password, which connects directly to your unit on the local network. Cloud API key can also be used; see the README for that option.
Enter your unit's Host (its IP address or hostname, such as solar-assistant.local)
and your Web password, then click Submit.
Give the device a name and optionally assign it to an area, then click Finish.
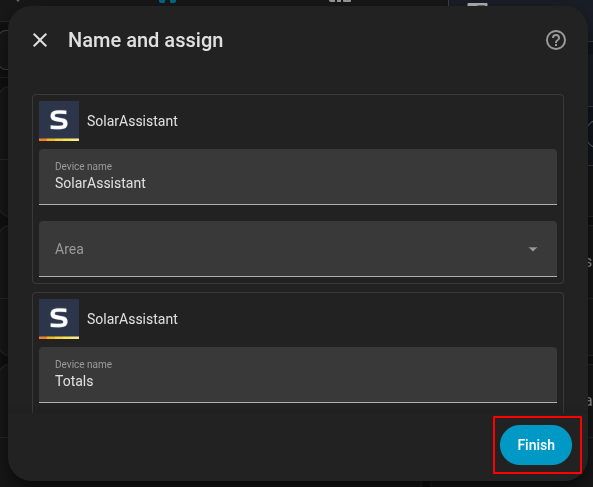
The SolarAssistant device and its entities are now available in Home Assistant. You can add them to your dashboards or adjust solar settings from Home Assistant.
Choosing which metrics appear
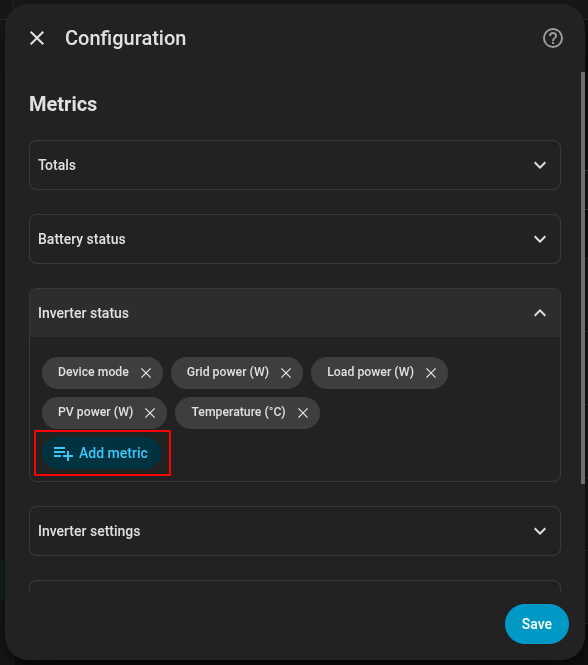
By default the integration enables a curated set of the most useful live metrics, not every metric your system reports. If a metric you want is missing, you can enable it from the integration's configuration.
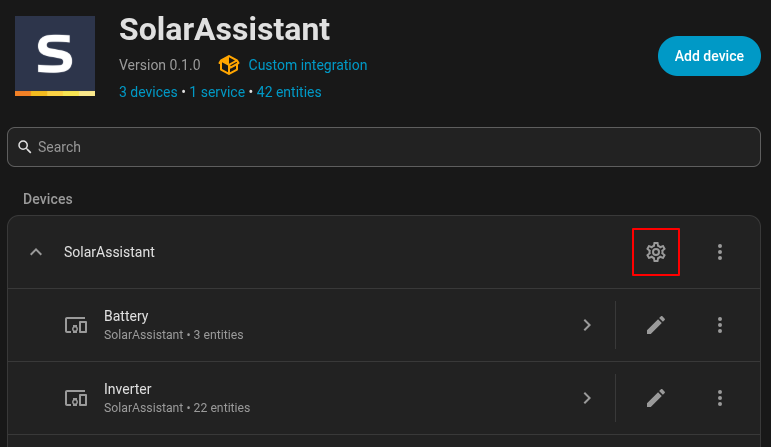
Go to Settings › Devices & services › SolarAssistant and click the configure (gear) icon.
Expand a group, then use Add metric to enable more metrics, or the × next to a metric to remove it. Click Save when you are done.
Energy dashboard
The integration exposes energy totals (grid in and out, battery in and out, PV, and load) as
kWh sensors, so you can drive the Home Assistant
Energy Dashboard directly from the
official integration. These sensors are enabled by default. See the
energy dashboard guide to set it up.
The energy dashboard needs your SolarAssistant unit on version 2026-07-02 or later.