Automation - Send notification
Send notification automations email you when one or more conditions are met. Conditions can combine any metric Solar Assistant tracks - battery state of charge, PV power, grid power, inverter mode, temperatures, time of day, Eskom load shedding, European grid pricing, and more.
Notifications are delivered from the SolarAssistant cloud to the email address on your user details page. Anyone with cloud access to the site can subscribe or unsubscribe from each automation individually.
Step 1 - Enable notifications
Notifications require the SolarAssistant cloud. Open the system settings on your device, scroll to Cloud Services, and enable Notifications. If notifications are off, the automation page shows a banner linking to the setting.
Step 2 - Navigate to power management
Open the power management section of your device by selecting the tab as displayed in the screenshot below.

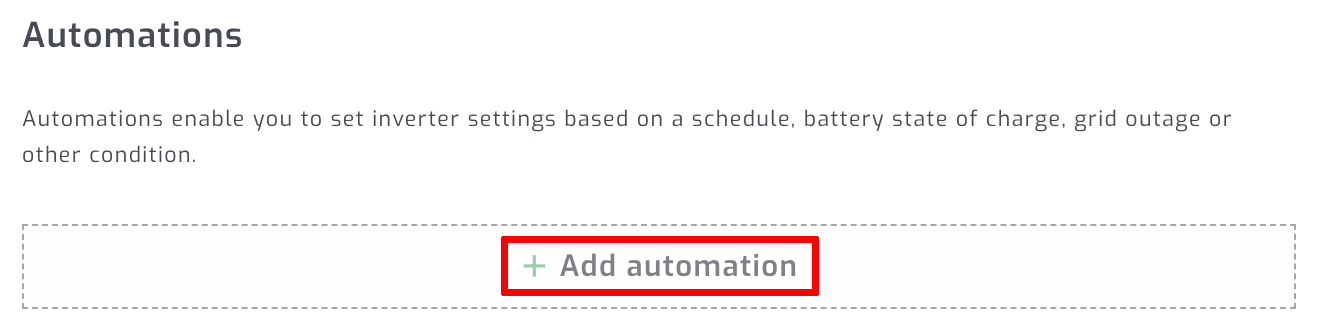
Step 3 - Create new automation
Scroll down to automation and select "Add automation".
Step 4 - Select "Send notification" and conditions
Select Send notification as the type of automation. Pick the condition the notification should be based on - for example "Battery state of charge". You can optionally pick a second condition to combine two metrics in one automation. Select "Next" to continue to the condition editor.
Step 5 - Set the message and condition values
Enter a short message. This text is the subject line of the email you receive, so make it something you'll recognise at a glance (for example "Battery is low").
Fill in the condition table. Each row defines a value range for the chosen condition. The notification triggers while any "Notify" row is active and ends when the condition leaves that row. Leave a row blank to skip notifying for that range.
Save the automation when done.
Step 6 - Subscribers
You are automatically subscribed to any notification automation you create. Each user can subscribe or unsubscribe themselves by clicking the bell icon on the automation - a filled bell means subscribed, a crossed bell means not.
To add more recipients, share access to the site from your SolarAssistant cloud account. Each invited user can then open the device and subscribe themselves via the bell icon.
Example 1 - Low battery alert
Email when the battery drops below 20%. Pick "Battery state of charge" as the condition, set the message to "Battery is low", and configure the table to notify for the 0% - 20% range.
You'll receive one email when the battery first crosses 20% and a second email when it recovers above 20%, so you can see both when the issue started and when it cleared.
Example 2 - Grid outage during load shedding
Combine two conditions to notify only when grid power is lost and Eskom load shedding is not scheduled. Pick "Grid power" and "Eskom load shedding" as the two conditions, then configure the table to notify only for the row where grid power is 0 W and load shedding is "None".
Example 3 - Inverter over-temperature
Pick "Inverter temperature" as the condition, set the message to "Inverter is hot", and configure the table to notify above a temperature threshold appropriate for your inverter (consult your inverter manual for the safe operating range).
Tips and troubleshooting
Notifications are deduplicated by condition - you'll get one email when a condition starts and one when it ends, not a steady stream while it remains active. To avoid noisy alerts, choose condition ranges that have meaningful hysteresis (for example "below 20%" rather than "below 80%").
If you stop receiving emails, check that Notifications is still enabled under Cloud Services, that you are subscribed via the bell icon, and that your email address on the user details page is correct.