Preparing devices in Bulk
Overview
This guide is for bulk activation of supported Raspberry or Orange PI and would like to load SolarAssistant on it at the same time. We have a system in place that would let you load a single image onto multiple SD cards. That image will automatically allocate a license to the device when it boots up. Making the preperation and activation of multiple devices easier and faster.
Please note: You will need to have a single site running and activated before we can create a custom image for your organization.
Step 1 - Familiarize yourself with the standard flashing procedure
First, we could recommend familiarizing yourself with the preparing device process. As mentioned, you will need to flash a device and set it up before you can get a custom image.
Step 2 - Activation Profile
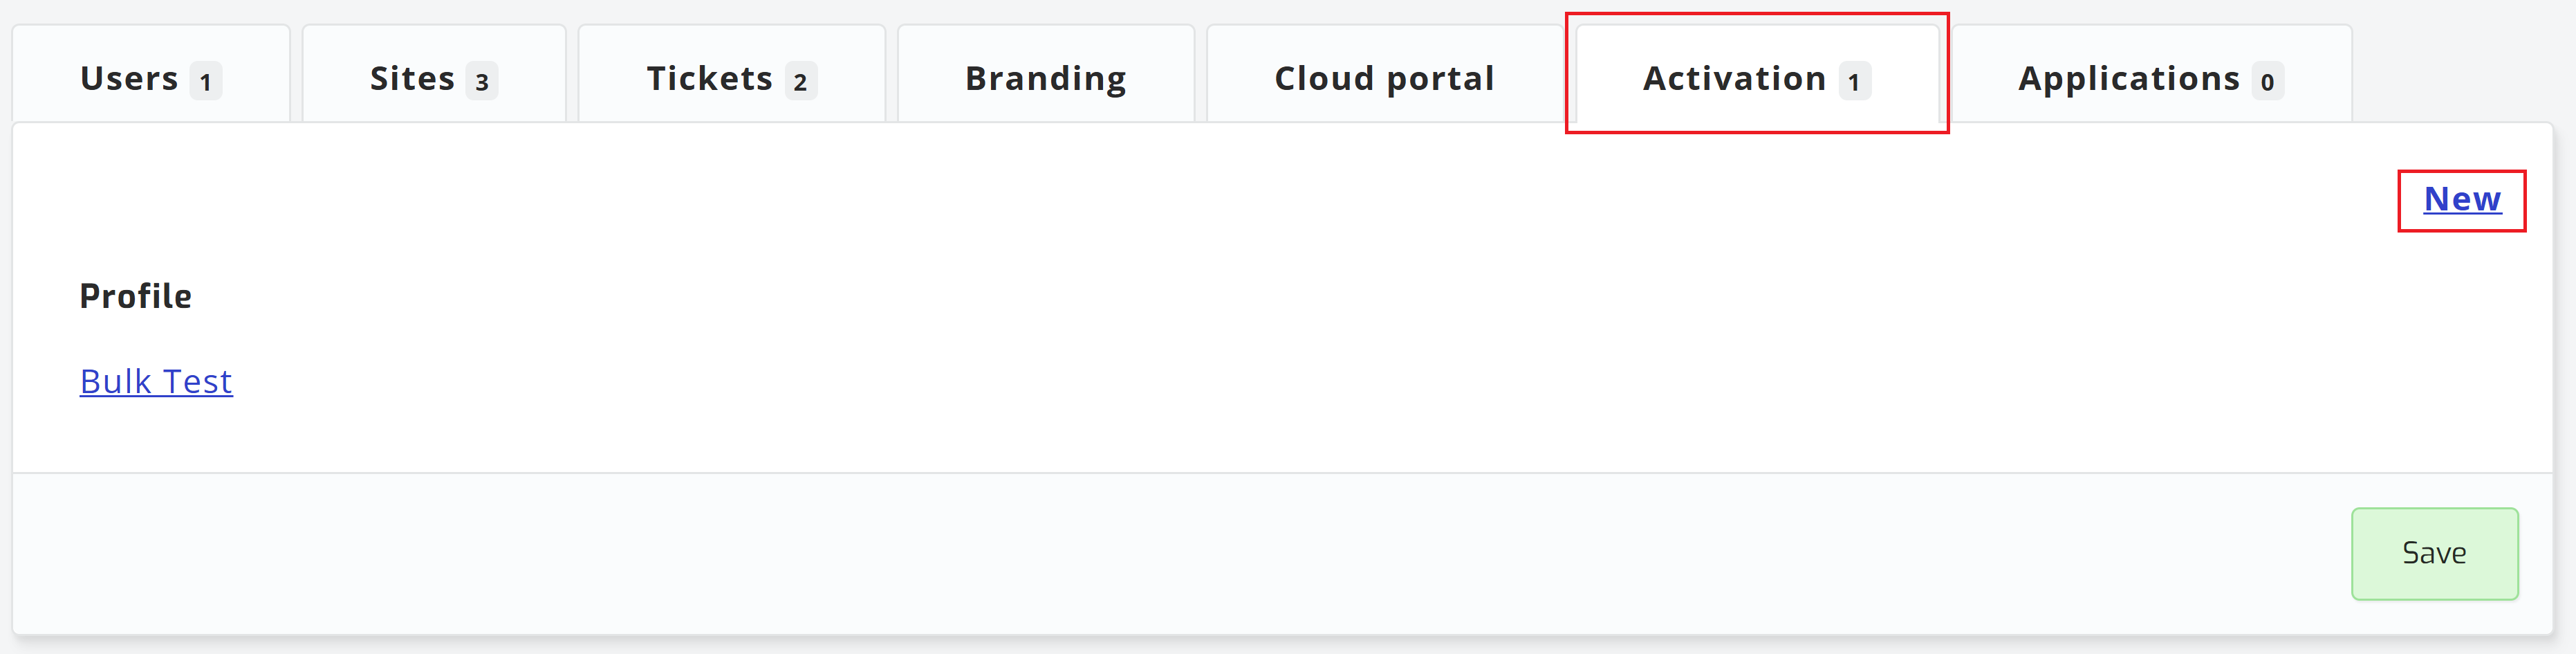
First: You will need to create an activation profile before moving forward. This can be done by opening your user page here. Then, click on the organization on your profile and open the "Activation" tab as shown below. If you do not have an organization set up, you can create one for free here.
Step 3 - Creating a custom image
You can start by mounting the SD card on your local machine using the command lines below:
        LOOP=$(sudo losetup -Pf --show "[image-name].img")
        sudo mkdir /mnt/rpi
        sudo mkdir /mnt/rpi_boot
        sudo mount "${LOOP}p2" /mnt/rpi
        sudo mount "${LOOP}p1" /mnt/rpi_boot
Step 4 - Activation ID allocation
Once the SD card is mounted, you can allocate an activation ID by placing the "activation_id" from step 2 in "/boot/activation_id" on the SD card.
nano /mnt/rpi_boot/activation_id
Step 5 - Load Wifi Credentials (optional)
Once the SD card is mounted, you can insert your office wifi credentials in "/boot/wpa_supplicant.conf" on the SD card. This will let the unit boot and automatically connect to your office Wifi as soon as it starts.
Step 6 - Load custom scripts (optional)
While the SD card is mounted, you can insert your own scripts in "/boot/activation.sh". This will then be executed during the boot process.
Step 7 - Unmount the SD card
Once you have finished, unmount the SD card using the following commands:
        sudo umount /mnt/rpi
        sudo umount /mnt/rpi_boot
Step 8 - Flashing the custom image
Now, you can flash the custom image onto the SD card using the Balena Etcher as described in the Prepare Device guide.
If you want to flash multiple cards at the same time, you will need to flash the SD card with Balena Etcher. This is because this tool has the ability to select multiple storage devices at once. It sometimes gives errors when selecting the image, but closing and reopening the tool can often resolve these issues.