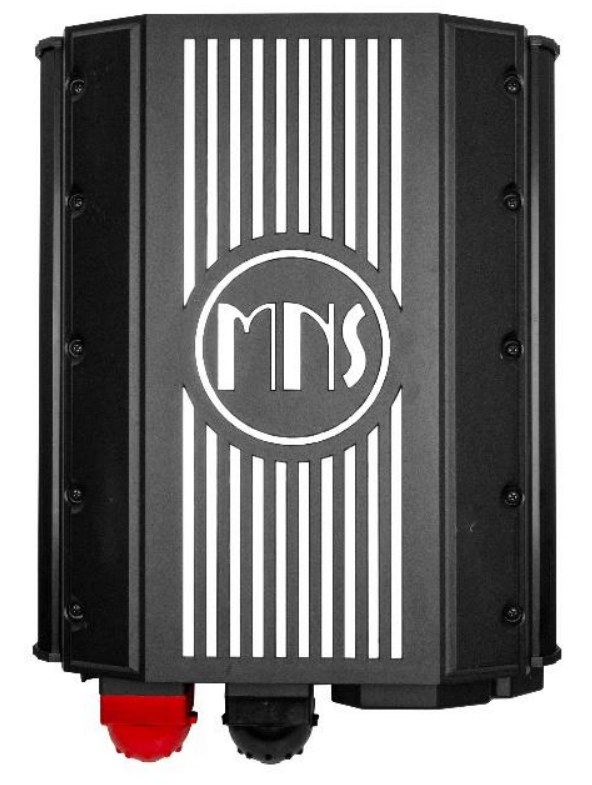
RS485 port
When it comes to these inverters, you will need an Self-crimp CAN cable using the RJ45 pin configuration below:
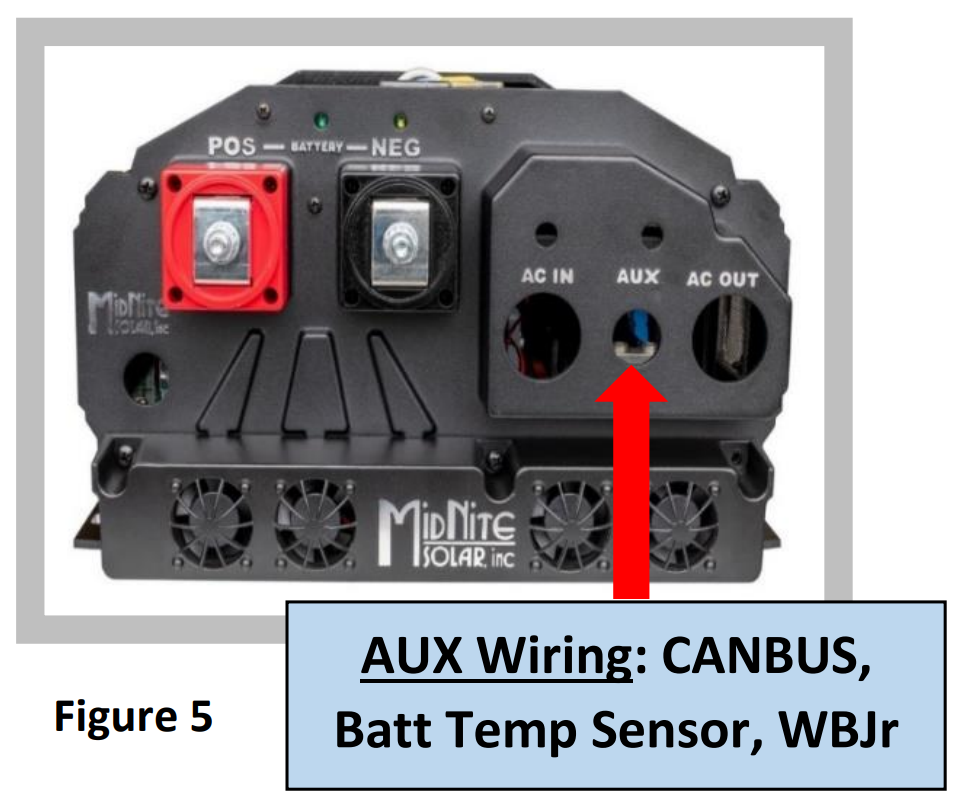
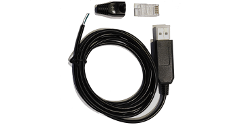
Simply unplug one of the blue terminator plugs on one end of the canbus in the system and plug in the SolarAssistant cable.
Note: It does not matter which terminator you replace. The SolarAssistant cable terminates the canbus on that end once the terminator is replaced.
| Pin 4 | CAN Low |
| Pin 5 | CAN High |
Steps in SolarAssistant
On the configuration page, select "Midnite Solar" as your inverter model.
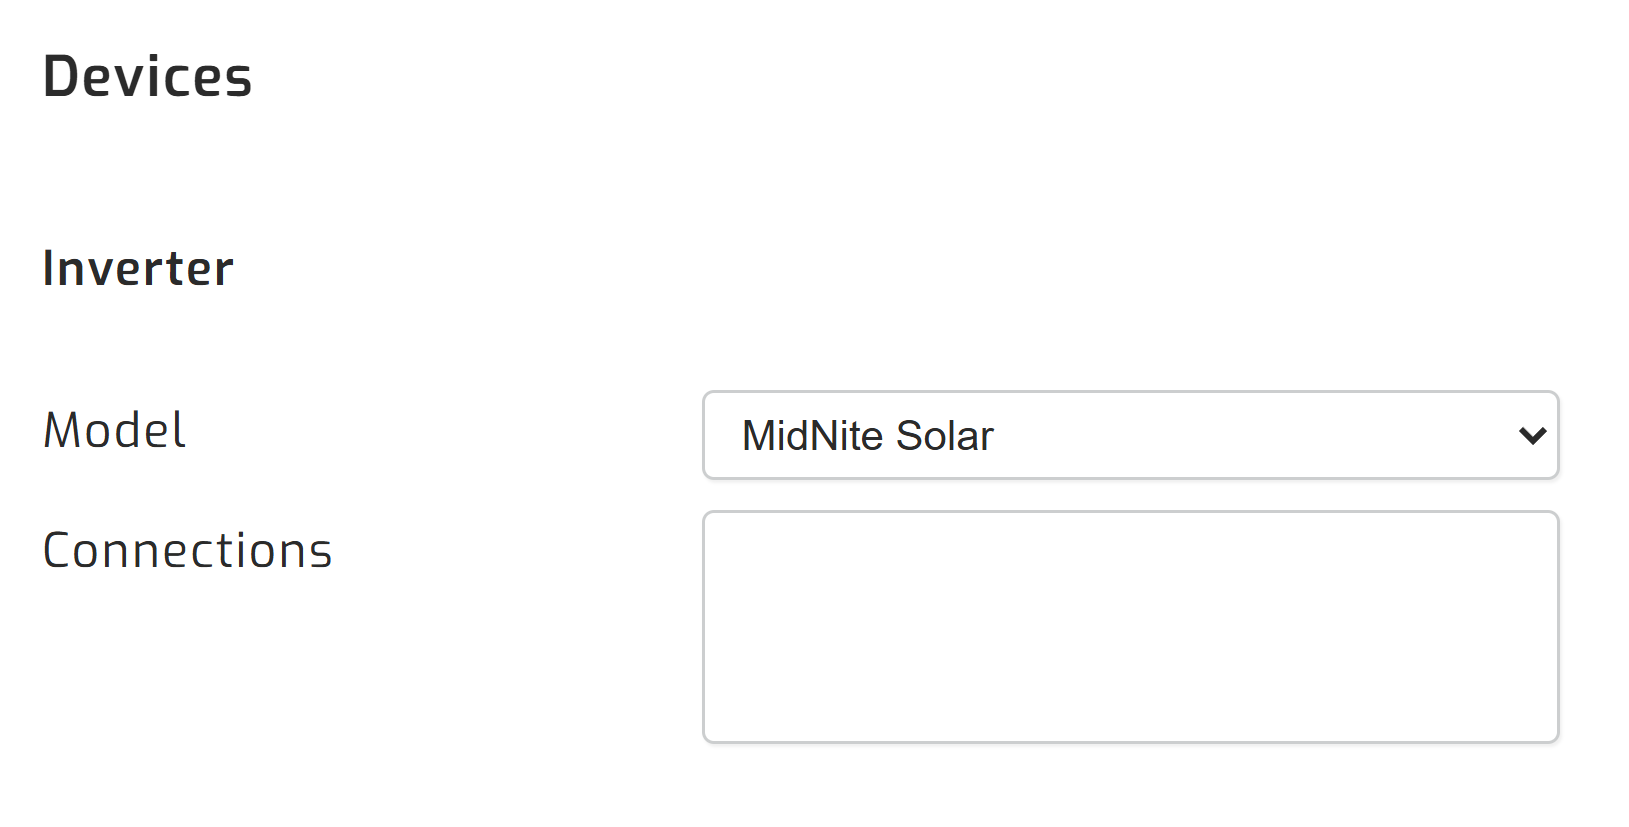
Select the USB port(s) where you have inverters connected. There will typically be one option.

Click connect:
Parallel installations
With these inverters you will need to connect each inverter with its own cable.
Troubleshooting
If you are having trouble connecting to your inverter, make sure you have the latest inverter firmware installed. It would also be worth making sure you are on the latest stable version of SolarAssistant.
Please note: If you are still having trouble after making sure you have the latest firmware on the inverter and are running the latest version of SolarAssistant, you may need to revisit the crimping of the CAN cable.
- Make sure the cable is crimped correctly, because even the most experienced crimpers may need to redo the crimping if the head is not making good contact with the cable
- We have found that some users need to swap the CANH and CANL wires
- It may be worth watching this video
- If you need further assistance, please contact the Midnite support team