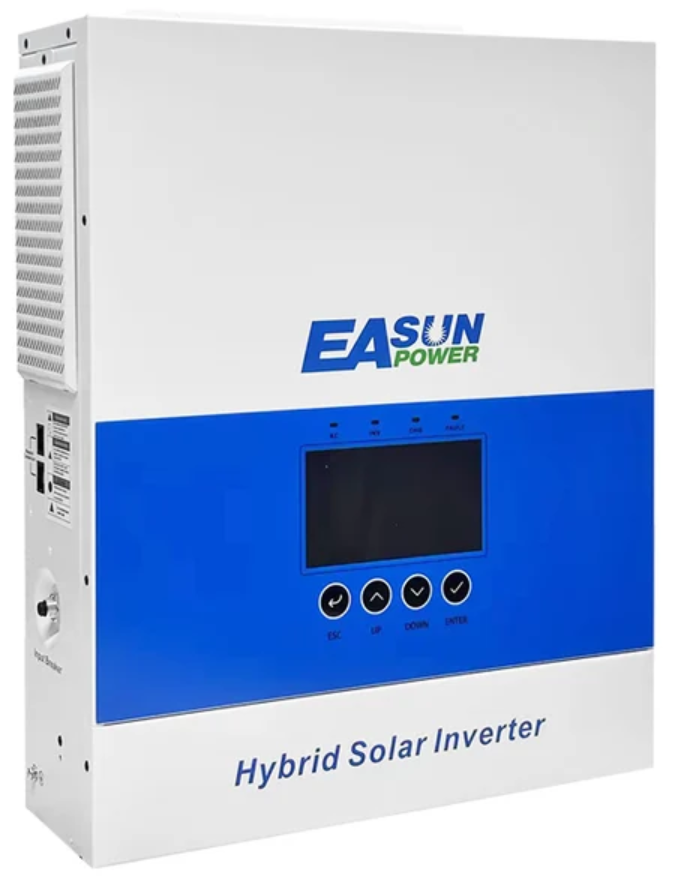
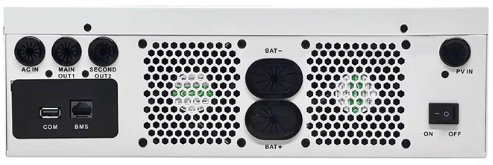
USB WiFi dongle port
A custom cable is required to connect to the USB WiFi dongle port of this inverter. This guide covers the iSolar-SMS-6.5KP-Wifi, a 6500 W 48 V off-grid hybrid inverter.
Cables
You will require our self-crimp RS232 cable. If you buy any random USB RS232 cable on Amazon, Ebay, Takealot, etc. which doesn't specifically state that it supports the inverter, it may not work. You can read more about the communication chips we recommend using here.
You will also require a standard USB Type A cable. You could cut a USB cable and use the wires inside for this purpose, or you could purchase a USB Type A pigtail cable. In either case, it's important that the center two USB pins have wires connected - some USB cables are for power only, and only have the outer two pins connected. Another option to consider is a USB Type A to terminal block adapter.
Wiring
The female USB port on the inverter has the following pin-out:
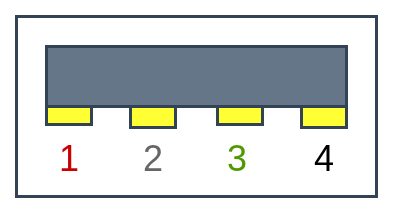
| Pin | Inverter use | USB standard |
| 1 | Vcc (+5V) | Vcc (+5V) |
| 2 | RS232 TX | Data - |
| 3 | RS232 RX | Data + |
| 4 | Ground | Ground |
Wire our self-crimp RS232 cable to a USB Type A cable according to the diagram below. The RS232 TX, RS232 RX and Ground need to be connected.
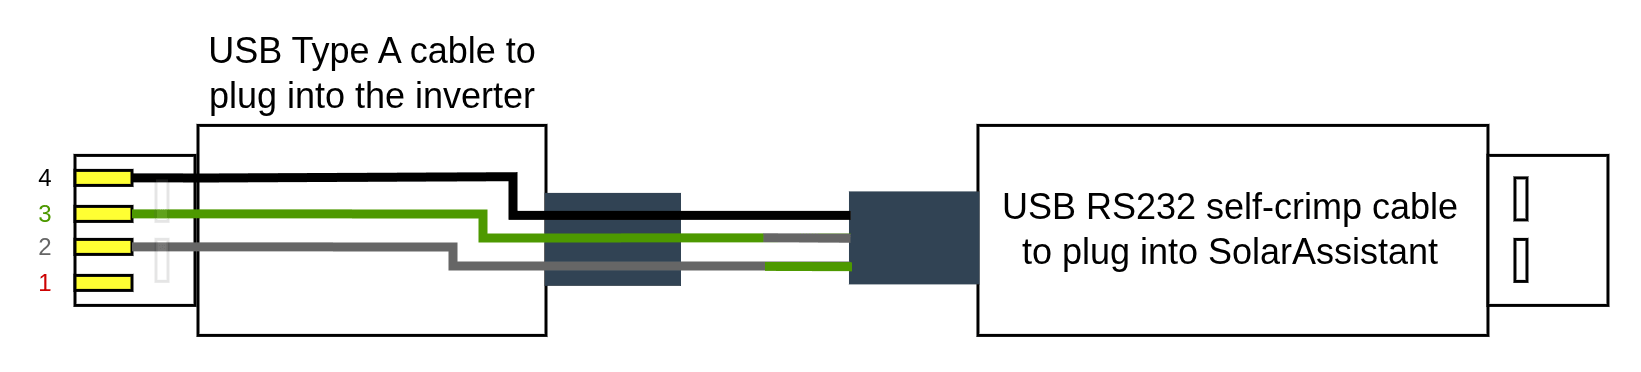
- The black wire of the USB Type A cable should be connected to the black wire (RS232 Ground) of the self-crimp RS232 cable.
- The white wire of the USB Type A cable should be connected to the yellow or green wire (RS232 RX) of the self-crimp RS232 cable.
- The green wire of the USB Type A cable should be connected to the orange or white wire (RS232 TX) of the self-crimp RS232 cable.
Once wired, plug the USB Type A cable into the inverter and the other end into your SolarAssistant device.
Alternative - break out to a DB9 connection
Rather than wiring into the USB Type A connector directly, you can break the inverter's cable out to a DB9 connection and use a standard USB RS232 adapter. This uses the same port on the inverter and the same signals; only the connector on the SolarAssistant end changes.
This inverter communicates over RS232, not RS485, so you need a USB RS232 adapter with a DB9 connector. We recommend an FTDI based cable, as they tend to be more reliable, though other chipsets will also work. Our self-crimp RS232 cable is suitable, as are the FTDI USB-RS232-WE cable and the Waveshare USB to RS232/485 adapter. You can read more about the communication chips we recommend using here.
Wire the breakout to the adapter as follows. The pin numbers refer to the DB9 connector on the adapter, not to the inverter's USB port:
| Inverter | USB RS232 adapter | DB9 pin |
| TX | RX | 2 |
| RX | TX | 3 |
| GND | GND | 5 |
Note that TX and RX cross over. The inverter's transmit line connects to the adapter's receive line and the inverter's receive line connects to the adapter's transmit line. Wiring them straight through will not work.
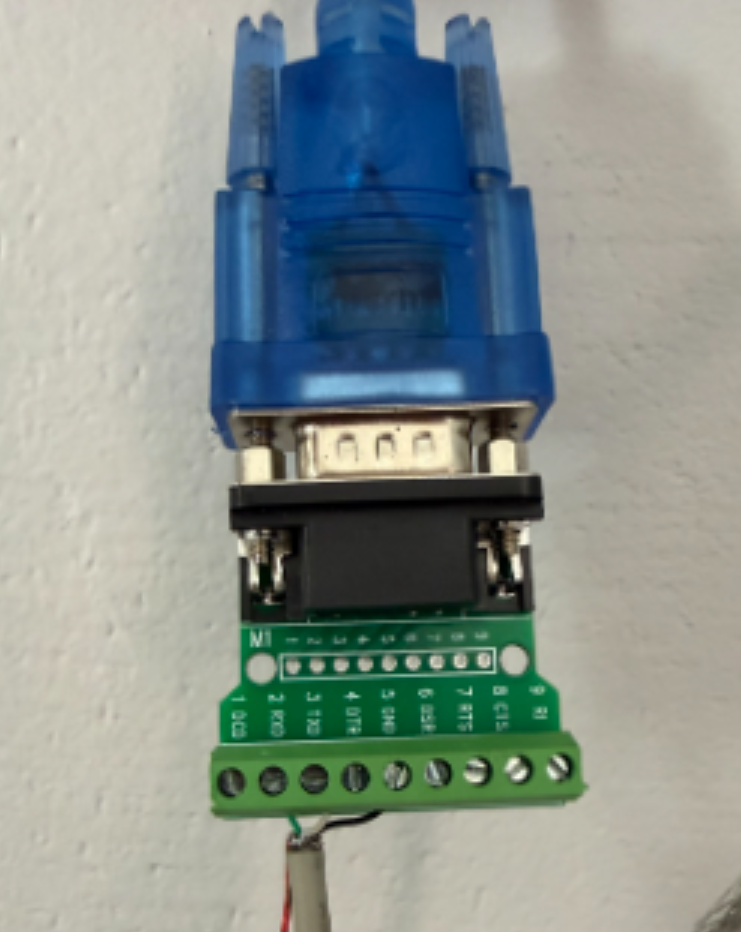
Once wired, plug the adapter into your SolarAssistant device.
Steps in SolarAssistant
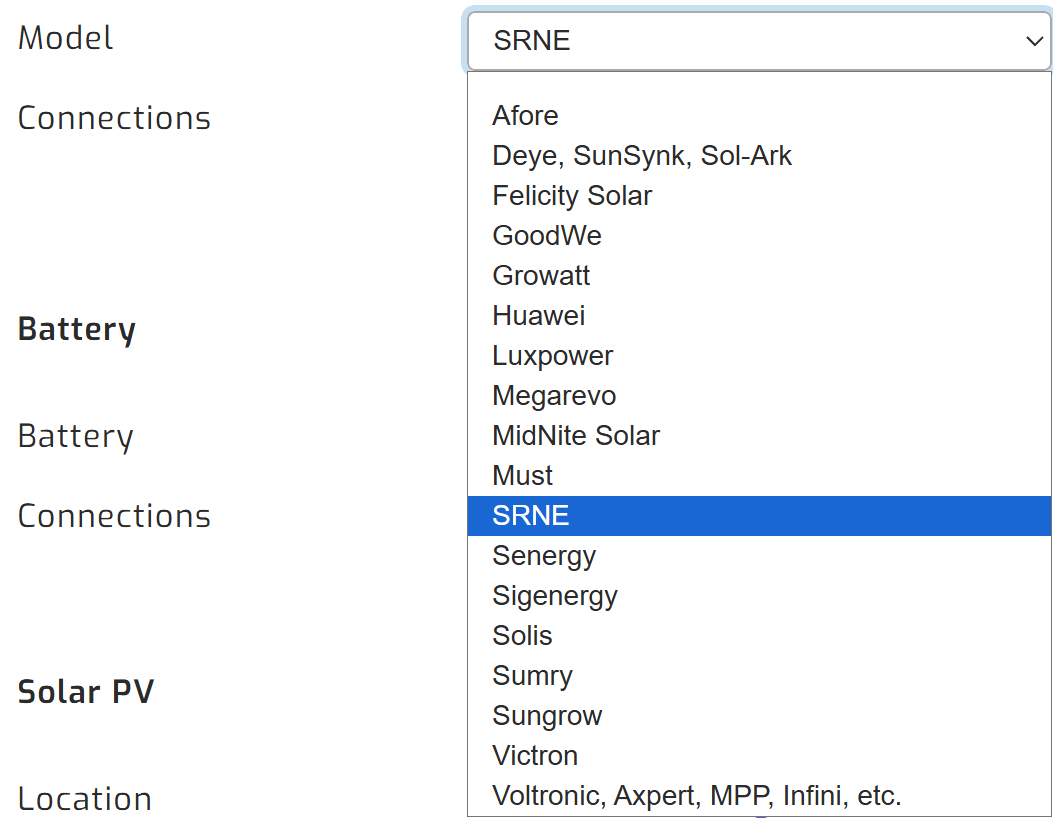
On the configuration page, select "SRNE" as your inverter model.
Select the USB port(s) where you have inverters connected. There will typically be one option.

Click connect:
Parallel installations
With these inverters you will need to connect each inverter with its own cable.