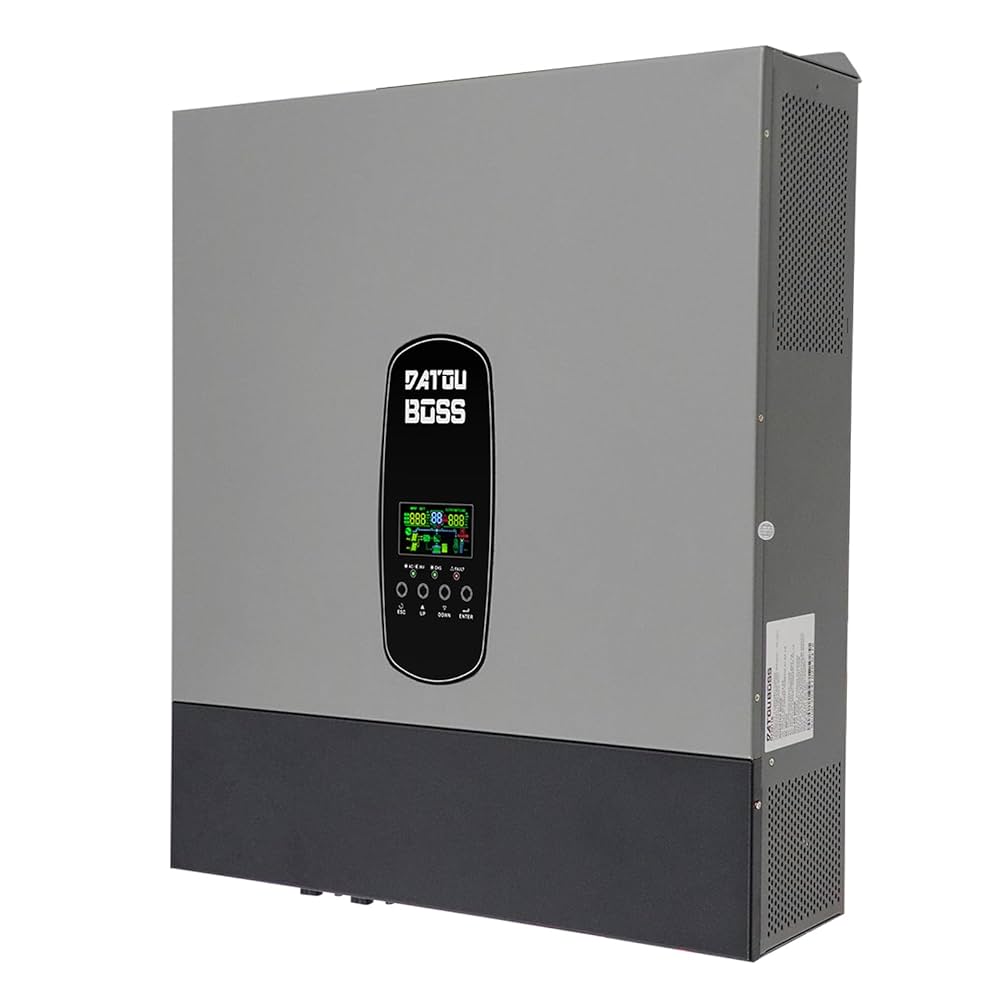
RS232/COM port
Use a self-crimp USB RS232 cable cable plugged into the inverter port labelled "RS232" or "COM" which is located at the bottom of the inverter. You can read more about the communication chips we recommend using here. Otherwise, you can confirm with the manual, the RS232 port should be configured as shown below:| Pin 1 | - |
| Pin 2 | - |
| Pin 3 | RX |
| Pin 4 | GND |
| Pin 5 | GND |
| Pin 6 | TX |
| Pin 7 | - |
| Pin 8 | - |
Note: The GND pin is connected to the inverter's GND terminal and is needed for RS232 communication. However, we have had conflicting feedback regarding the pin configuration. Some users have said that the GND is connected to pin 4, while others have said it is connected to pin 5. If you are unsure, try both using a self-crimp RS232 cable and see which one works. Otherwise, if the unit uses pin 4 for GND, our Pytes RS232 cable can be used.
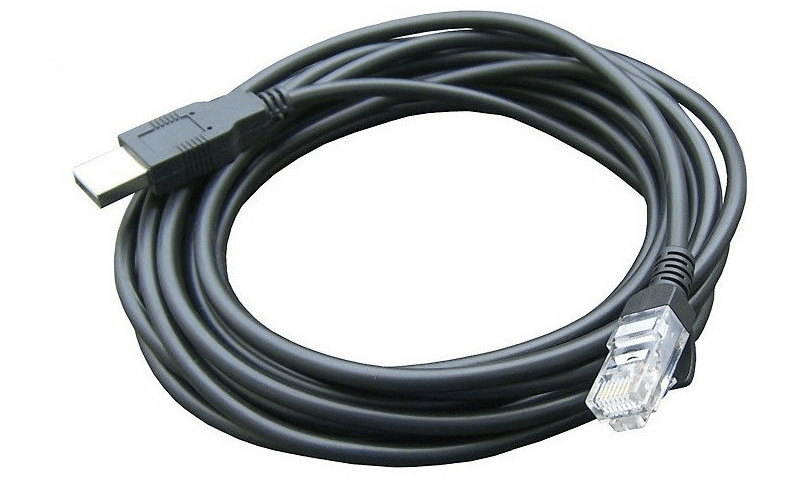
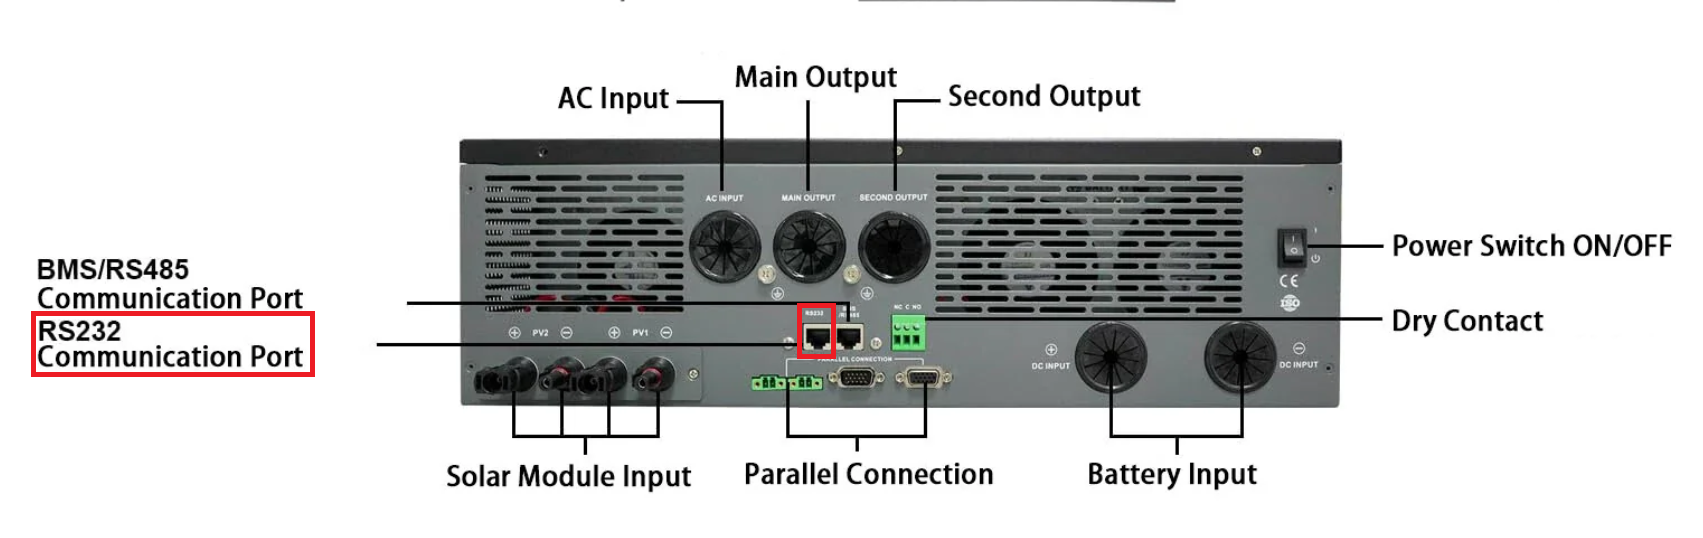
Steps in SolarAssistant
On the configuration page, select "Voltronic" as your inverter model.
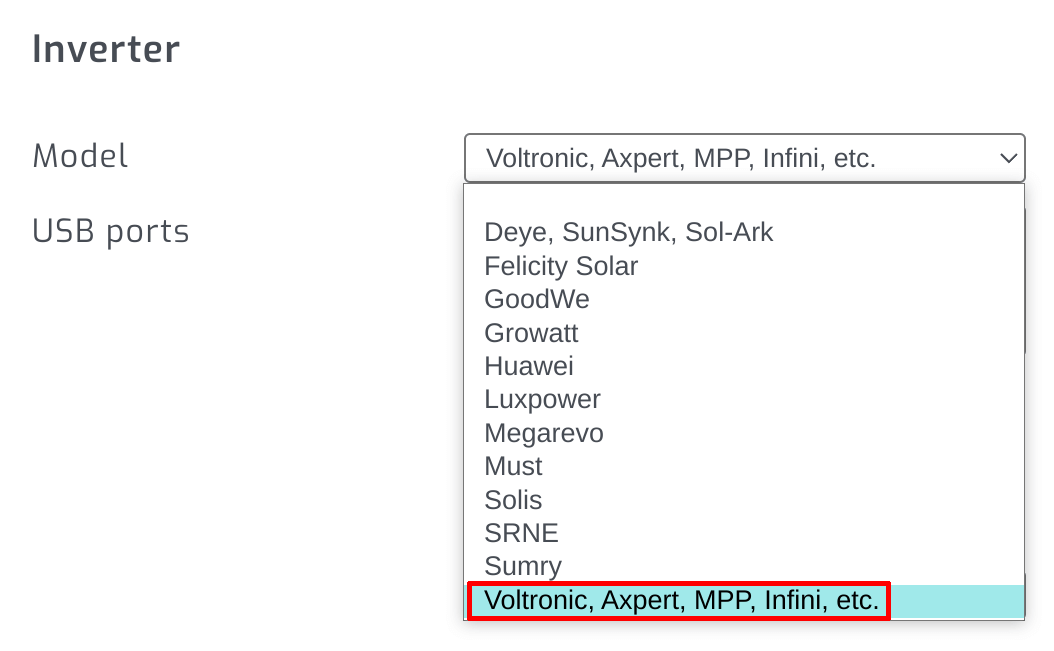
Select the USB port(s) where you have Voltronic inverters connected.

Click connect:
Parallel installations
With Voltronic inverters you only need to connect one inverter to read all parallel inverters regardless of which monitoring port is used.
If you have a parallel installation but all inverters are not showing in SolarAssistant, then check if their serial numbers are perhaps exactly the same by connecting one inverter at a time and going to the settings page. If their serial numbers are the same, then each will have to be connected with it's own USB cable.
Troubleshooting
If you have any issue, please try the official WatchPower or SolarPower application from a laptop. If it works with these official applications, then it should work with SolarAssistant.