Introduction
A charger that charges your car on solar surplus has to be told what the house is doing: how much the panels are making, how much is going to or coming from the grid, and what the battery is doing.
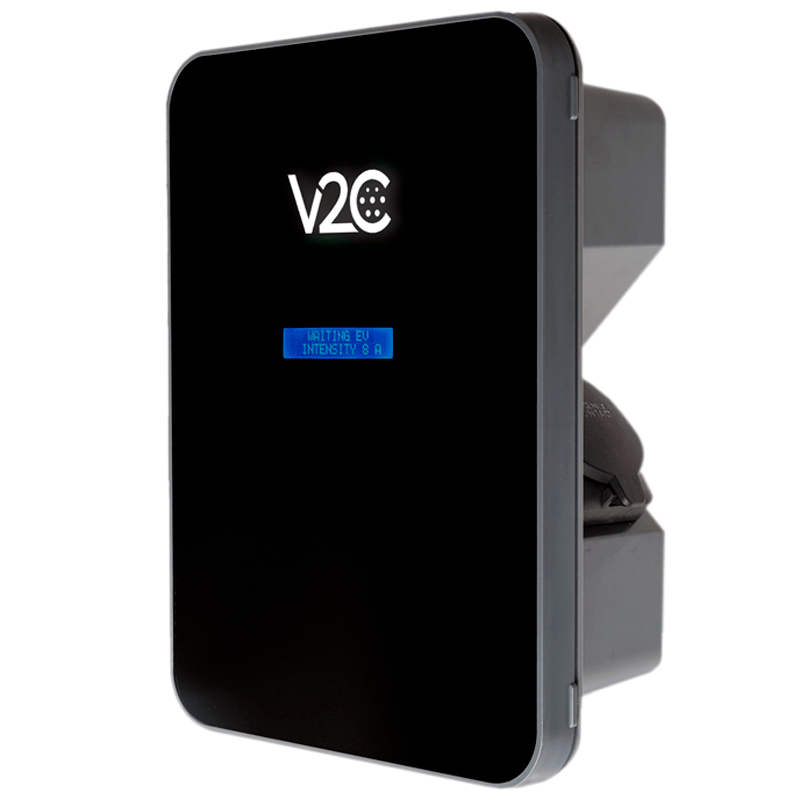
SolarAssistant can send this data to the V2C Trydan. It publishes the solar, grid and battery power it reads from your inverter onto the three MQTT topics a Trydan subscribes to, and the charger regulates on those. This is especially useful where your inverter or grid meter is not supported by the V2C Trydan.
For now the charger decides how much to draw, and SolarAssistant only tells it what the house is doing. We plan to let SolarAssistant control the charging itself, so that your inverter and your car can be driven by the same automations. Keep an eye on the changelog for this and other enhancements.
Step 1 - Set up the SolarAssistant MQTT broker
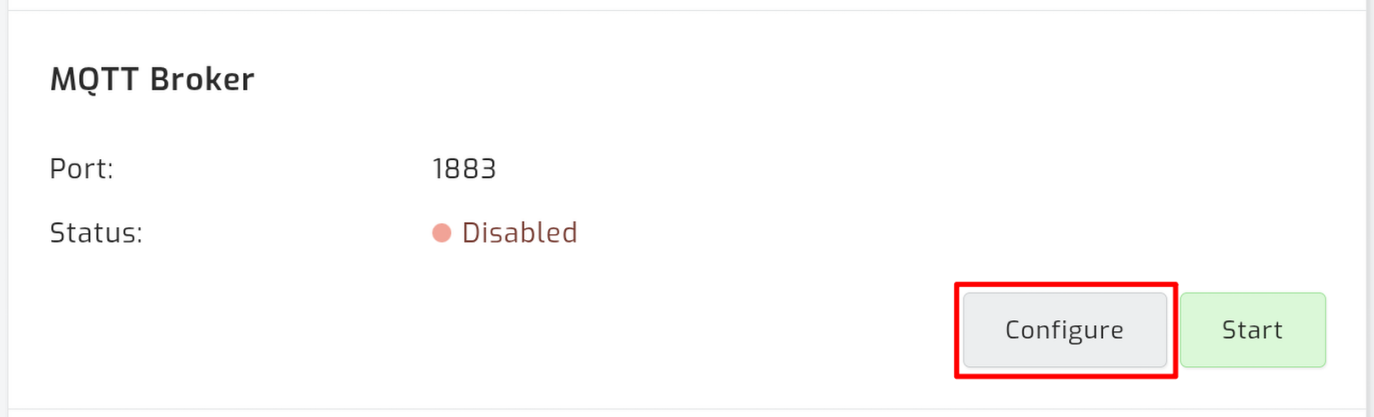
Navigate to the "Configuration" tab and open Configure beside MQTT.
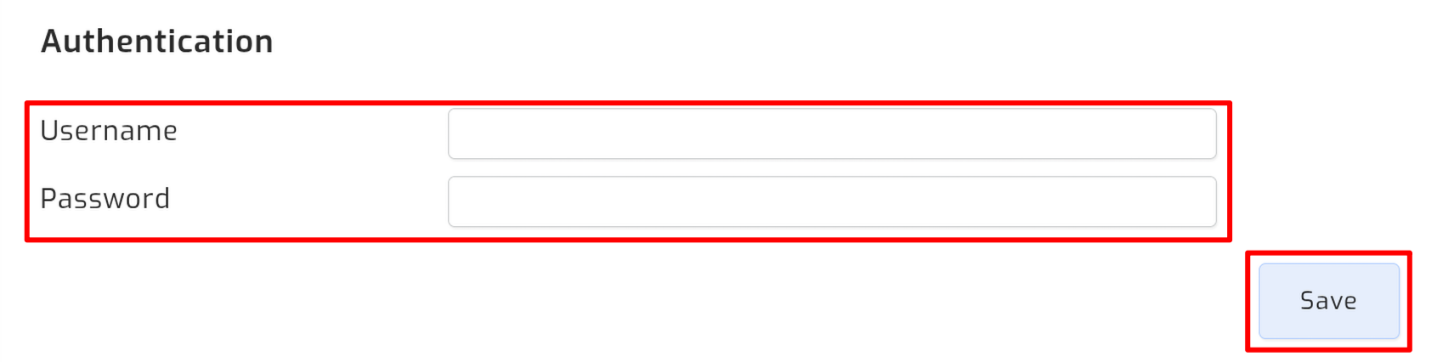
Set a username and password, then save.
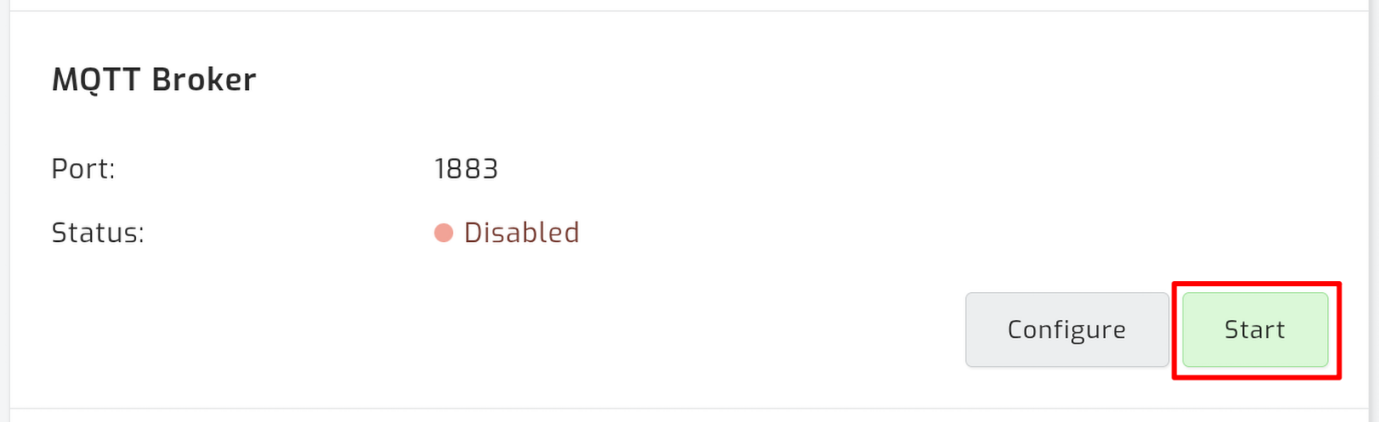
Back on the "Configuration" tab, start MQTT.
Step 2 - Point the charger at SolarAssistant
In V2C Cloud, open e-Charger Settings and select Power control.
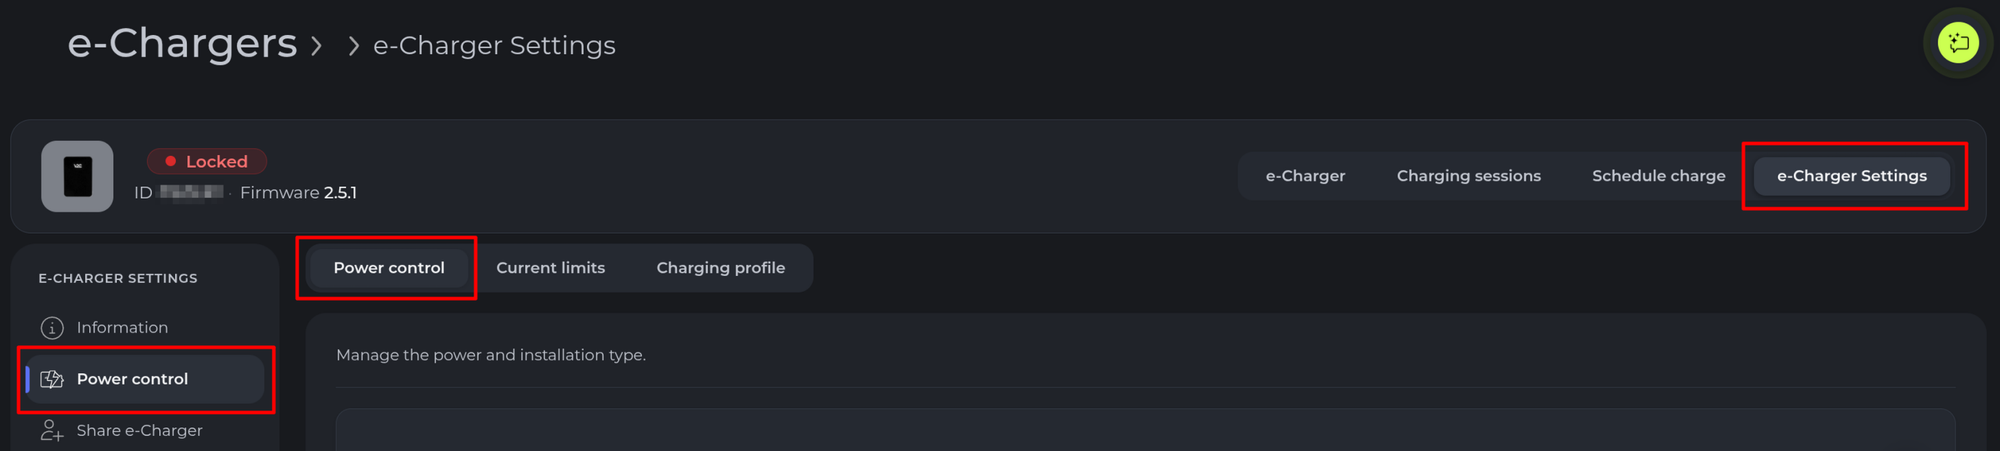
Under Load balancing configuration, fill in:
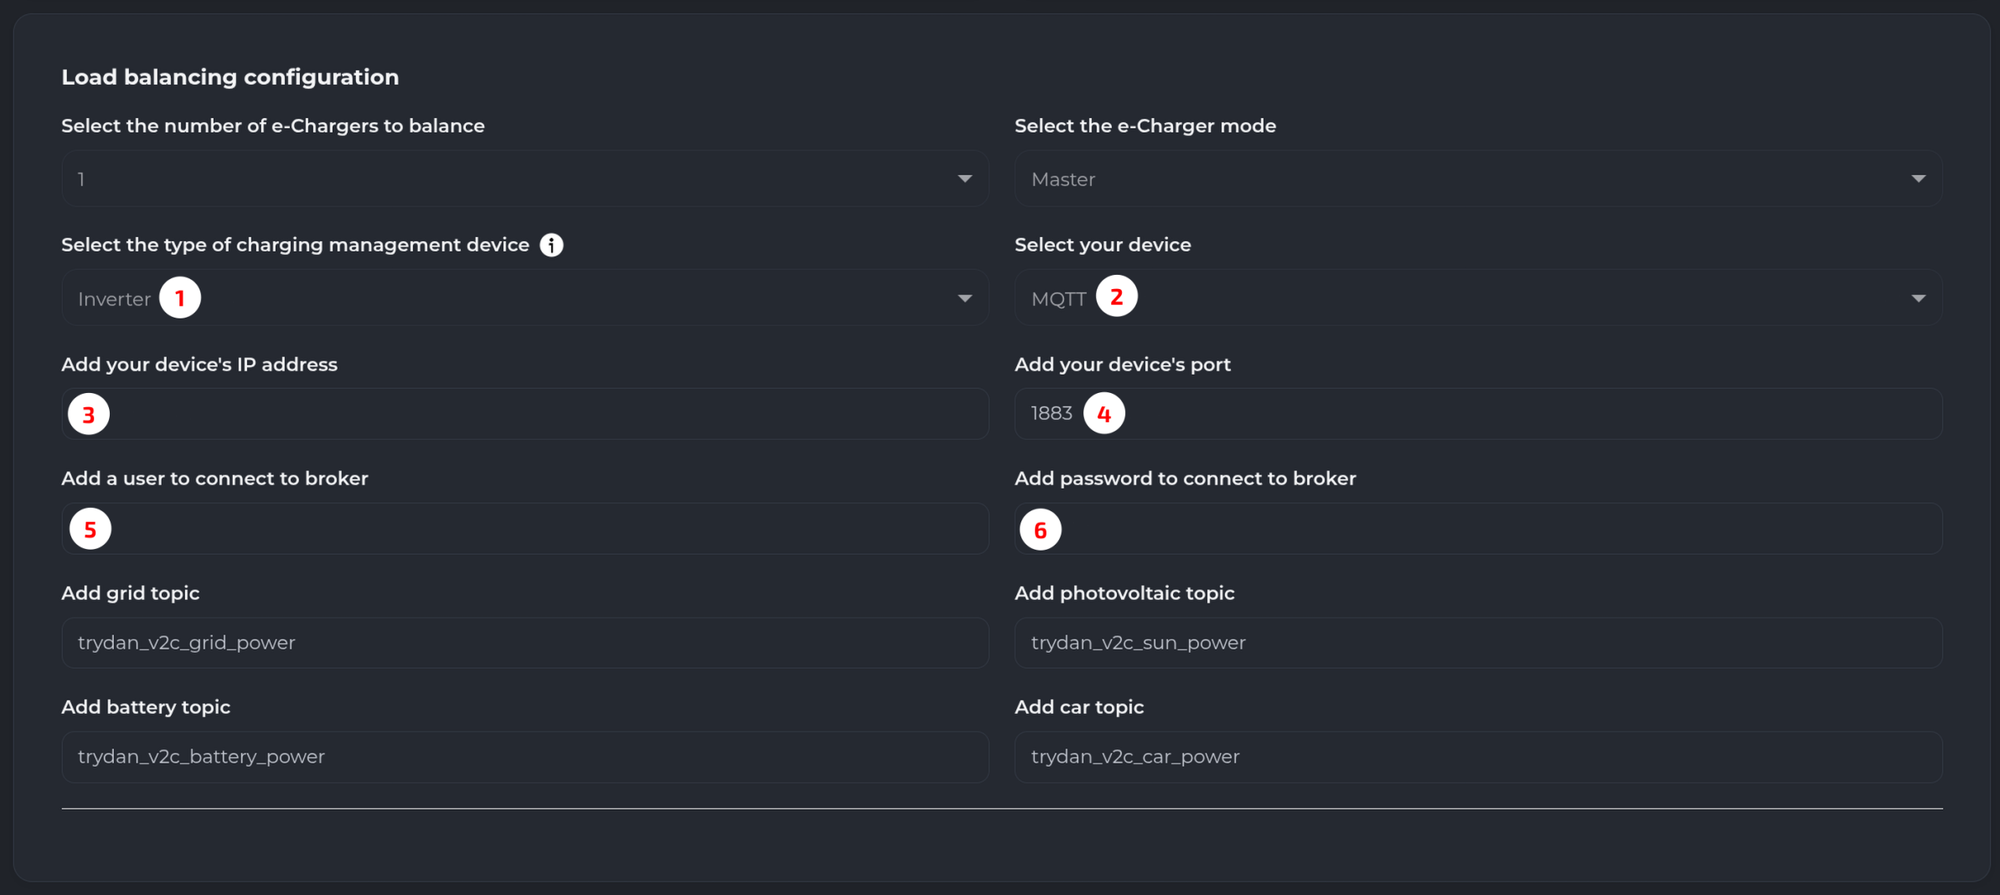
- Type of charging management device: Inverter
- Your device: MQTT
- Your device's IP address: your SolarAssistant device's local IP, for example 192.168.1.10. It is shown under Network status on the "Configuration" tab
- Your device's port: 1883
- User to connect to broker: the username from step 1
- Password to connect to broker: the password from step 1
The topic fields are V2C's own defaults and what SolarAssistant publishes on, so leave them as they are. Enter them if they are blank:
trydan_v2c_sun_power
trydan_v2c_grid_power
trydan_v2c_battery_power
This can also be set up from the V2C app - see V2C's MQTT protocol guide.
Step 3 - Choose a charging mode
The feed is what makes V2C's charge profiles with photovoltaic energy available to you. Set the mode in V2C Cloud or the V2C app - see V2C's power control guide.
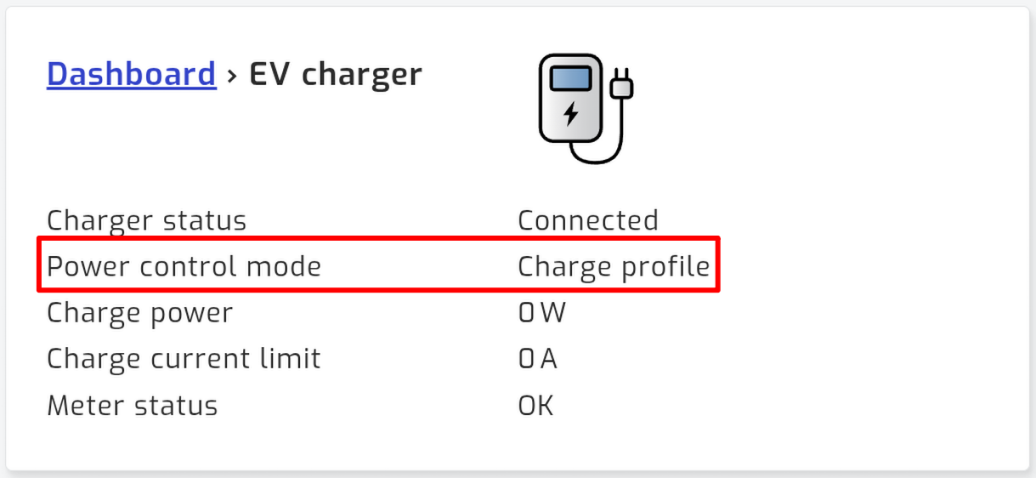
SolarAssistant shows which mode is in force as Power control mode on the charger's status page.
Troubleshooting
The username and password fields are greyed out
They cannot be changed while the broker is running. Stop MQTT, set them, then start it again.
The charger stops seeing SolarAssistant
Its IP address has probably changed. Set a static address for your SolarAssistant device in your router, then enter the new one in V2C Cloud. See the MQTT page for how to find it.
The status page shows "Charge profile" instead of a solar mode
A charger running a charge profile reports the profile rather than the mode its current slot applies, so the mode in force cannot be read back.