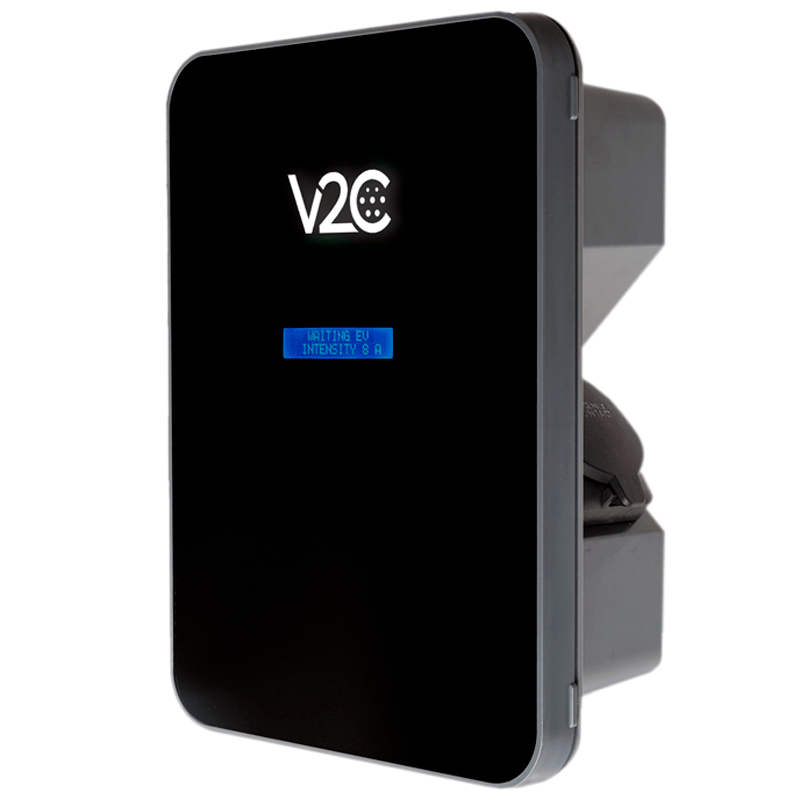
Step 1 - Find the charger on your network
Navigate to the "Configuration" tab.
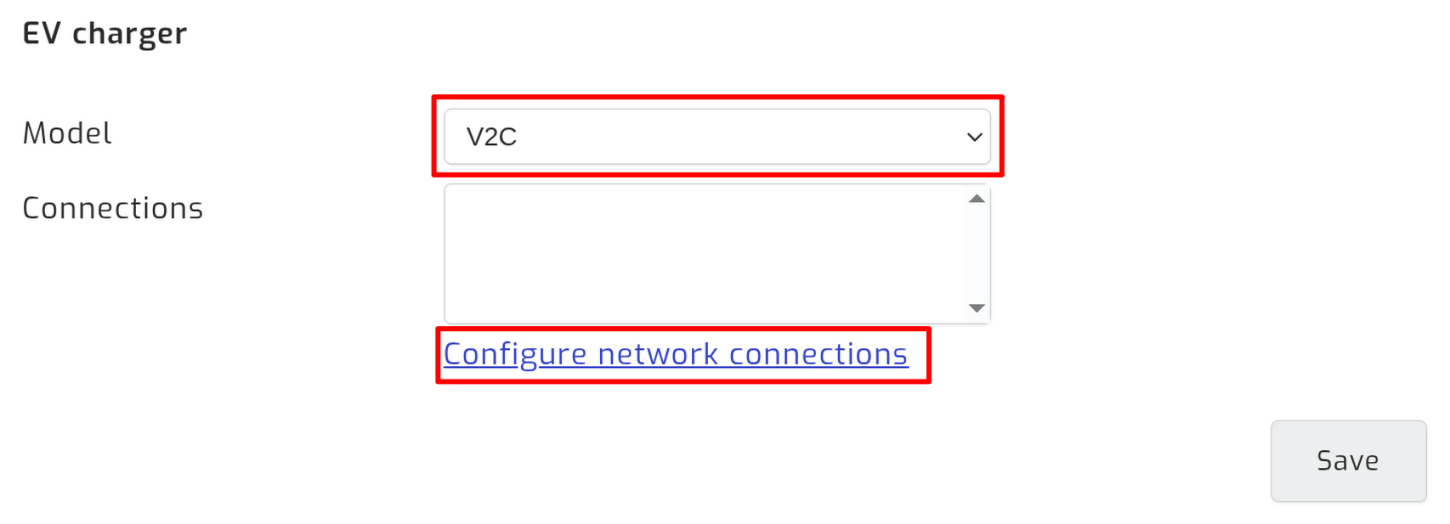
Under EV charger, select V2C as the model, then follow the Configure network connections link.
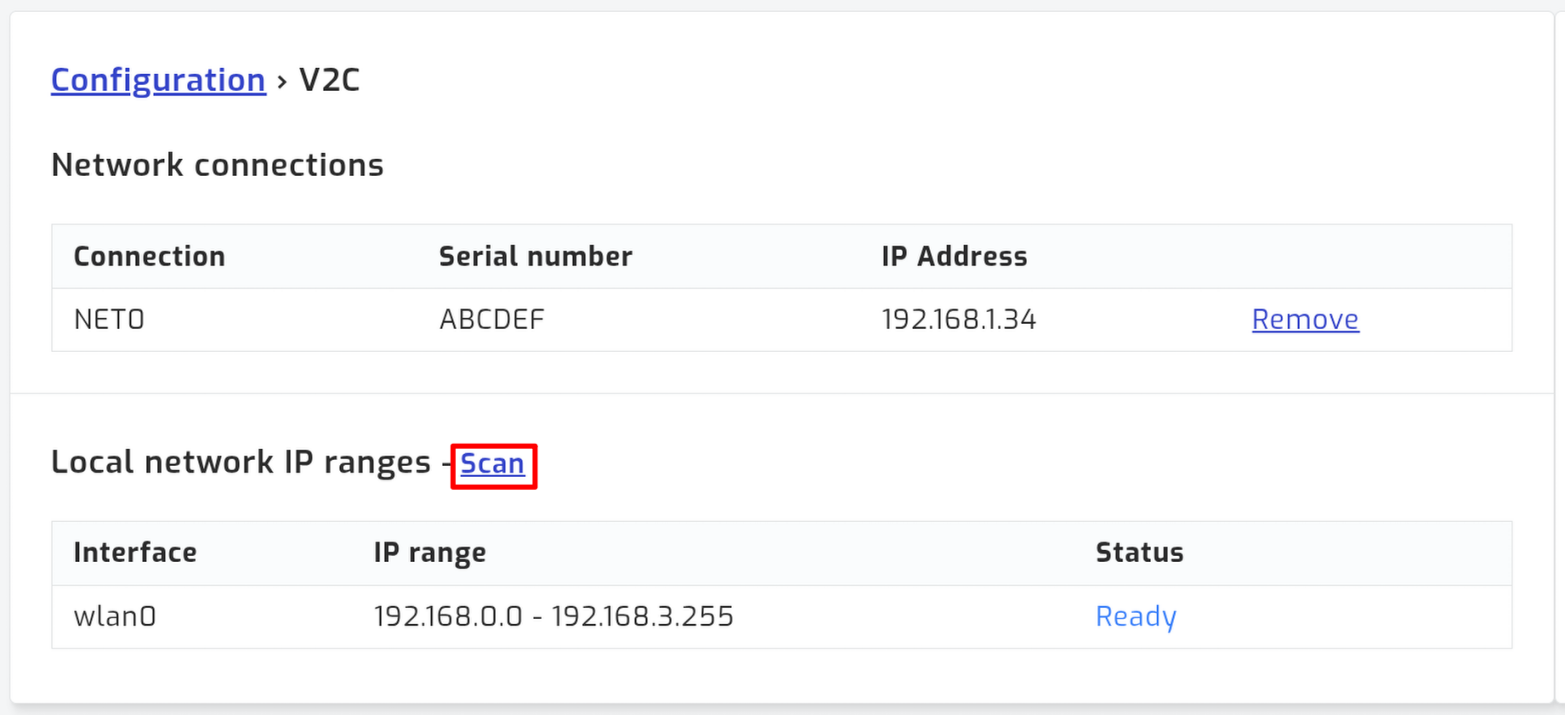
Click Scan, and wait for your charger to appear within the "Network connections" table.
Step 2 - Connect to the charger
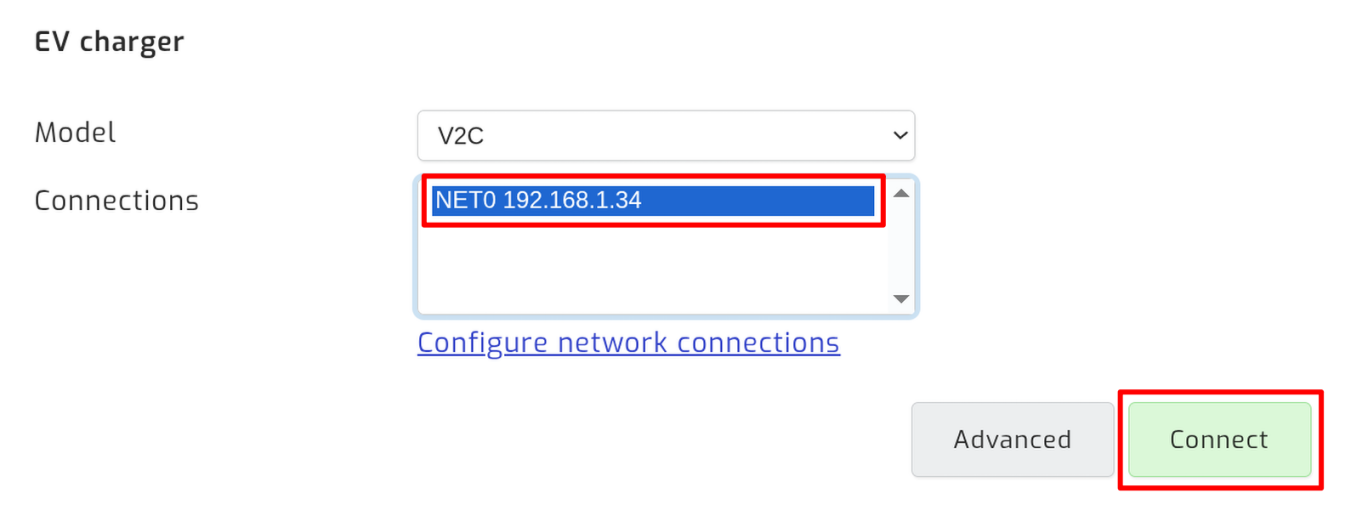
Back on the "Configuration" tab, select your charger under Connections and save. Select more than one to read several chargers. Then click Connect.
Monitoring
Dashboard
The charger appears beside the inverter and battery as a tile showing its status, and as a gauge showing the current charge power.
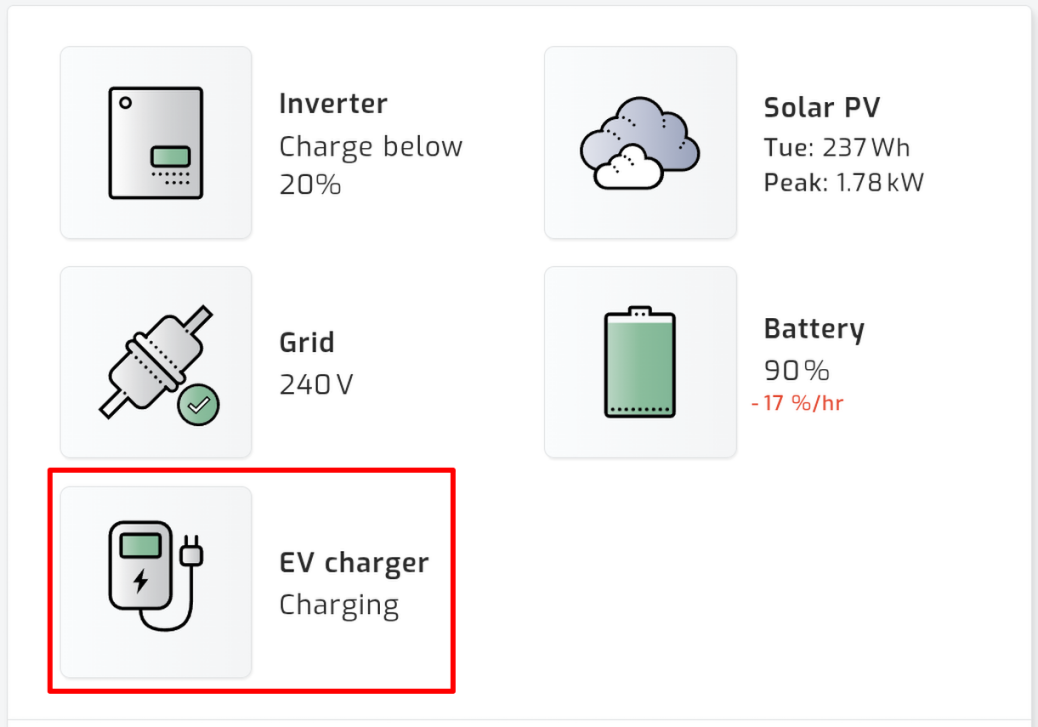
Status page
Click the EV charger tile to see more detail.
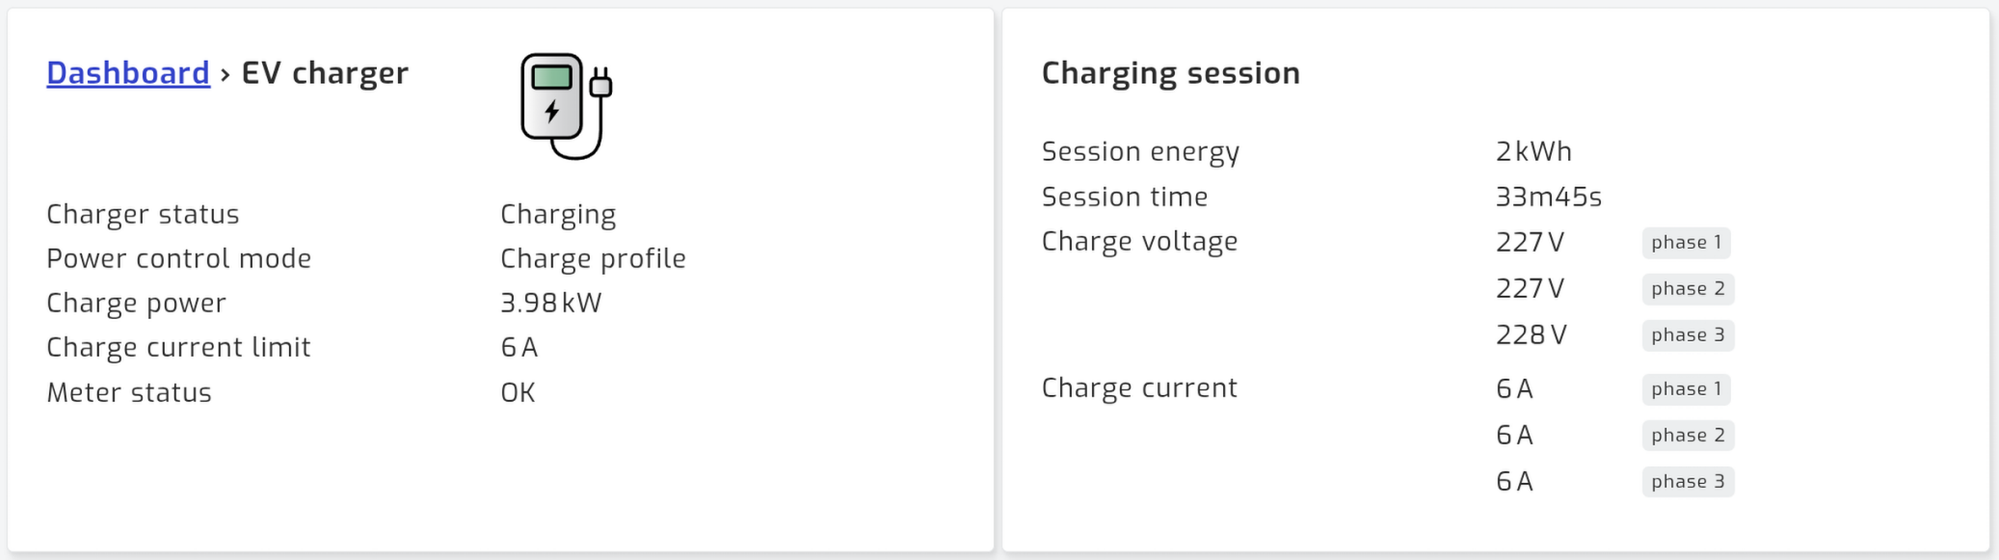
Charts
An EV charger power chart is added to the charts page, so you can put a charging session next to the day's solar and grid.
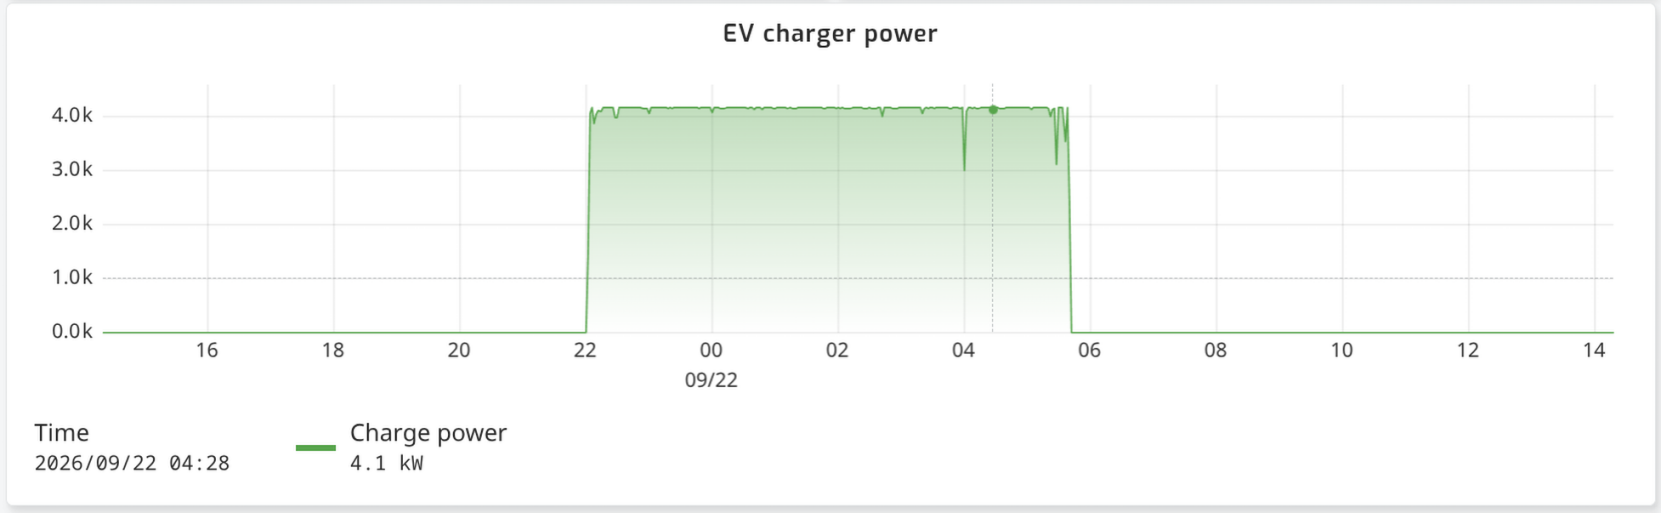
MQTT and Home Assistant
Every metric above reaches Home Assistant through the official integration, the same as inverter and battery metrics.
They are published over MQTT too, on topics numbered from one:
solar_assistant/ev_charger_1/charge_power
solar_assistant/ev_charger_1/charger_status
solar_assistant/ev_charger_1/session_energy
Troubleshooting
The scan finds nothing
- Check that your charger is on the same network as your SolarAssistant device, over WiFi or ethernet.
- Check its firmware version in the V2C app. It has to be 2.1.16 or newer.
-
Open
http://<charger-ip>/RealTimeDatain a browser on the same network. You should see a page of values.
If all three check out and the scan still finds nothing, please contact support.
The charger says Connected while it is charging
That is a paused session. The Trydan keeps reporting "charging" through a pause, so SolarAssistant shows a paused charger as Connected rather than as charging at 0 W. Session time keeps counting through the pause; session energy does not move.
Charge current and voltage per phase are missing
V2C added these in firmware 2.5.0, and some units report them as zero even on a newer firmware. SolarAssistant leaves them out rather than showing a row of zeros. Charge power is unaffected.
Meter status shows Error
The charger cannot read its own meter or CT clamps. This is V2C's own measurement chain, not SolarAssistant's. Feeding the charger from SolarAssistant instead is what power management is for.