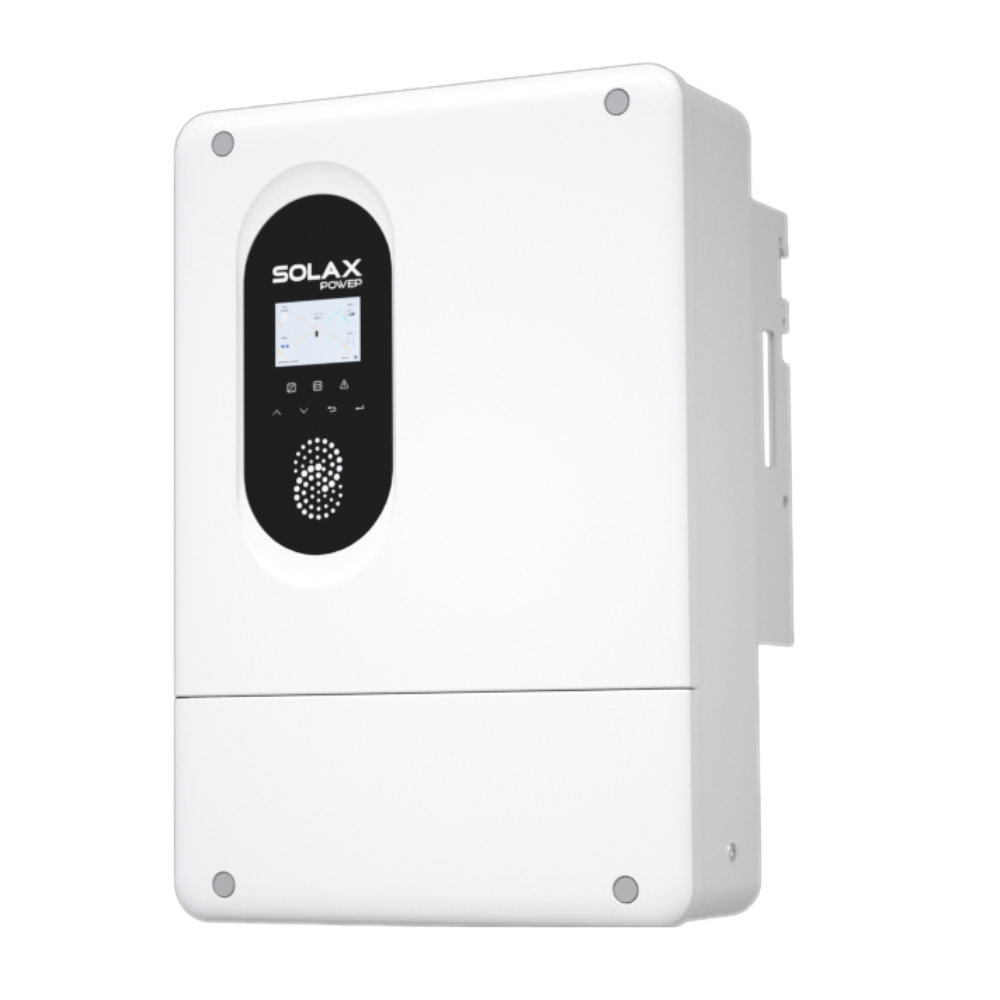
RS485 port
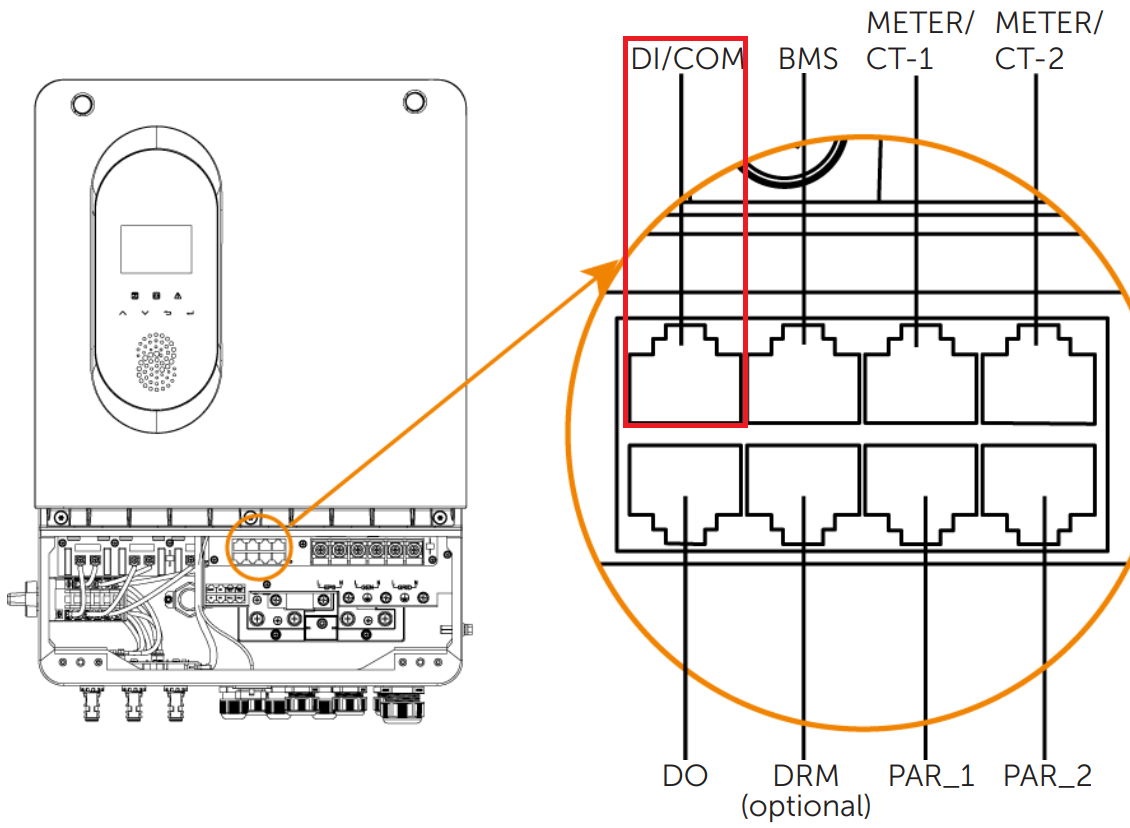
A custom cable needs to be created for the DI/COM port of this inverter, as per the image below:
Wire our uncrimped RS485 cable into your inverter according to the diagram below. You can also explore alternative RS485 adapters. Only RS485A and RS485B need to be connected. Ground can optionally be connected although it's not required.
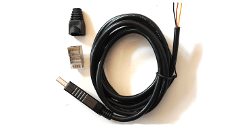
| Pin 4 | RS485A |
| Pin 5 | RS485B |
Steps in SolarAssistant
First, you will need to select the Solax protocol as shown below:
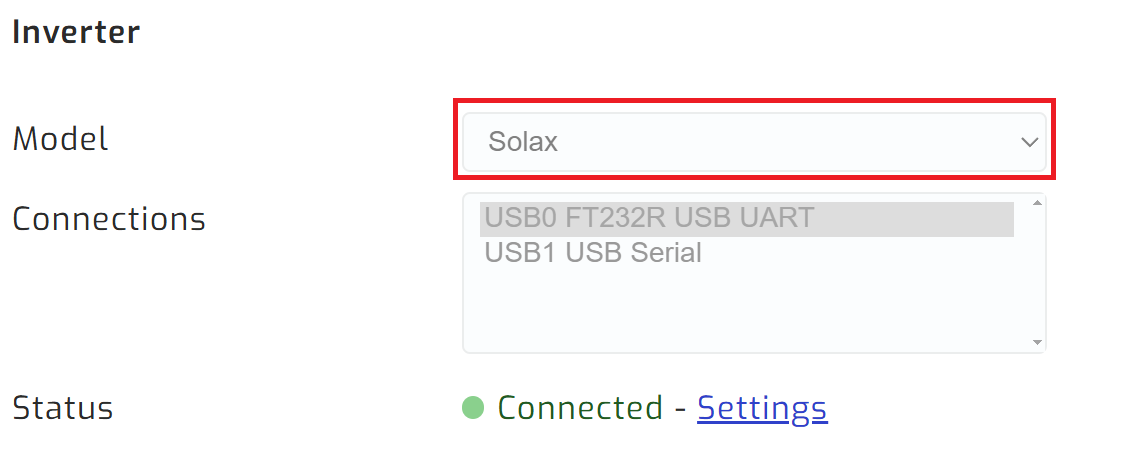
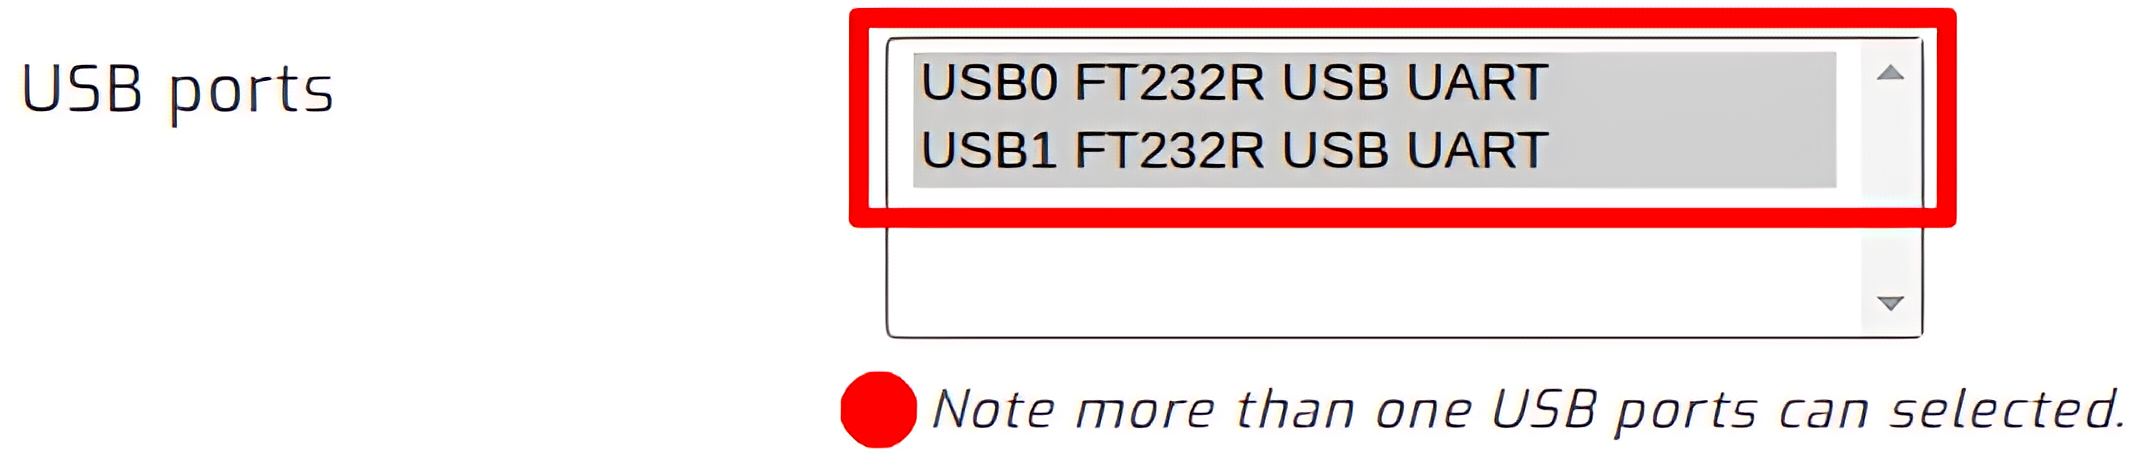
Select the USB port where your inverter is connected. If you have multiple inverters, you need to multi-select all of them.
Click connect:

Parallel installations
With these inverters you will need to connect each inverter with its own cable.