RS485 port
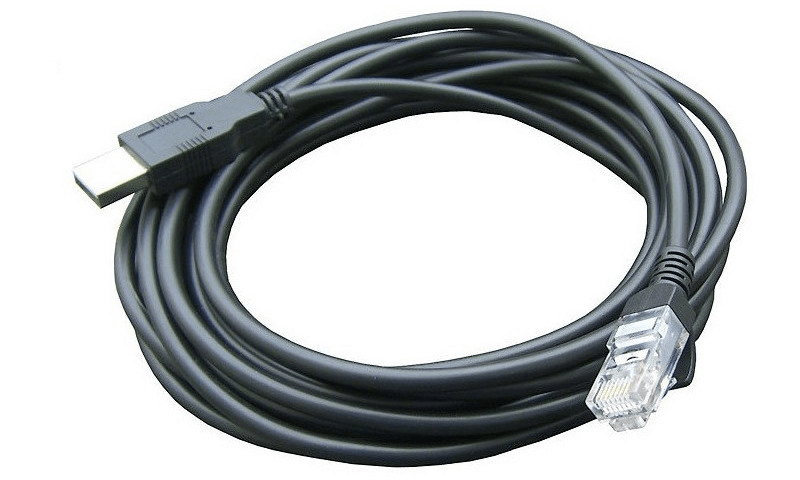
A purpose built USB RS485 cable can be plugged into the RS485 port located on the inside the inverter. This is an RS485 cable with a specific RJ45 pinout that can be purchased in our online store.
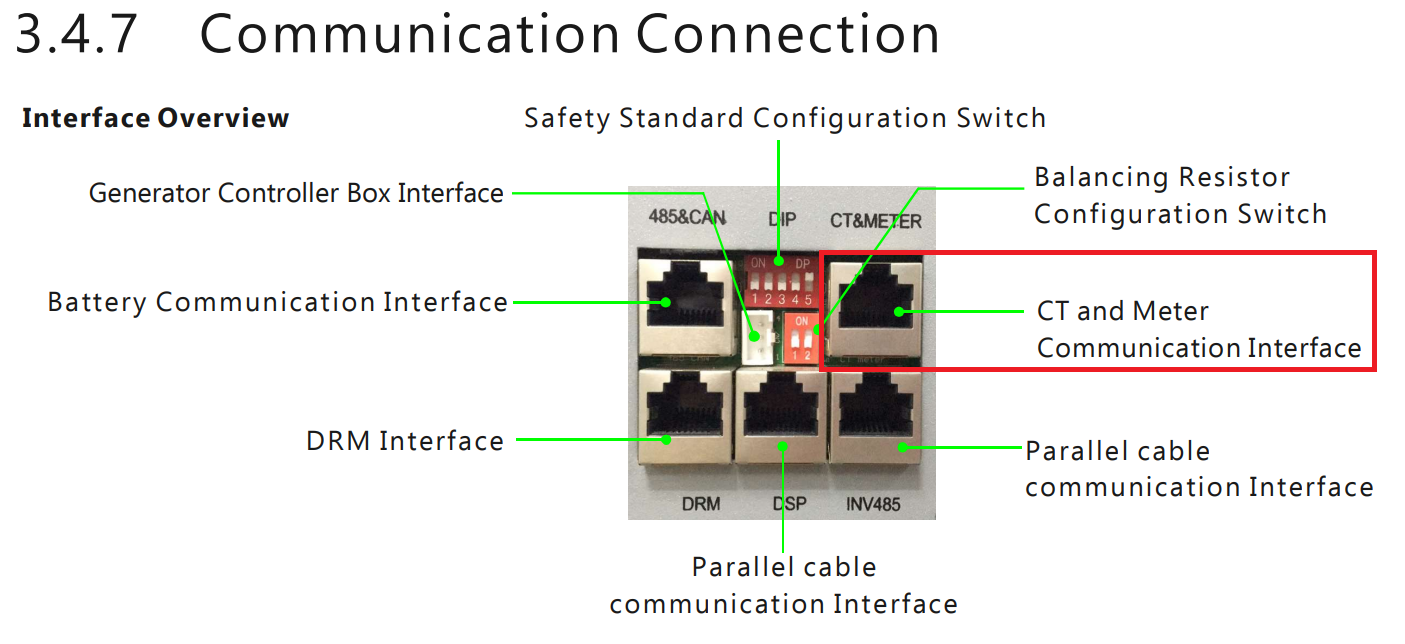
If you buy any random USB RS485 RJ45 cable on Amazon, Ebay, Takealot, etc. which doesn't specifically state that it supports the inverter, it will most likely not work. You can connect using an RS485 cable to the CT1 terminal with pins 7 and 8. Pin 7 is the RS485B and pin 8 is the RS485A. This is just a confirmed configuration, as shown here

The labelling of the RS485 monitoring port is sometimes not intuitive. Please see the list below for the correct port.
In many cases, the unit can only communicate with one device at a time. That menas that having a cabled connection to the unit will require unplugging the dongle in order to get SolarAssistant to communicate with the unit directly.
Alternatively, if your unit has the push in terminals, you can try using the RS485 pins as shown here.
Steps in SolarAssistant
On the SolarAssistant configuration page, select "Luxpower" as your inverter model.
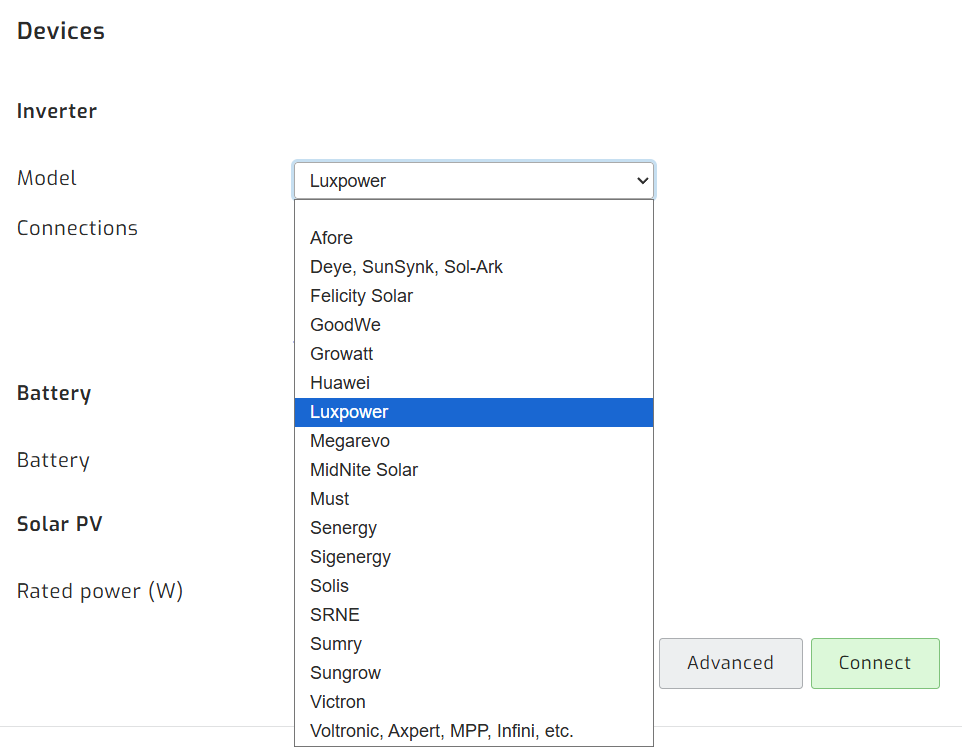
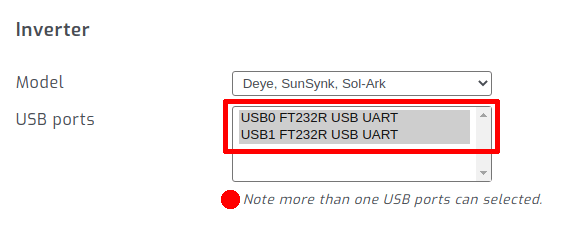
Select the USB port where your inverter is connected. If you have multiple inverters, you need to multi-select multiple USB ports.
Click connect:

Parallel installations
With Luxpower inverters you will need to connect each inverter with its own cable.