Connect SolarAssistant to the RS485 port
To connect SolarAssistant to the RS485 port, you need a specialized USB RS485 cable with the RJ45 pinout shown below. This cable plugs into the RS485 monitoring port inside your inverter and connects to your SolarAssistant USB port.
| Pin 1 | RS485B |
| Pin 2 | RS485A |
| Pin 3 | GND |
| Pin 4 | - |
| Pin 5 | - |
| Pin 6 | - |
| Pin 7 | - |
| Pin 8 | - |
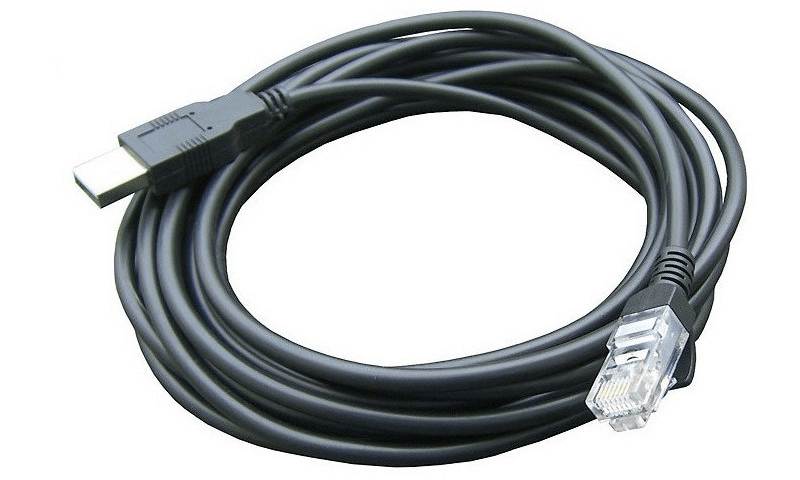
Important: Generic USB RS485 cables from Amazon, eBay, Takealot, or other retailers will not work unless they specifically list your inverter or the pinout shown above. The pin configuration is non-standard and incompatible with most off-the-shelf RS485 cables. You can read more about the communication chips we recommend using here.
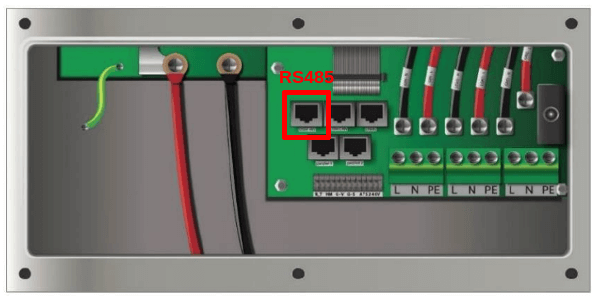
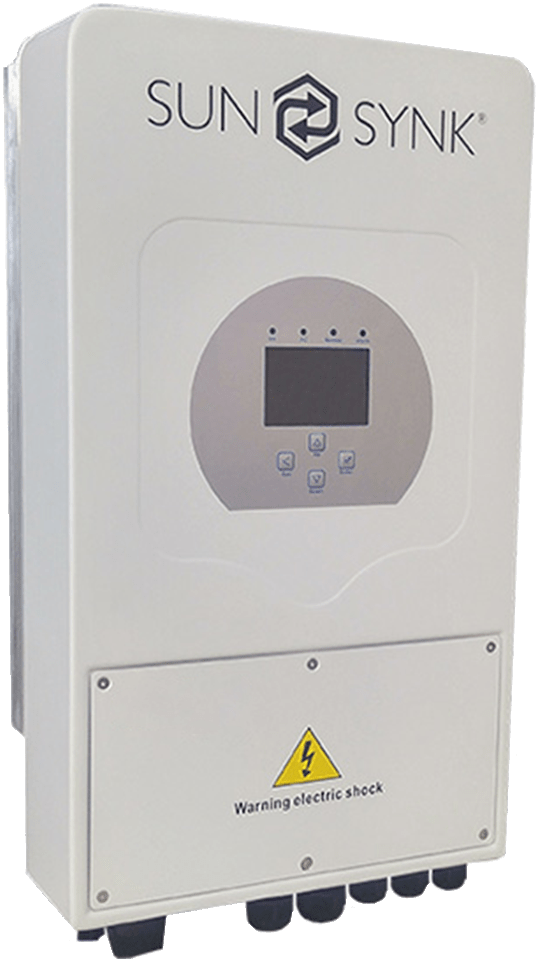
The RS485 monitoring port is located inside the inverter. Open your inverter to access it. The port labeling can be confusing and varies between models, so refer to the image below to identify the correct port on your specific inverter.
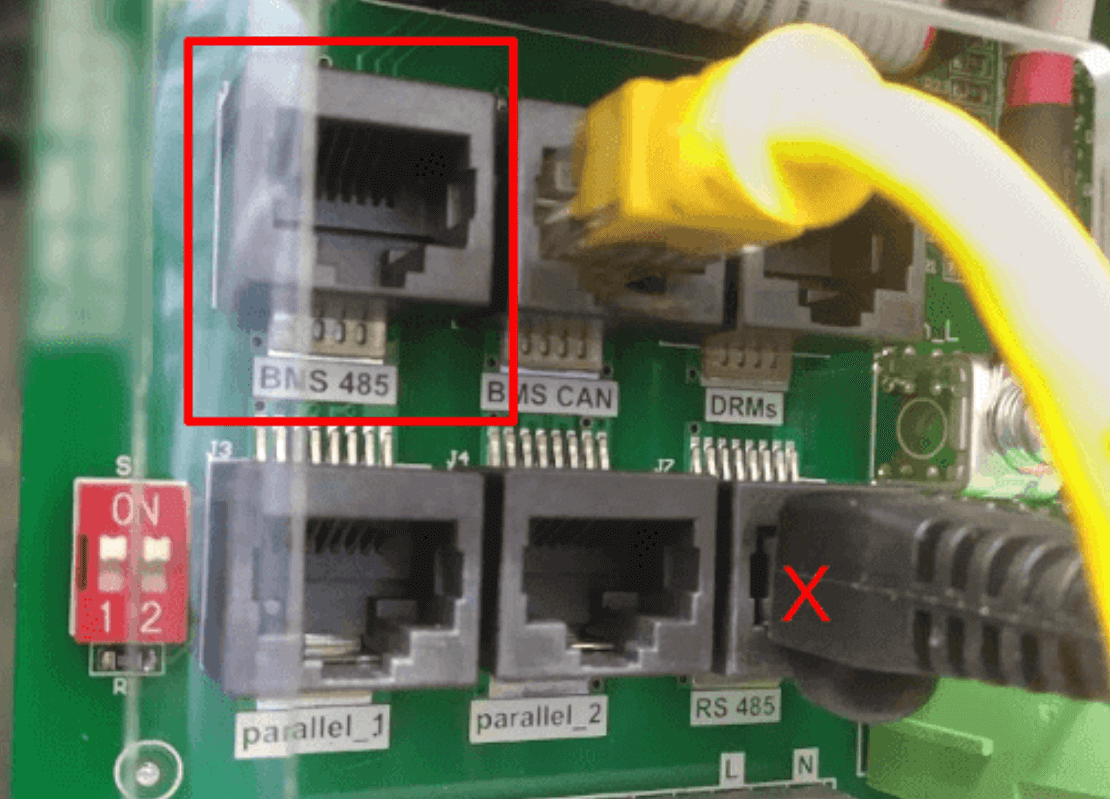
Once you've located the RS485 port, plug the RJ45 connector into the port and connect the USB end to your SolarAssistant device.
Note: On some models, the BMS port can be used for both SolarAssistant monitoring and battery CAN communication at the same time. See the 2-in-1 BMS port for more information.
Steps in SolarAssistant
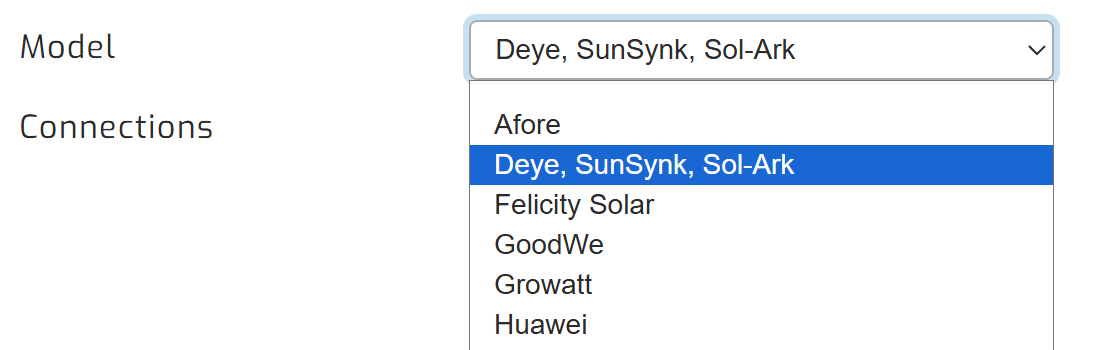
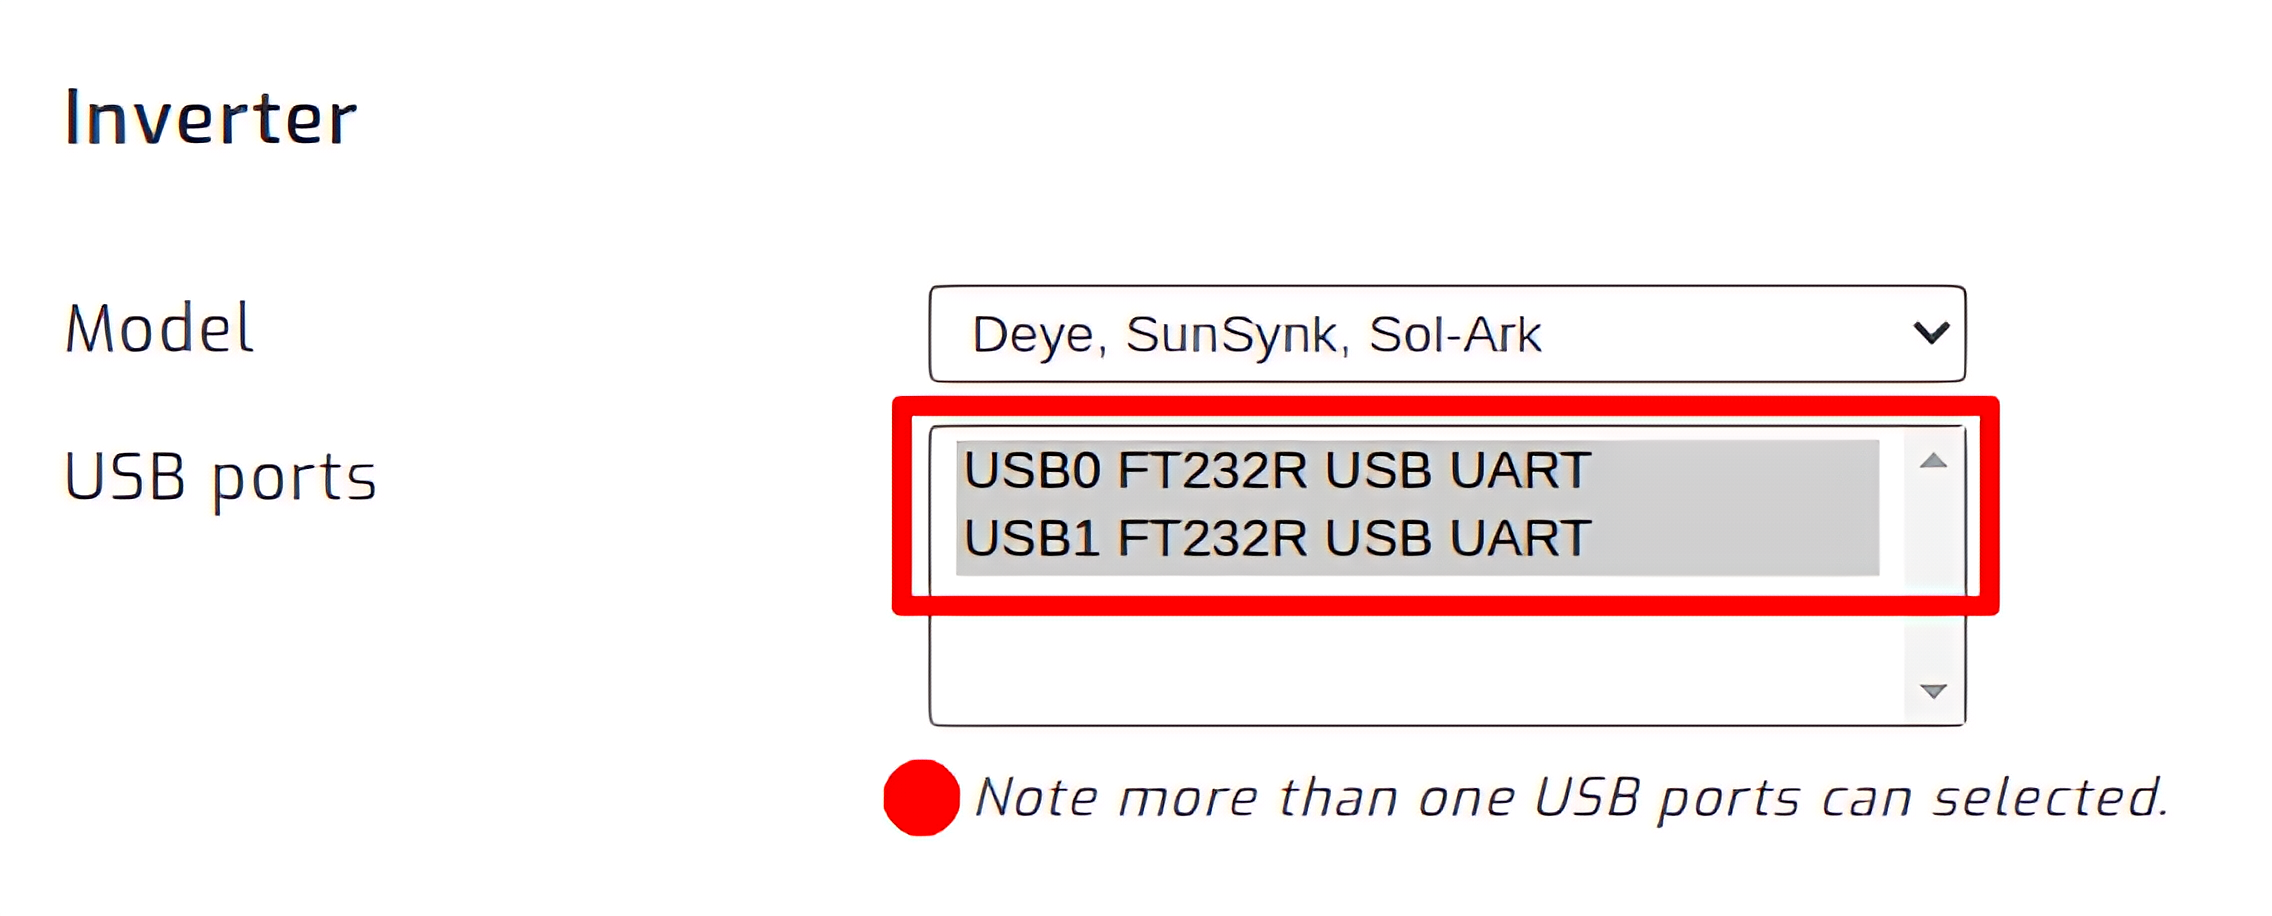
On the SolarAssistant configuration page, select "Deye, SunSynk, Sol-Ark" as your inverter model.
Select the USB port where your inverter is connected. If you have multiple inverters, you need to multi-select multiple USB ports.
Click connect:

Parallel installations
With these inverters you will need to connect each inverter with its own cable.