Home Assistant - MQTT setup
Introduction
HomeAssistant is an open source project that allows you to monitor, control and automate various devices on a single platform. SolarAssistant integrates with HomeAssistant via MQTT automatic discovery. It allows you to turn on relays or control external devices based on inputs from your solar system. If you want to use HomeAssistant, we recommend installing it on it's own Raspberry PI.
If you want to run a MQTT broker on your HomeAssistant installation, please see our broker setup guide.
Step 1 - Enable MQTT output
Follow our MQTT guide to enable and test that your MQTT output is working.
Step 2 - Enable HomeAssistant discovery
Enable automatic discovery on the "Configuration" tab in SolarAssistant.
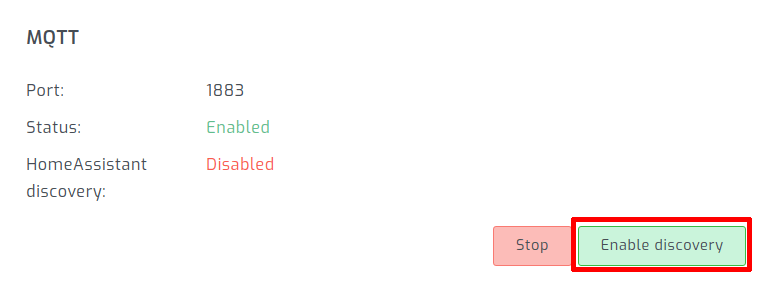
This will publish MQTT retain messages that tell HomeAssistant what each value represents.
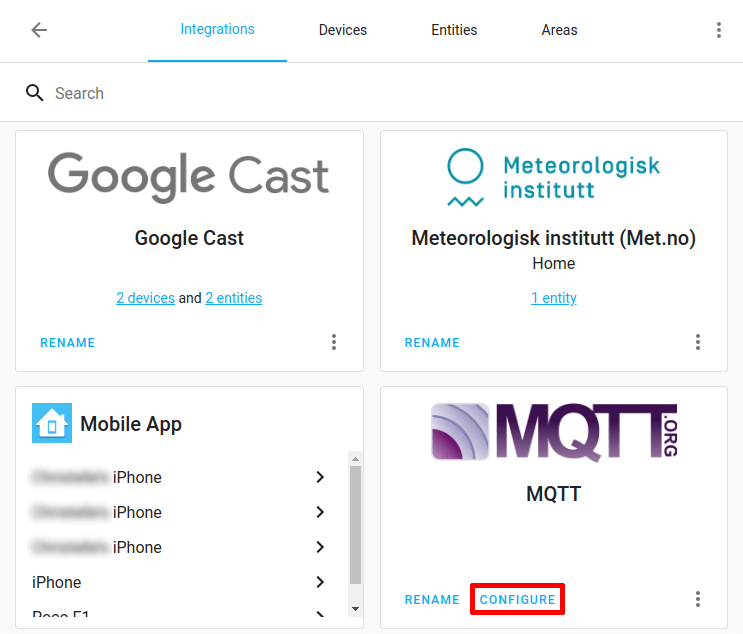
Step 3 - Install and configure HomeAssistant MQTT
In HomeAssistant, navigate to "Integration" and install MQTT if it's not installed already. Select "configure":
Enter your SolarAssistant IP as the MQTT broker in HomeAssistant:
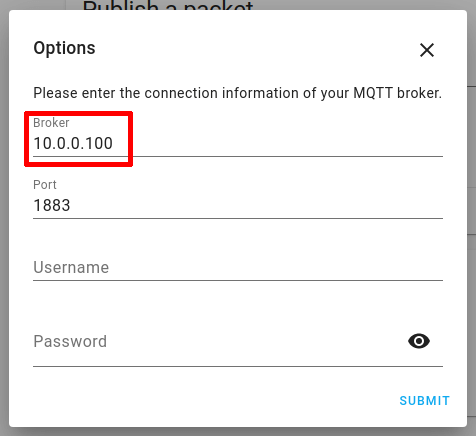
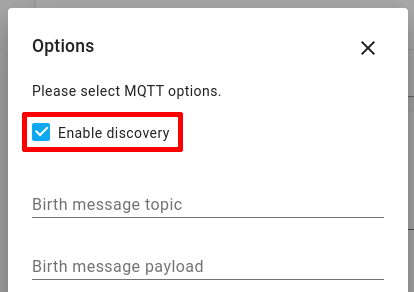
On the next page, ensure discovery is enabled. It's on by default.
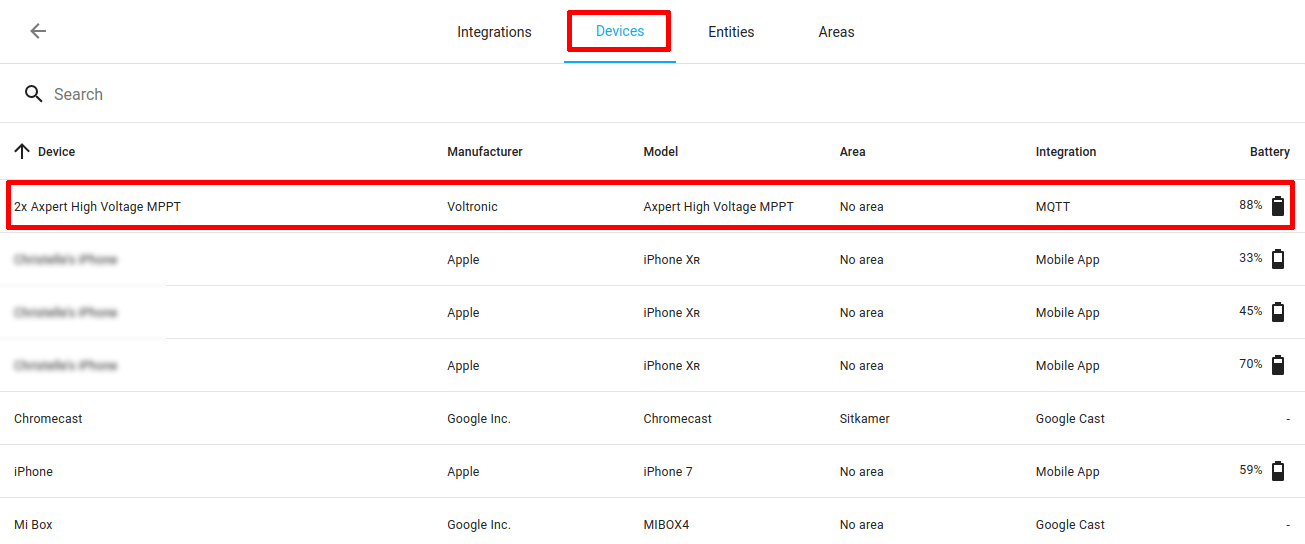
Step 4 - Wait for inverter to be discovered
After a few minutes you should see your inverter appear under the devices section in HomeAssistant:
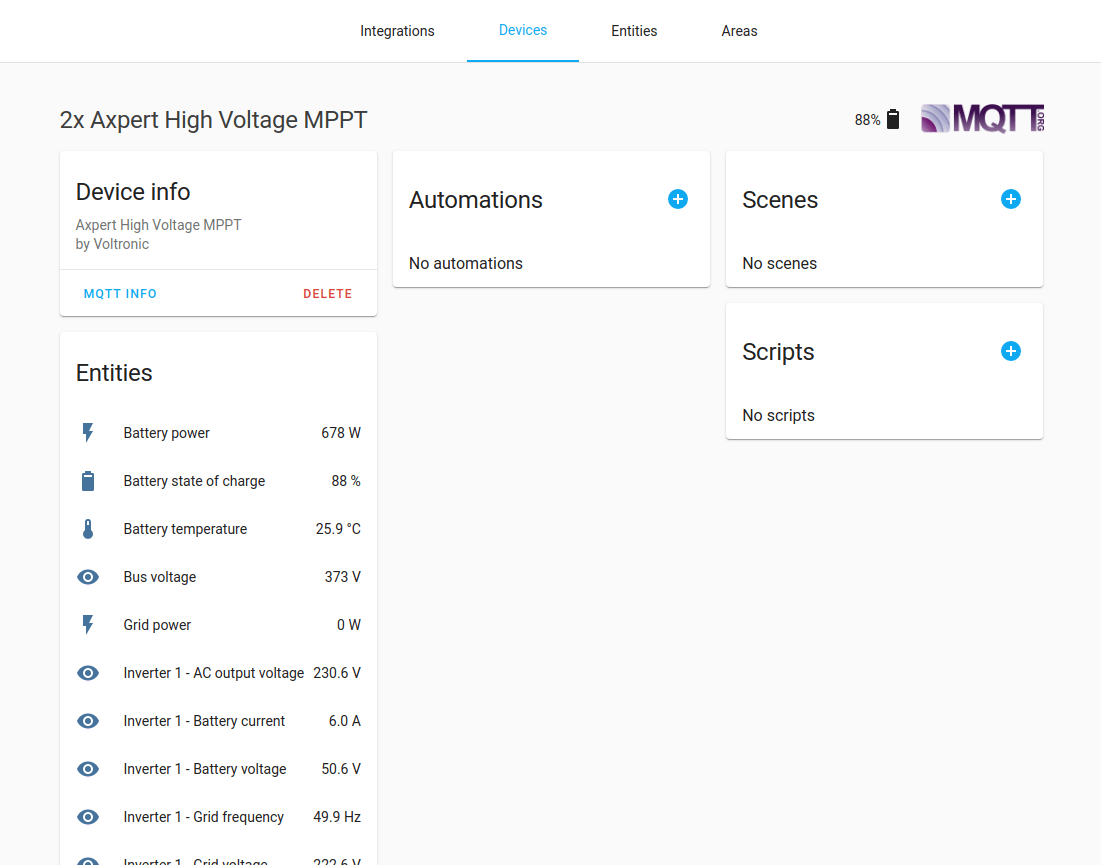
Select the device to view it:
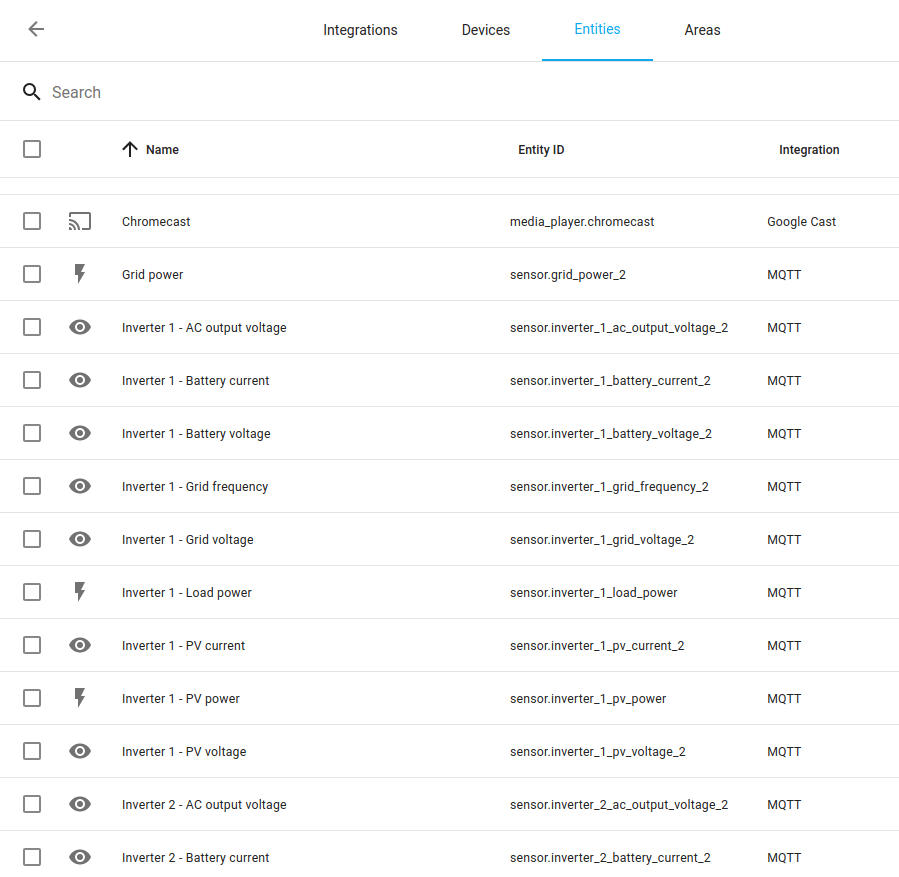
These data points are also available under the "Entities" section:
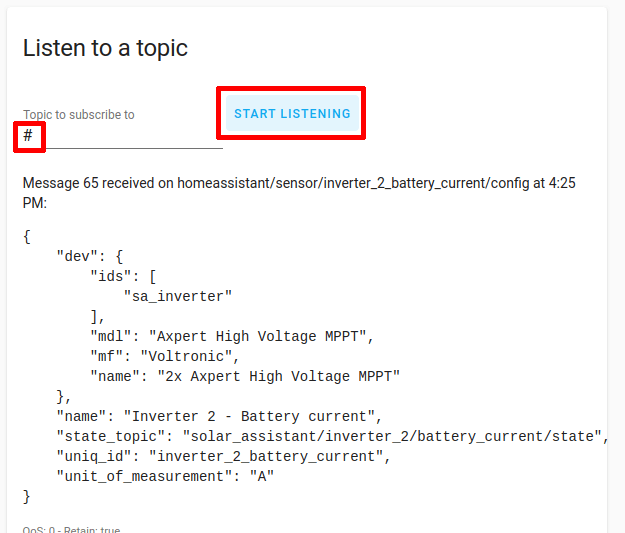
Troubleshooting
If your inverter does not appear in HomeAssistant after 10 minutes, go back to the HomeAssistant MQTT integration and use the "Listen to a topic" to test that HomeAssistant is receiving SolarAssistant MQTT messages. You should see messages as shown below: