Sites
Shop
Help
EN
Afrikaans
Dansk
Deutsch
English
Español
Français
Italiano
Lietuvių
Magyar
Nederlands
Polski
Português
Română
Tiếng Việt
Čeština
Ελληνικά
Українська
简体中文
繁體中文
Sign in
General
Introduction
Is my inverter supported?
FAQ
Reporting issues
Transfer license to new device
Getting started
Preparing device
Starting device - ETH
Starting device - WiFi
Starting device - No internet
Supported hardware
Video output
Inverters
Anenji
Deye
EG4
Easun
Growatt
Luxpower
Megarevo
MUST
PowMr
SunSynk
Sol-Ark
SRNE
Solis
Voltronic
View all
Battery
Configuration
CAN bus
CFE battery
Daly BMS
Dyness / Mecer
EG4
Felicity Solar
Giter
JK BMS
JK inverter BMS
JBD / Overkill BMS
Revov
Seplos BMS
Shoto BMS
SOK
SolarMD
SunSynk
Trophy
Vestwood
Grid
Eskom
Europe
Device Access
Overview
Android
iPhone
Bluetooth
Regions
Local password
SSH
Troubleshooting
Dashboard
Overview
Inverter
Battery
PV forecast
Historic data
Charts
Totals
Export
Backup
User management
Overview
Transfer site
Automation
Rule table
Send notification
Home Assistant
Official integration
MQTT setup
Broker setup
Energy dashboard
Adjusting solar settings
Integration
MQTT API
REST API
WebSocket API
Cloud API
Command-line interface
Node-RED
Software updates
Overview
Changelog
Beta program
Shop
Generate proforma invoice
Inverters
› Voltronic
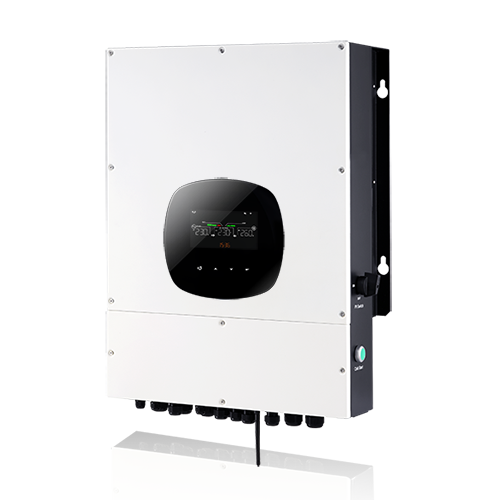
InfiniSolar 6K Hybrid
Axpert MKS 5kW 48V
Axpert MKS II 5kW 48V
InfiniSolar V Multiphase
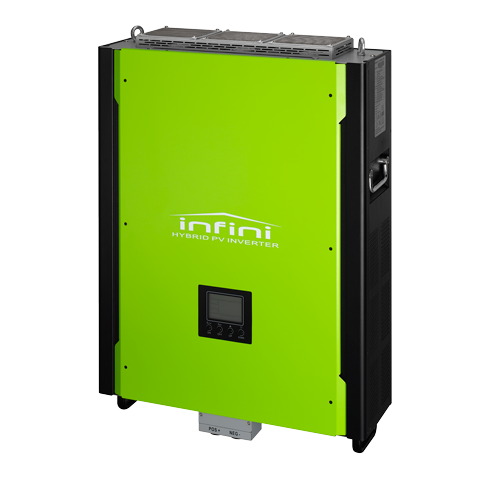
InfiniSolar Hybrid
Axpert MAX II 8kW
InfiniSolar 10-15KW 3-phase